Adding Custom Border to Your Pages
Adding a custom border to a page can add or increase margins when creating PDF files or images from existing documents. When you need to add custom text, logos, date and time stamps, or page numbering stamps to documents with narrow or no margins, adding a custom border to each page border ensures the stamp is visible.
Another reason to add margins would be to allow extra space for binding documents after printing. Spiral binding is an example of this. The extra space prevents the document content from being too near the binding edge.
Wider margins can also increase the readability of the text on the page. This is true both for printed documents and documents displayed digitally. Responsive and adaptive layouts used for tablets and phones need margins to help content remain readable and visually appealing.
Create a Profile that Adds a Custom Border
We are using TIFF Image Printer here, but the steps are the same for Raster Image Printer and PDF Image Printer.
All three image printers use printer profiles to control what type of file the printer creates when you print to it. Options for adding a custom border are also part of the printer profile.
In order to set up the custom border options in a profile, the initial step is to create a new profile. Or, if you already have an existing personal profile, you can edit it to make your changes as well.
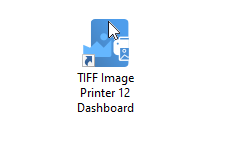
To access all features for your printer, simply double-click the Dashboard desktop shortcut. On the Dashboard, you will find license information, tools, and resources, as well as the ability to create and edit profiles.

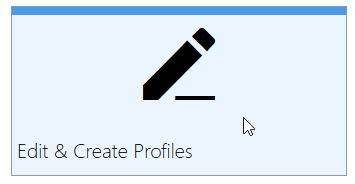
In the Dashboard. click the Edit & Create Profiles tile to open the Profile Manager tool.

Adding a Customer Border
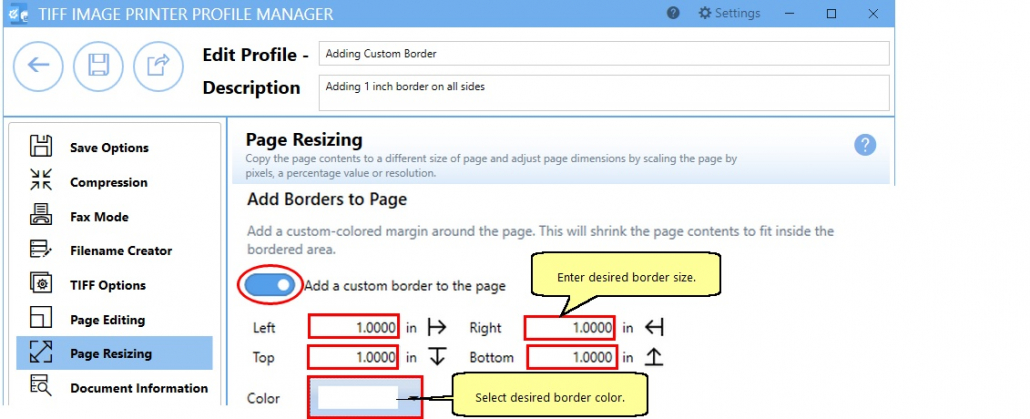
To start, select Page Resizing on the left-hand side. In the list of options on the right, scroll down to the section Add Borders to Page. Adding a custom border will
The printer will not add a custom border by default. Adding a custom border will shrink the page contents to fit inside the bordered area.
To add a border, first, enable Add a custom border to the page. Then, for each side of the page that you want a border, enter the size of the border you want.
You can also choose a color for your border. A colored border might be used to frame pages that are to be displayed digitally. A border can also color-code documents during different stages of editing.
For each side of the page, Left, Top, Right, and Bottom, enter your desired border size. You can toggle between entering the size in inches (in) or centimeters (cm) from the Settings cog in the top right-hand corner of the Profile Manager.
For our example, we are setting the border to 1 inch on all 4 sides, and the border color is white.

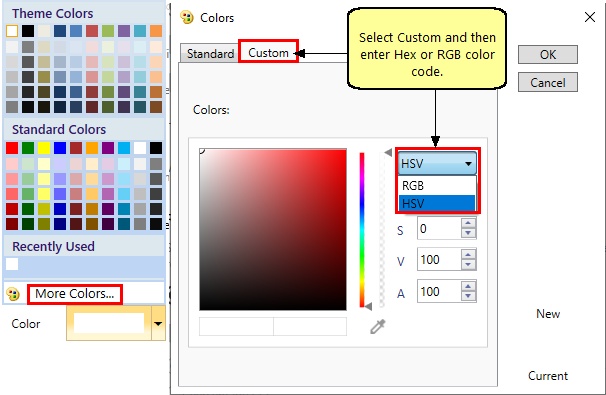
If you want to select a different color, either use the color picker or select More Colors, then the Custom tab to select a color using a hex or RGBA color code, or use the color slider and panel to pick a color.
For a transparent color border, adjust the A value down from 100. The closer to 0, the more transparent the color.

Saving and Using the Profile
Save your profile using the Save button in the upper left when your changes are complete. Now, printing your document using this profile will shrink the page content down to fit within your designated border size and color.
If you plan to use these settings regularly, you may wish to make this personal profile the default profile so that it is always used when printing.


