Convert TXT to PDF: Landscape Text Files
Convert TXT to PDF and keep your text content in its original landscape layout with Document Conversion Service. Large institutions such as insurance companies, banks, and hospitals often produce text-based reports from older mainframe applications. These reports were designed for printing on wide dot-matrix fanfold printers at up to 132 characters per line. Instead of printing these TXT files, we want to convert them to PDF documents or TIFF images.
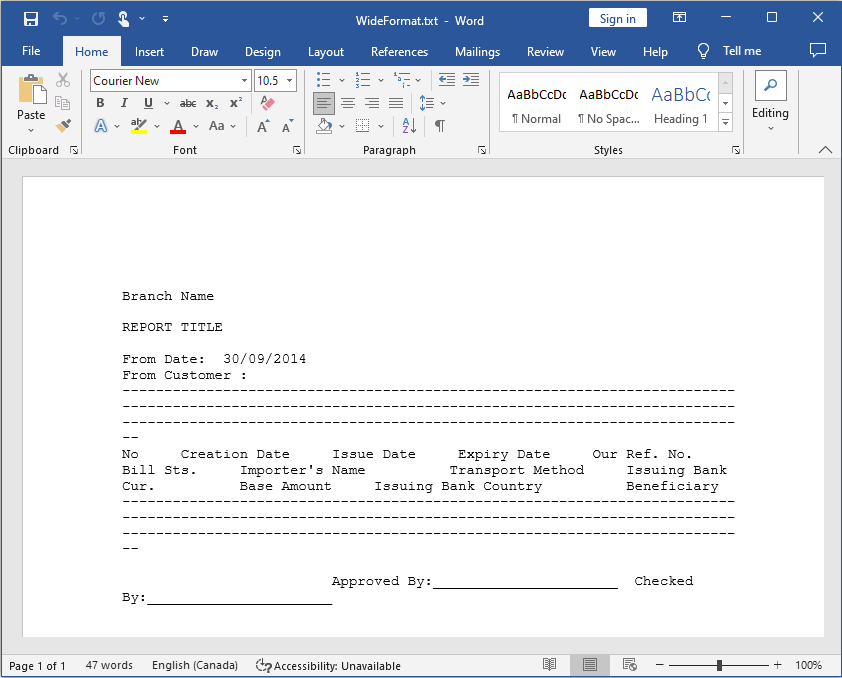
Below is a sample text file opened in Notepad that we want to convert to PDF. You can see that it is a wider-than-normal text document. You can download this sample text file and two sample conversion profiles from the link at the end of this article.

Landscape TXT (or text) documents from these older mainframe systems are not formatted correctly for the narrower paper sizes such as Letter, Legal, or A4 that are common today. Fanfold paper for dot-matrix printers is 11 inches wide and 9.5 or 14.5 inches long. The last thing we want to see is our text squished and unreadable on a narrower page, or sometimes worse, wrapped into extra lines that break any tabular formatting and make it hard to read.
Convert TXT to PDF With the Built-in Text Converter
In version 3.31 of Document Conversion Service, we added a new built-in text converter for converting TXT to PDF and TIFF. This new converter intelligently detects formfeeds and paper size for the text in your file. The built-in text detection smarts ensure the content is perfectly scaled and presented on the page.
When you install the latest version, the Text – Builtin converter is already enabled and ready to handle your text files. You can check this from the DCS Dashboard.
In the dashboard, click DCS Settings and then Edit Configuration. Set the Text – Builtin converter to Auto or On. You need to restart the Document Conversion Service if you change this setting.

Convert TXT to PDF Using Microsoft Word
If you have not upgraded to Document Conversion Service 3.31 or later, do not worry. With a few extra steps, you can still convert TXT to PDF and maintain its landscape formatting.
Before we added our built-in TXT to PDF converter, TXT files were converted to PDF using Microsoft Word. This approach works but requires manual steps and experimentation to handle wide-format text files.
Below, we show you how to open your TXT report in Word and change the page layout so the text displays correctly on each page when we convert it to PDF. We then show you how to add the page layout changes as settings in a DCS conversion profile suitable for processing these text reports.
Determining the Page Layout in Word
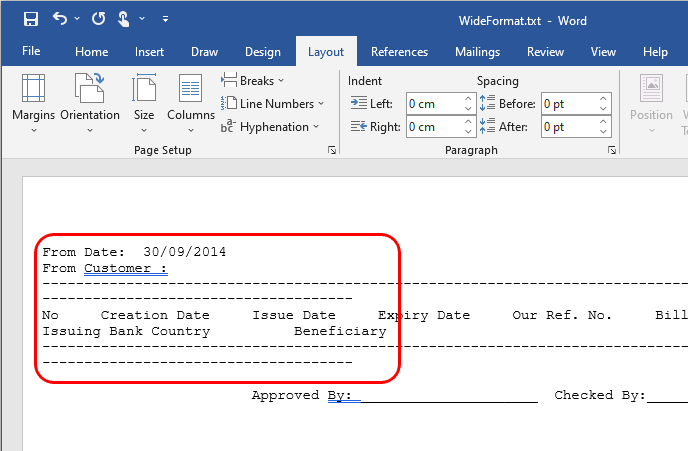
The first step to converting TXT to PDF is to open the file in Word. It will look wrong at first. The lines will be too long, and the text can wrap around, creating extra lines. We need to do the following to determine the document layout.
- Select the Document Conversion Service 3.0 printer
- Pick the document orientation
- Set the document margins
- Choose the document paper size
Select the Printer
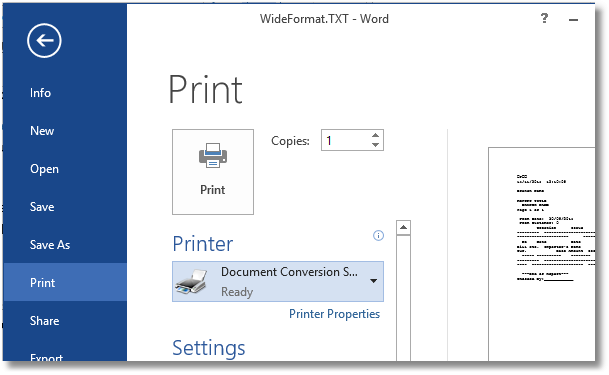
Select File-Print, then choose Document Conversion Service 3.0 as the printer for this document. Setting the printer gives us access to all the paper sizes available in the printer to find a matching page size to convert our TXT to PDF.
Click the back arrow in the upper left corner or on the File tab to return to your document.
Page Orientation
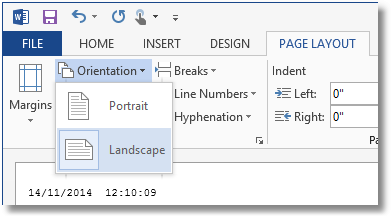
Next, we must change the page orientation. When opening a text file, Word always sets the orientation to Portrait. For our wide-format text files, the orientation needs to be Landscape. Use the Orientation drop-down menu on the Page Layout tab to do this.
Adjusting the Page Margins
With the correct orientation, we now adjust the margins to allow each line of text to be wider or narrower. Choose from the predefined margins in the Margins drop-down list on the Page Layout tab to see if one of the preset margins matches the original layout.
If you cannot find a match, go to Custom Margins… at the bottom of the margin list and set a custom page margin size.
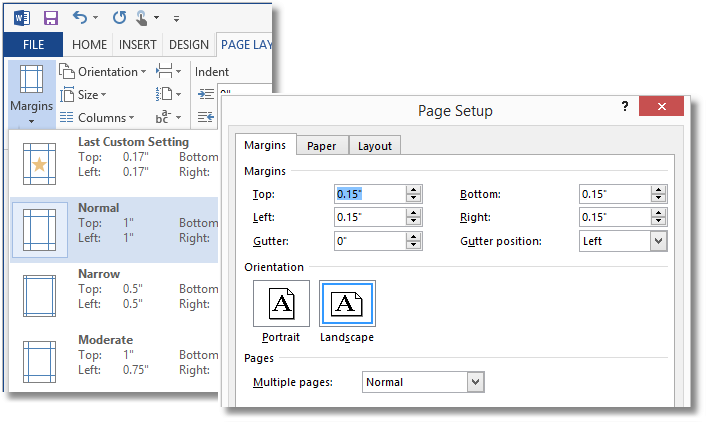
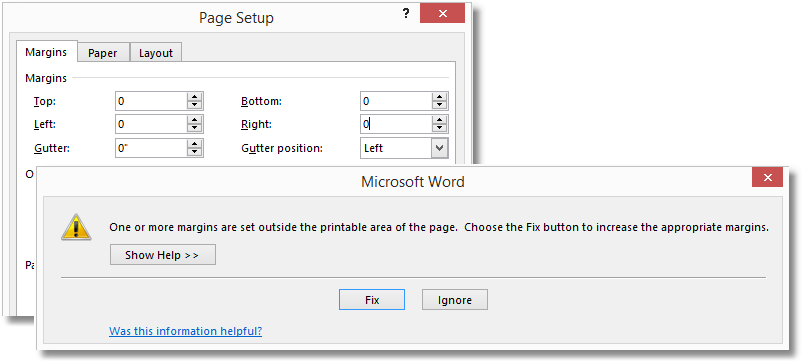
You can also set all the margins to 0 to have Word automatically determine the smallest margins.
Setting and Adjusting the Page Size to Convert TXT to PDF
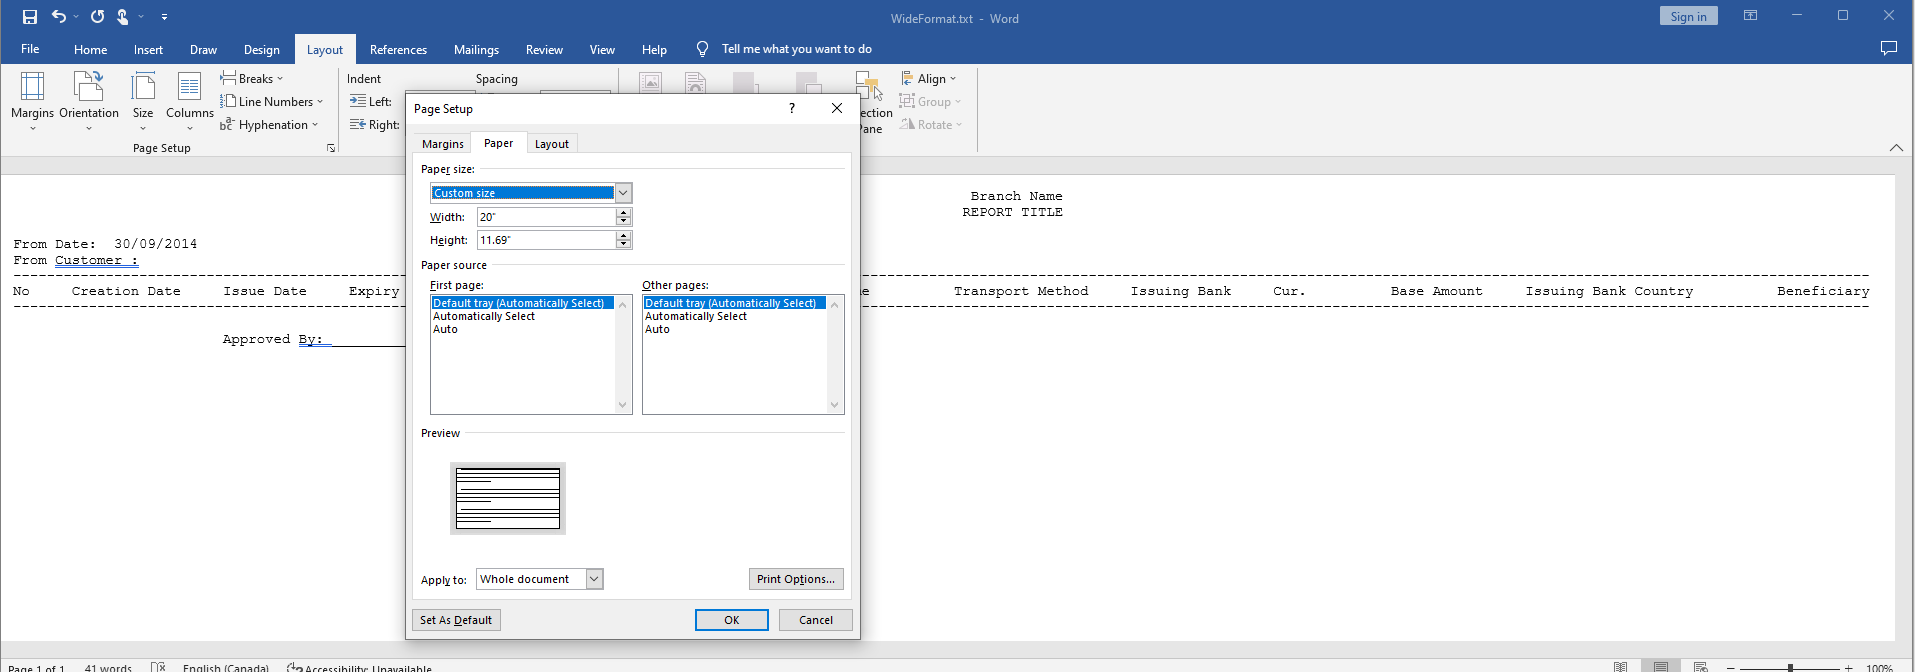
Setting the paper size is the last step. If you know the paper size used to design the report, start with that. In our sample, we know it was A3. Setting the paper size to A3 changes the layout, but for this report, it is still not 100% correct. The text lines are still wrapping when they shouldn’t be.
To fix this, select a larger or smaller paper size or set a custom size by adjusting the width and height until the text wraps correctly and the report breaks on the correct pages. In our case, we had to increase the A3 paper width from 16.59 inches to 20 inches.
When your TXT file layout is incorrect at this stage, it is often a font issue. The font Word is using is not the same font used to design the TXT report. The individual character widths and space between them can vary from font to font. This change in spacing can cause the lines of text to wrap or not wrap and break any tabular layout used in the report.
To fix this, select a larger or smaller paper size or set a custom size by adjusting the width and height until the text wraps correctly and the report breaks on the correct pages. In our case, we had to increase the A3 paper width from 16.59 inches to 20 inches.
Creating the Conversion Profile for Convert TXT to PDF
With the orientation, margins, and page size determined, you have all the information you need to create a custom conversion profile to convert TXT to PDF.
Above, we determined we needed an orientation of Landscape, a custom paper size of 20 x 11.69 inches, and margins of 0.15 inches. Because we are using a specific custom paper size, we do not need to specify the orientation in the profile.
In conversion profiles, we specify the Word paper sizes and margin widths in points, with 1 inch equal to 72 points. These settings in the conversion profile would be as follows:
<!—Margins set as points 1 inch = 72 points -->

<!-- Print custom paper size 20 x 11.69 -->
<add Name="Microsoft.Word.PageSetup.PageWidth" Value="1440" />
<add Name="Microsoft.Word.PageSetup.PageHeight" Value="842"/>

<!-- Print custom margins 0.15 inch left/right/top/bottom -->
<add Name="Microsoft.Word.PageSetup.LeftMargin" Value="11" />
<add Name="Microsoft.Word.PageSetup.TopMargin" Value="11" />
<add Name="Microsoft.Word.PageSetup.RightMargin" Value="11" />
<add Name="Microsoft.Word.PageSetup.BottomMargin" Value="11" />
If we were using a standard paper size in our profile to convert TXT to PDF, we would need to add the orientation line to the profile.
<!-- Print using standard paper size A3 -->
<add Name="Microsoft.Word.PageSetup.PaperSize" Value="PaperA3" />
<add Name="Microsoft.Word.PageSetup.Orientation" Value="Landscape"/>
Using the larger paper size from above to fit the text on the page means that when we convert TXT to PDF, the PDF file will not be on A3-sized paper. What if we want the final report to be at the original paper size of A3?
To place the text back onto an A3-sized page, we can tell Document Conversion Service to scale the output back down to the original size before creating the final output file.
<!— Copy larger paper size to A3 (297 mm x 420 mm) paper size -->
<add Name="Processing;Copy" Value="1" />
<add Name="Processing;Units" Value=".1 Millimeters" />
<add Name="Processing;Copy to width" Value="2970" />
<add Name="Processing;Copy to height" Value="4200" />
Try it for Yourself
Download LandscapeTextSample.zip to try this for yourself. The zip file contains the sample document used above and two sample profiles – one for PDF and one for TIFF.
Need help getting your layout correct? Have a question? Contact us – we’ll be glad to help.
