
Using Control Strings in Word with Mail Merge Documents
With the release of TIFF Image Printer, Raster Image Printer, and PDF Image Printer version 12.0.011, control strings have been re-introduced to our family of image printers. In today’s blog we are going to be discussing what are control strings and walk through an example of using control strings with a Word mail merge.
What are Control Strings?
Control strings are text strings embedded in your documents that can be used to change settings dynamically during a print job. Often used in Word with mail merge documents, or reporting tools such as Crystal Reports and PowerBuilder, it can be used to dynamically control file naming and output location from data fields on the report, or create new files from a group of pages using the same filename.
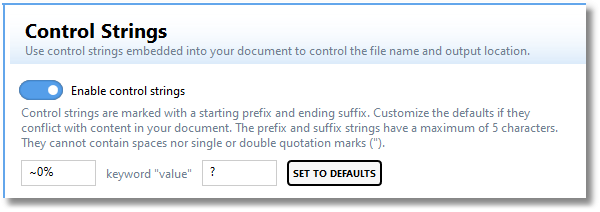
The default control strings syntax is: ~0% keyword “value” ?. The prefix of ‘~0%’ and suffix of ‘?’ are used to recognize a control string pattern in a printed document. These prefixes can be customized.
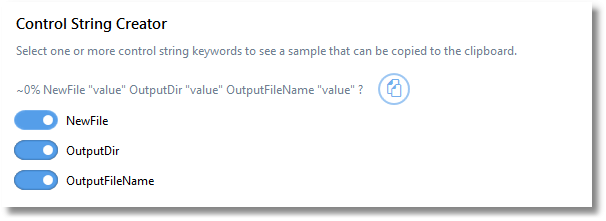
TIFF Image Printer will automatically produce a sample control string that be copied based on the control string keywords that are enable: NewFile, OutputDir, or OutputFileName.
NewFile
The ~0% NewFile “1” ? syntax will create a new file starting with the current page it is embedded in using the same filename. For example, if a user converts a 10 page Word file named File.docx to TIFF, with ~0% NewFile “1” ? embedded at the top of 5th page, the result will be File.tif with pages 1-4 and File_copy1.tif with pages 5-10.
OutputDir
The ~0% OutputDir “C:\Output” ? syntax will control where the output file is saved. For example, the output File.tif and File_copy1.tif will be saved to C:\Output.
OutputFileName
The ~0% OutputFileName “File” ? syntax will control the filename of the output file. For example, the base output filename is File.
Example: Using Control Strings in Work with Mail Merge Documents
- Launch the TIFF Image Printer Dashboard.
- Select “Edit & Create Profiles” to open Profile Manager.
- Select “Add a profile” to create a personal profile, or create a copy of one of our system profiles.
- Name the profile, add a description, and click Save.
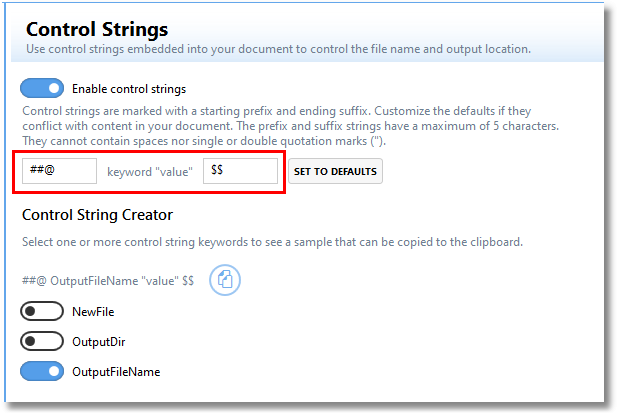
- Click Control Strings tab and turn on Enable control strings.
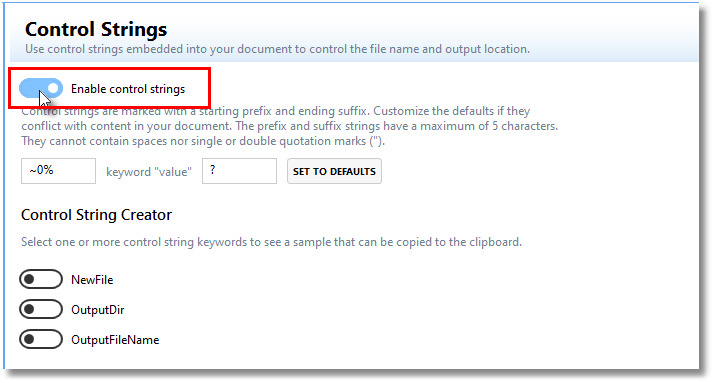
- Enable your desired control string keyword. In this example, we will enable OutputFileName. You can enable one or more control string keywords.
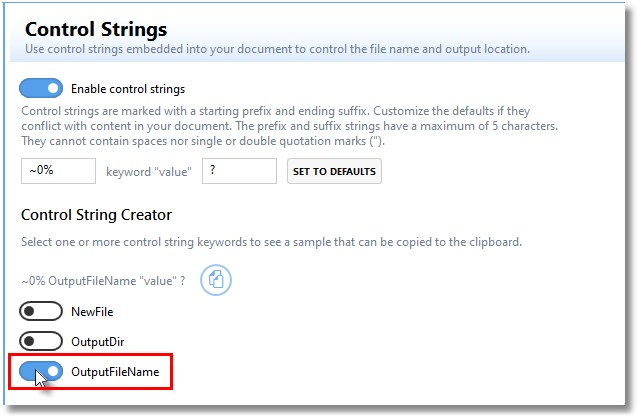
- TIFF Image Printer will create a sample control string text that can be copied and inserted into your reports or documents.
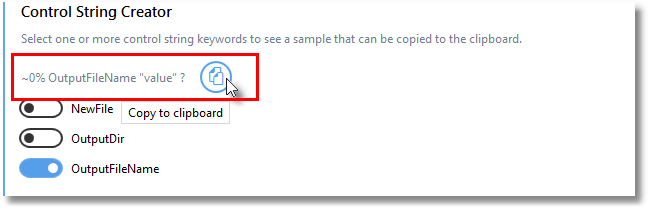
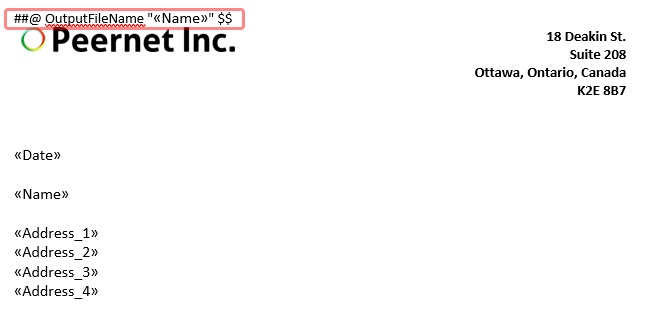
- Paste the sample control string text into your reports and documents. In this case, we will insert the control string at the top of a Word mail merge document.
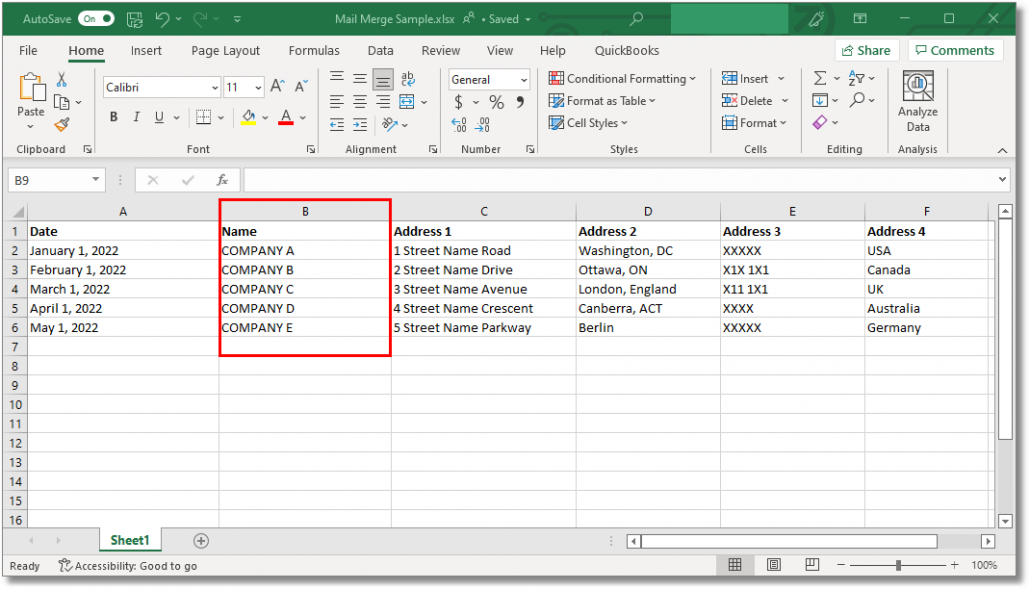
- Edit the sample text based on the content of your document. In this case, we will enter «Name» as our value. This control string is telling TIFF Image Printer to save each page created by the mail merge using the «Name» variable.

- Back on the Profile Manager, click Save-Back, and close Profile Manager.
- Close the Dashboard.
If you plan to use these settings regularly, you may wish to make this personal profile the default profile used by TIFF Image Printer.
- From Word, Print your mail merge document to TIFF Image Printer 12. Ensure to select your control string profile when printing.
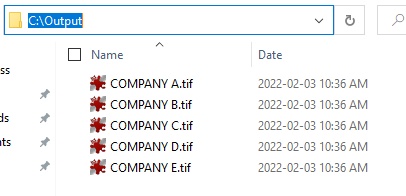
- The result will be a TIFF file for each line of the mail merge, with the output filename of «Name».tif.
As mentioned previously, there is the ability to customize the prefix and suffix text of the control string if our default settings conflict with the contents of your document. As per the examples below, the control string can be changed to ##@ keyword “value” $$ and this would create the same result.
If you are new to the PEERNET family of image printers, the best way to get started is by downloading our free trial. As always, the PEERNET support team is more than happy to answer any of your questions and help you evaluate the trial.

