Save Files Without Prompting
Each time you print, our PEERNET Image Printers prompt with a Save File dialog to choose where you want to save your output file. If you need to organize your files by criteria such as folder or project name as you go, a prompt can be helpful. However, when you always save to the same folder, prompting for a filename is repetitive and time-consuming.
For that reason, you can control if the Save File prompt will appear, the folder and name of the file, and what happens when you already have a file of the same name in that folder.
Prompting When the File Already Exists
When you are not displaying a prompt to choose where to save the file, you also need to consider what to do if a file of the same name as the one you are saving already exists. There are three options for handling this scenario:
- Auto-name each file with a numbered copy – This is the default printer action as it does not overwrite existing files. It adds _copy1, _copy1, etc., to the end of the file’s name to create a unique file name.
- Show prompt to let me choose my action – If a file of the same name already exists, this prompts you to choose to overwrite the file, create a named copy, append to the existing file, or cancel the print.
- Always overwrite the existing file – This option will always replace any existing file with the new one.
Change Profile to Save Without Prompting
All save options, such as a default folder, file name, and prompting options, are part of a printer profile. PEERNET’s image printers use printer profiles as a collection of settings that control the output created.
Below, we are creating a new profile that saves files all new files to the folder C:\Demo without prompting for a file name. The steps below use TIFF Image Printer; the same steps work for PDF Image Printer and Raster Image Printer.
Creating the New Profile
To start, double-click the desktop shortcut for your printer to open the Dashboard.
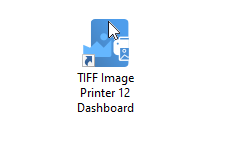
The Dashboard is your access to creating, copying, and editing profiles. It also gives quick access to product licensing, printer management, and help resources.
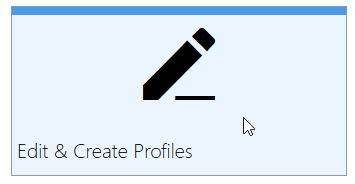
Select the Edit & Create Profiles tile to open the Profile Manager to create a new profile.
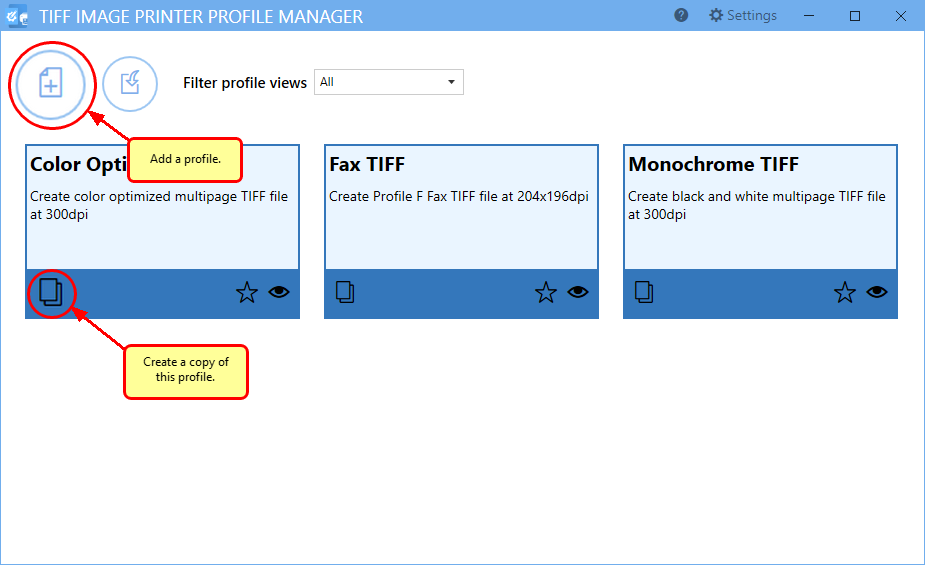
The Profile Manager lists all of your printer profiles. Click the Add a profile button to create a new profile, or start with a copy of an existing one.
Changing the Prompting Options
First, give your new profile a name and a description. Next, we edit the settings in the Save Options tab to turn off the file save as prompt.
To turn off prompting, disable the Prompt for the output location and base file name option.
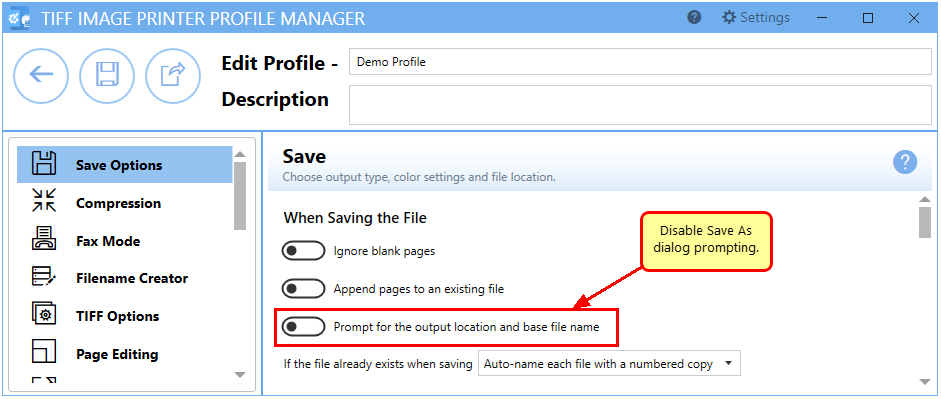
With prompting disabled, the next step is to decide how to handle file overwrite situations. You can overwrite existing files, create a numbered copy, or prompt with a selection of actions. For our example, we will leave this option set to the default of Auto-name each file with a numbered copy.

Set the Save Location and File Name
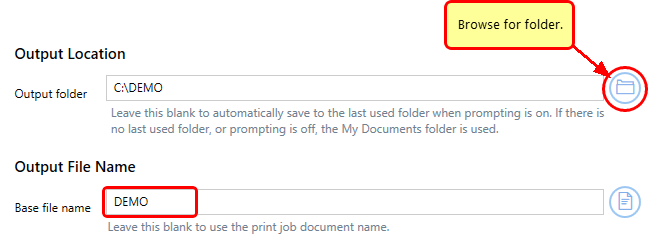
Lastly, we configure the profile to save all new files into a specific folder using the base file name DEMO.
To do this, edit the Output folder field in the Output Location section. Here, we are using the folder C:\DEMO. Replace C:\DEMO with your folder path as needed.
To set the file name, type the desired name in the base file name field under the Output File Name section. Here, we used the name “Demo”.
When you are done, save the profile using the Save button in the upper left corner.
Setting Your Profile as the Default Profile
You can make this personal profile the default profile used by your image printer for conversion by changing the default profile for the printer in the Printer Management utility. See Changing the Default Printer Profile to learn more about configuring profiles for your printer and other printer management features.

