
Send Created Files Using Outlook
Learn how to create PDFs or images from any document and automatically send created files using Outlook. Reduce manual steps and streamline creating and emailing documents to customers or co-workers. TIFF Image Printer, Raster Image Printer, and PDF Image Printer all include the feature to send Outlook emails with the created images or PDFs attached individually or as a single ZIP file.
The steps below demonstrate using the integrated Email options to send an email with Outlook as part of the printing and file creation process. Below, we are demonstrating using TIFF Image Printer. The steps are identical for Raster Image Printer and PDF Image Printer.
When sending an email, you can include the created files as separate attachments or bundle them into a zip file and attach the zip file. After sending the email, you can choose to delete the created files. Automatically deleting unneeded files saves you time and disk space.
To send emails with attached files, you need to have installed Microsoft Outlook and set up an email account. If you do not have Outlook, you can alternatively use SMTP (Simple Mail Transfer Protocol) to send the files via email.
- Create a Profile to Send Email Using Outlook
- Send Created Files Using Outlook Templates
- Prompt and Send Created Files Using Outlook
Create a Profile to Send Email Using Outlook
Here, we demonstrate creating a printing profile that takes the output files, bundles them into a zip file, and silently sends the email message to the email address provided. The To, Subject, and Message fields are pre-filled with the message details. We also configure Cleanup options to delete the created files after we send the email.
To begin, launch the Dashboard, then click Edit & Create Profiles to open the Profile Manager.
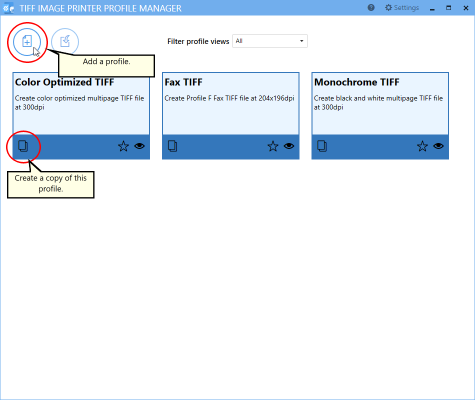
You can edit an existing profile, create a copy of one, or use the Add a profile button to open a new one for editing.
Give your new profile a name and a description, then select Email from the options list on the left. All options for sending created files using Outlook are here.
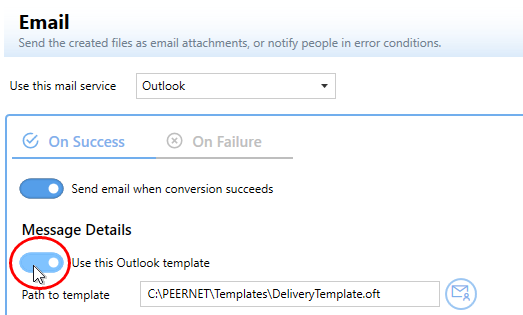
Next to the Use this mail service option, select Outlook from the list of mail services shown
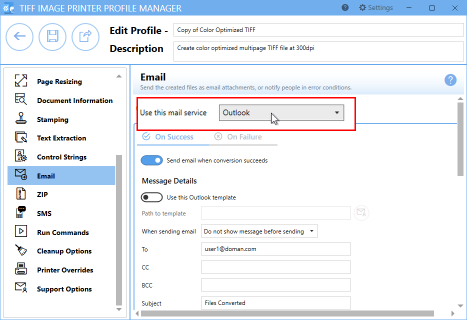
Toggle on the option to Send email when conversion succeeds.

Fill in the Message Details for the To (or CC, BCC), Subject, and Message fields. We use the information you enter in these fields to send all emails.
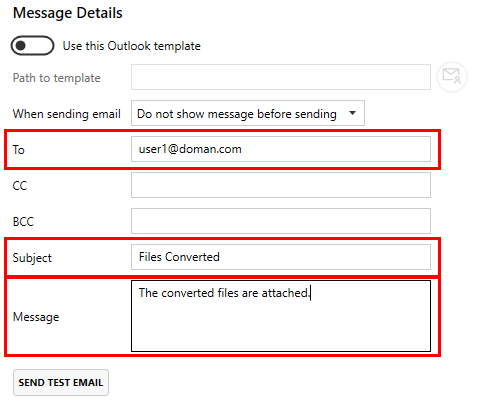
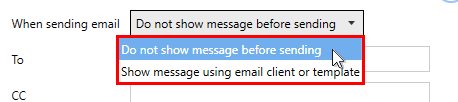
Next, we want to send this email silently. Set the When sending email action to Do not show message before sending.
Setting Email Attachment Options
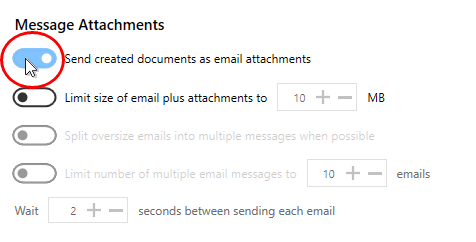
To include our created files in the email as attachments, toggle the option Send created documents as email attachments.
There are additional settings to limit the email size, split oversized emails, and limit how many emails to send to help work within any email size limitations in your organization.
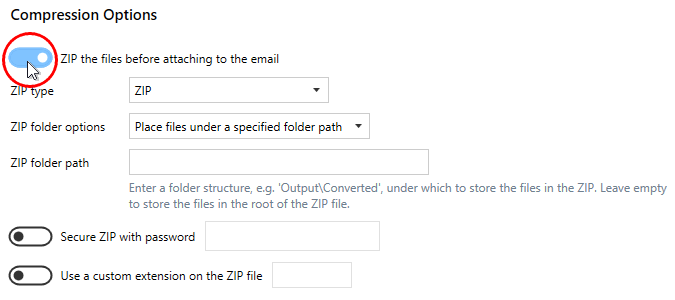
We also want to zip our created files and attach the single zip file to the email.
Toggle ZIP the files before attaching to the email. Leave the folder options to the defaults to create an unstructured zip file with the created files at the root. See the email section in the user guide for full details on the type of ZIP file created, password-protected ZIP files, and other additional ZIP options.
Using Cleanup Options with Email
The last step is to clean up the created files after sending the email. Skip this step if you need to keep the files you created and emailed. If you don’t need to keep your created files, this step automatically deletes the files for you to keep your hard drive clutter-free.
To set up the auto-delete option, select Cleanup Options in the list on the left-hand side. Toggle on the option to Delete generated output files and set the action to take place on success.

Click Save and then Back to return to the main screen of the Profile Manager. We now have a profile that zips any created files, attaches the zip file to an email, and sends that email silently. All you have to do is choose this new profile when printing any document.
Send Created Files Using Outlook Templates
When you need more control over the email message body format, such as formatted text, signatures, and other features, Outlook templates are your answer. Instead of setting the email fields in the profile, set the initial content of the email fields From, To, CC, BCC, Subject, and Body in a template and set the profile to use the template.
Toggle Use this Outlook template and select the mail icon to browse to and choose an Outlook template to use when sending email.
| *A folder named Templates has been provided in the product installation folder (C:\Program Files\TIFF Image Printer 12\Templates). You can place any Outlook templates used for emails here. When you use a template from this folder, the template location is stored in the profile using a macro, allowing you to deploy the template and profile to any computer without worrying about hard-coded folder paths. |
You can also combine an Outlook template with data entered in the email fields in the profile. Text entered for the Subject and Body fields on the email tab settings will override the Subject and Message contents in the template. When sending the email, we will combine any addresses in the template with any addresses from the To, CC, and BCC fields in the profile.
Prompt and Send Created Files Using Outlook
We showed above how to send emails and the created files silently to the same email account. If you use the email feature as part of a manual workflow, you may need to edit a default email template each time before sending the email.
To prompt before sending the, change the When sending email action to Show message using client email or template.

Choosing this will show the Outlook email template, with the files or zip file attached to the email, ready to edit and send.
