
Appending Multiple Files Into a Single TIFF File
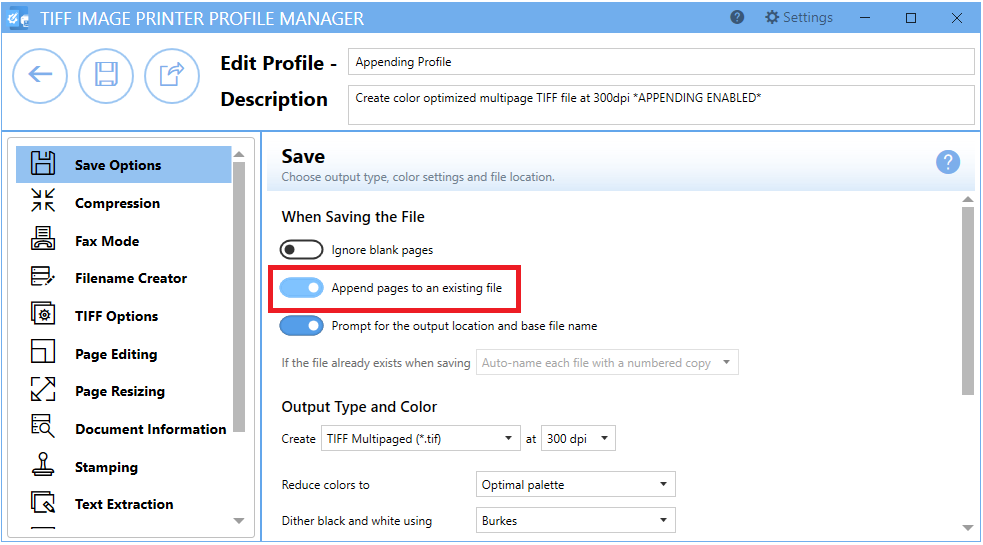
Appending multiple files into a single TIFF file is an easy task with TIFF Image Printer. You simply need to enable the appending feature within the settings profile. With appending enabled, when you save an output file to the same output folder with the same file name as an existing TIFF file, the new file will be added to the existing TIFF file.
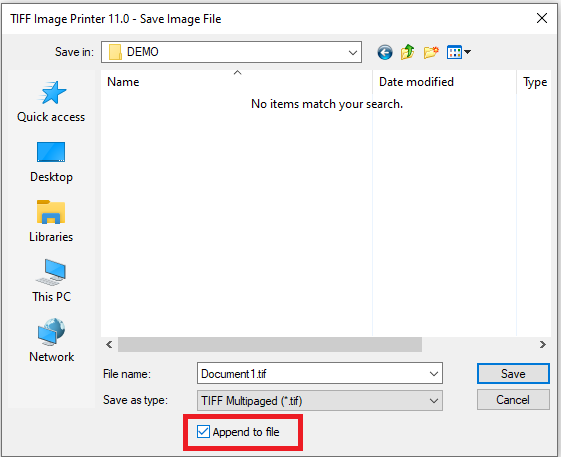
In previous versions of the TIFF Image Printer, the option to append was available on the Save As dialog. With version 12, this setting has been moved into the profile.
For detailed instructions and a tutorial video on how to enable appending, please see our tutorial Merge Multiple Files to TIFF. First, you would need to create a personal profile and enable Append pages to an existing file. Then, when you print files and select your personal profile, files saved in the same output folder with the same file name will be combined into a single multipaged TIFF file.
When to use Appending
There are many reasons a user may wish to combine their files into a single TIFF file. A specific situation would be when converting Outlook MSG files to TIFF. If you are converting MSG with attachments, you may want the MSG and its attachments converted into a single TIFF file. While PEERNET also offers automated solutions for the conversion of Outlook MSG files and their attachments in the form of Document Conversion Service, you can also achieve this result manually using the TIFF Image Printer. Using the appending feature, a user could first print the MSG file, then print all attachments to the same output folder with the same file name as the MSG file, and the result would be a single TIFF file with the .MSG file and all of its attachments.
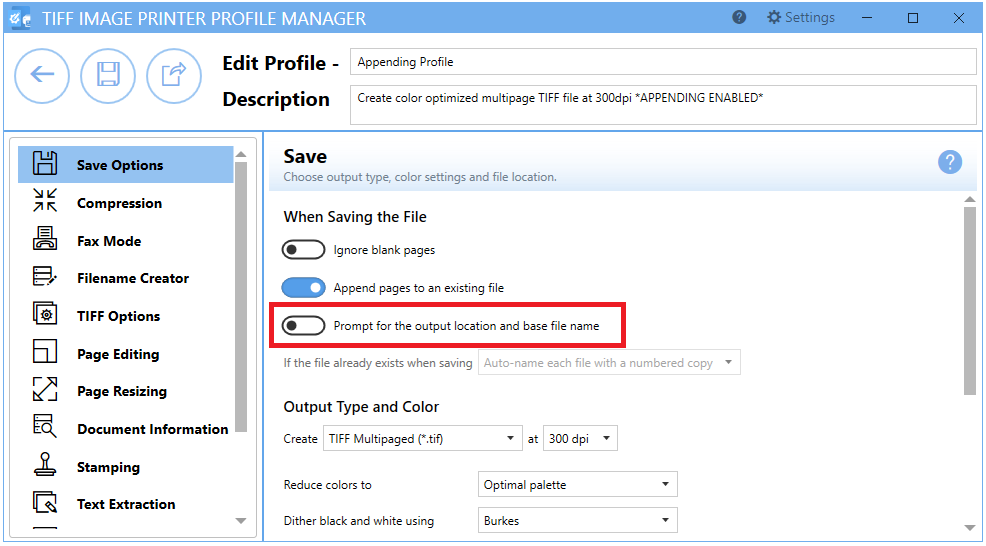
Prompting
It is common for users to disable Prompting for the output location and base file name. We do not recommend turning off prompting when you have the append feature enabled. Turning off prompting means that you will not have the option to set the output location and output file name after each print. By default, TIFF Image Printer will save the output TIFF in the last used folder using the filename from the print job. This means that unless your input files all have the same name, you won’t have the opportunity to give the file the same output filename, which is required for appending, with prompting disabled.
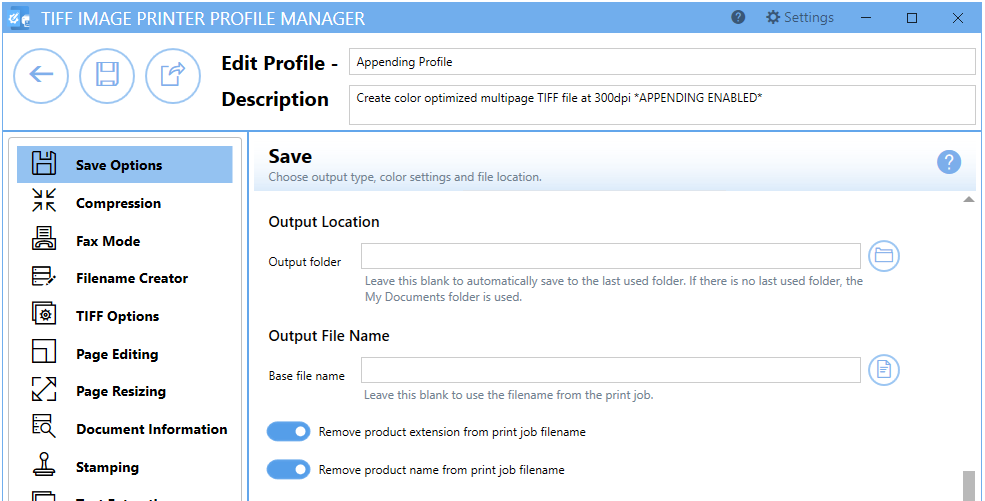
Output Location & Output File Name
You can set the output location and/or output file name within the profile if you know the output folder and file name will always be the same when you are appending.
If you are new to the PEERNET family of image printers, the best way to get started is by downloading our free trial. This is a fully functional trial with a watermark added to all output files. As always, the PEERNET support team is more than happy to answer any of your questions and help you evaluate the trial.

