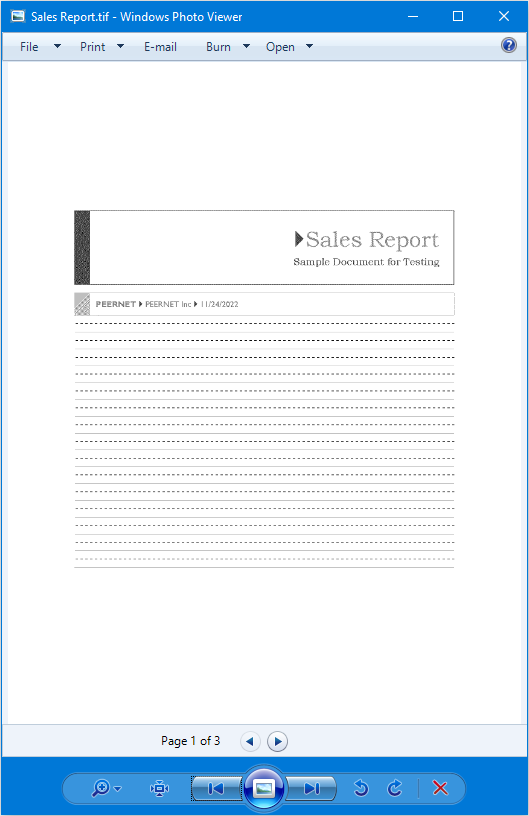
Replacing Microsoft Office Document Imaging Printer with TIFF Image Printer
You have upgraded your Microsoft Office to version 2007 or higher, but have now found the Microsoft Office Document Imaging (MODI) printer is no longer available. What can you use in place of the old MODI printer?
You can use the PEERNET TIFF Image Printer to create your TIFF files.
TIFF Image Printer will essentially replace the Microsoft Office Document Image Writer you used to have as part of MODI and is configured by default to create 200dpi, monochrome TIFF images.
How to Use TIFF Image Printer to Replace MODI Printer
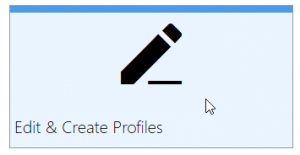
Double-click the TIFF Image Printer icon to launch the dashboard and select Edit & Create Profiles.
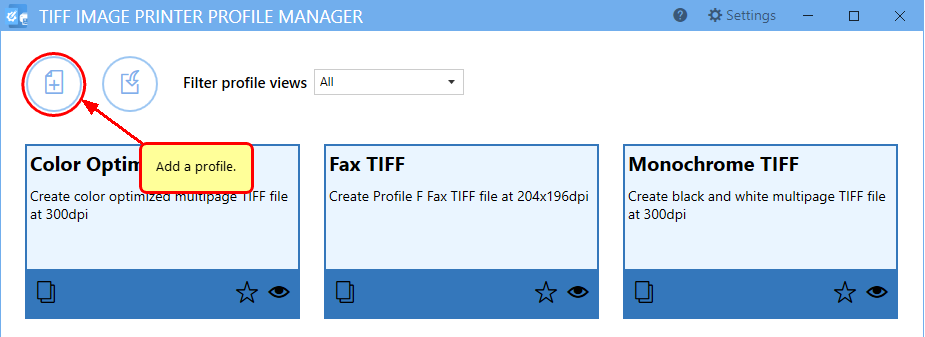
Select Add Profile and enter a name and description.
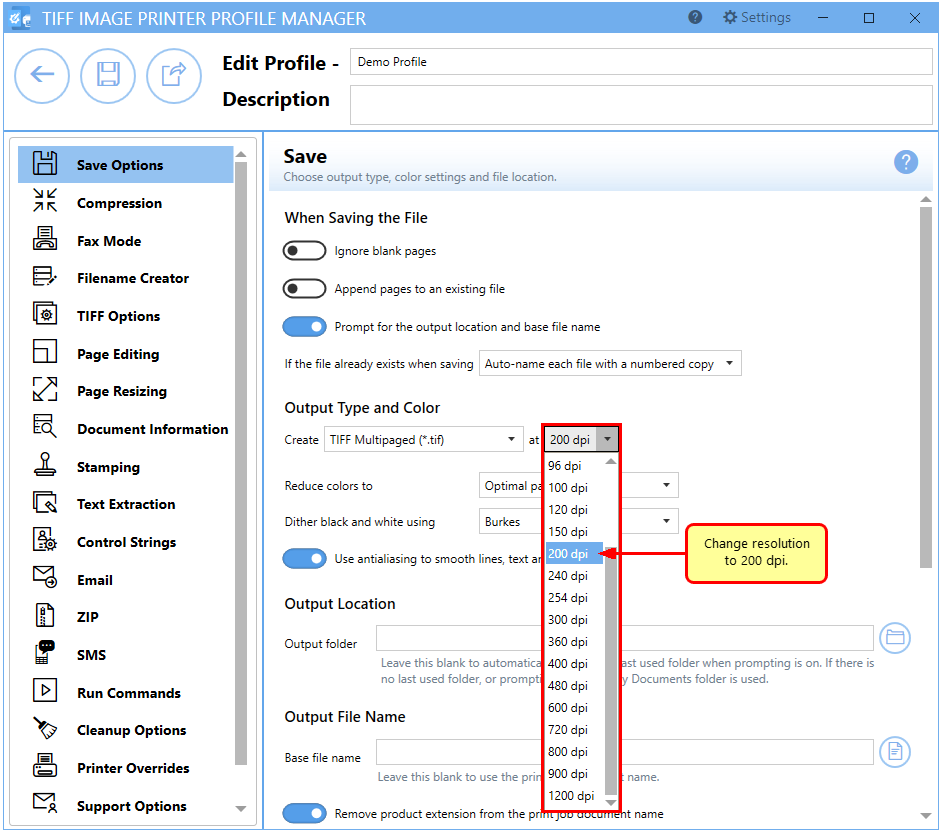
Change the Resolution from 300 dpi to 200 dpi.
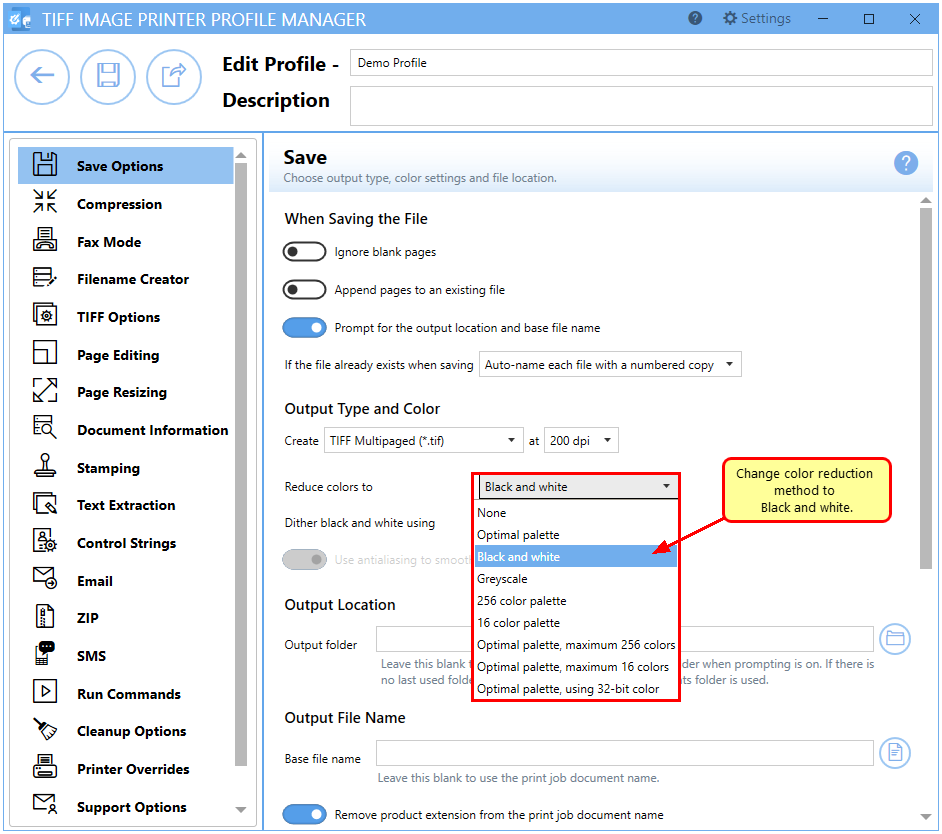
Change the Color Reduction from Optimal Palette to Black and White.
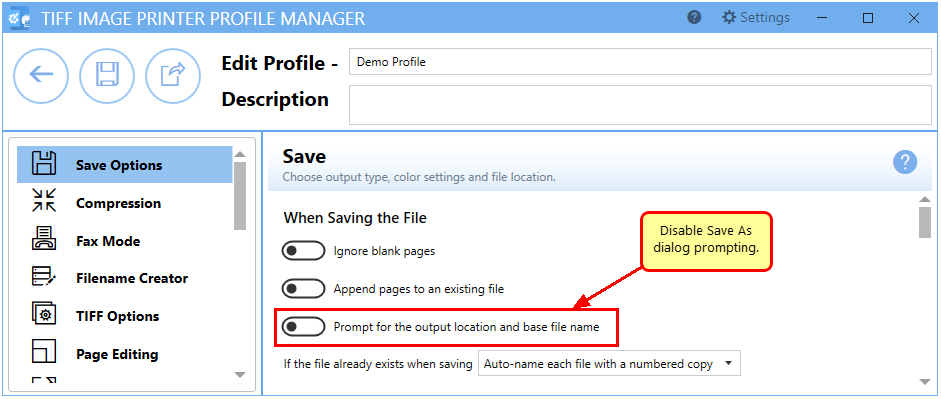
(Optional) If you do not want the printer to prompt for a file name each time you print, disable Prompt for the output location and base file name.
Click Save and Back, and then close the Profile Manager.
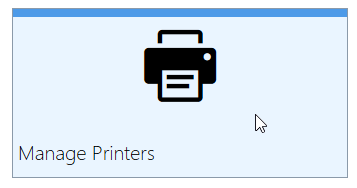
Select Manage Printers.
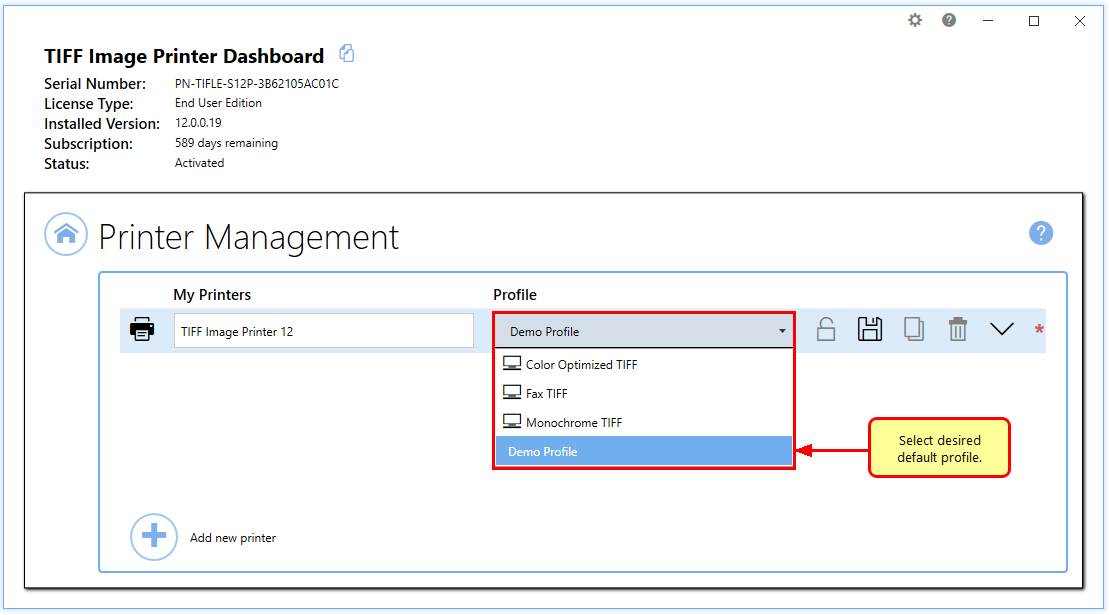
Choose your profile from the list to make it the default profile for TIFF Image Printer.
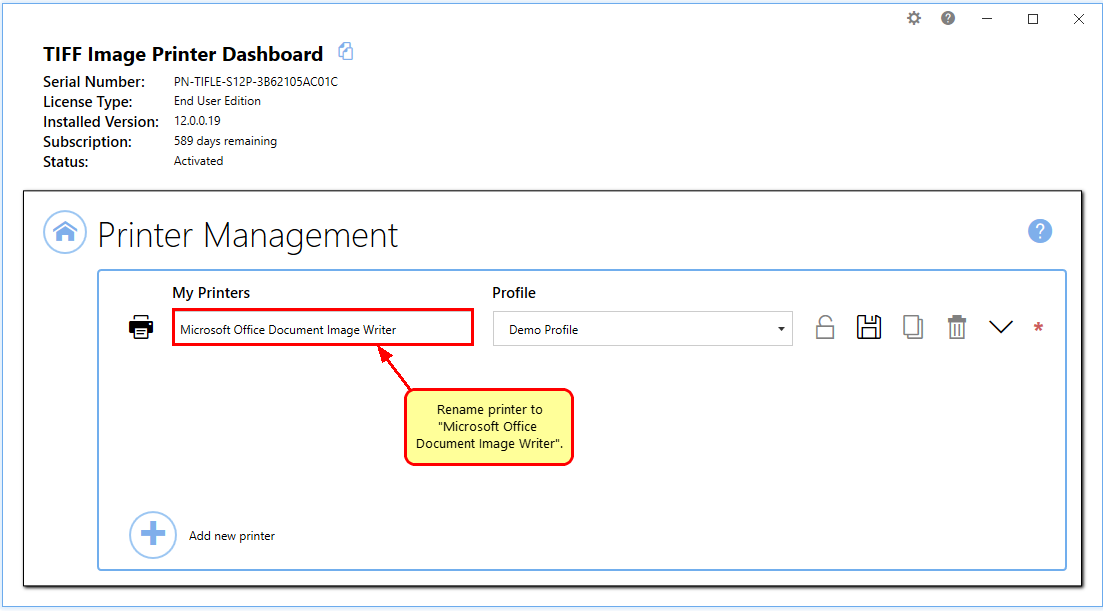
(Optional) Rename the TIFF Image Printer to Microsoft Office Document Image Writer.
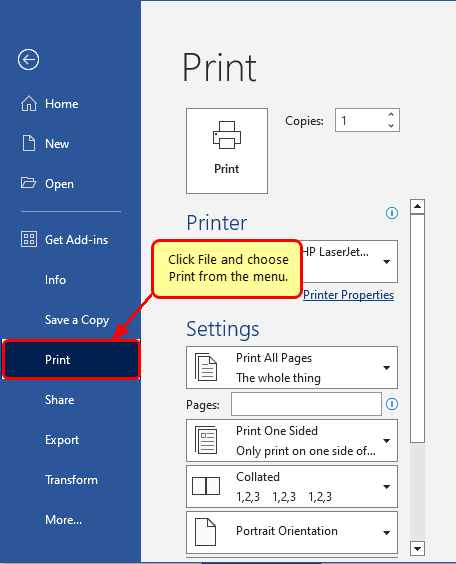
Open your file and then click File-Print from the application menu.
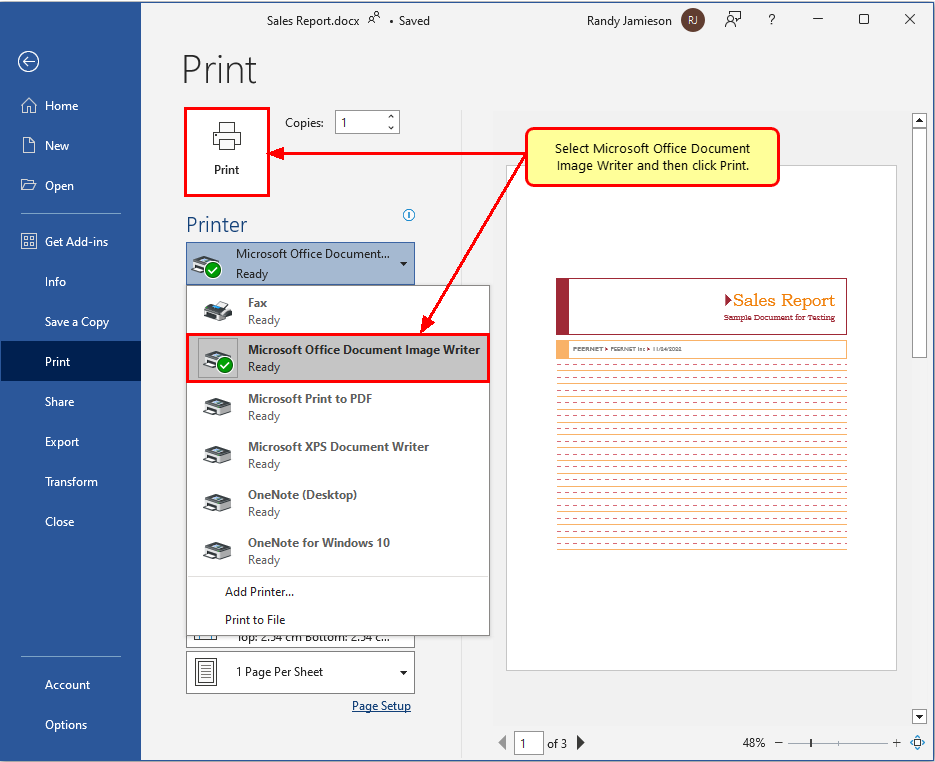
Choose Microsoft Office Document Image Writer (or TIFF Image Printer 12) from the list of printers and then click the Print button.
Now you have made a TIFF file with the same settings as those created by MODI.
