Add Text Watermark using Convert To PDF
Easily create PDF files with predefined or custom text watermark placed on each page of the PDF file. This, and other extra features not found in other PDF creator software products, make Convert To PDF an affordable solution for converting from any Windows application that supports printing.
Why Convert Files with Convert To PDF?
- Add predefined or custom text watermark
- Run program or command after PDF conversion completed
How to Add Watermark to PDF Files
- Download your free trial and install Convert to PDF on your computer. As a virtual printer, Convert To PDF can create PDF files simply by printing to Convert to PDF instead of your normal printer.
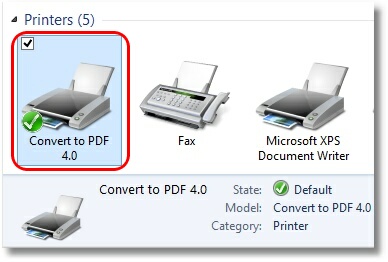
- Print your file to the Convert To PDF printer.
- On the creation wizard screen, select Watermark in the Category column on the left side.

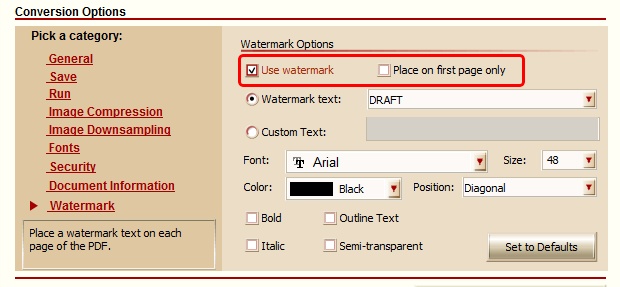
- Click “Use watermark” to enable the Watermark feature.
- If you want the watermark to only be on the first page of the PDF file, then click “Place on first page only“.
- You can either select “Watermark text” and pick from a group of predefined text watermarks or select “Custom Text” and enter the custom text you want placed on the pages of your PDF files (ie INTERNAL USE ONLY).
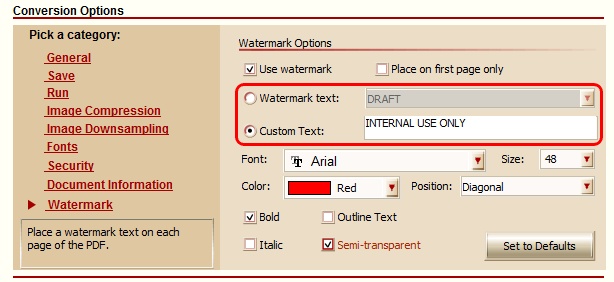
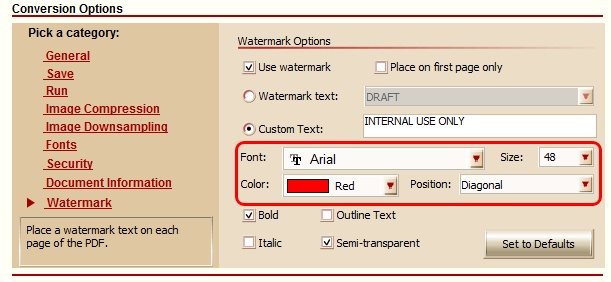
- You can modify settings like Font, Size, Color and Position of the watermark.
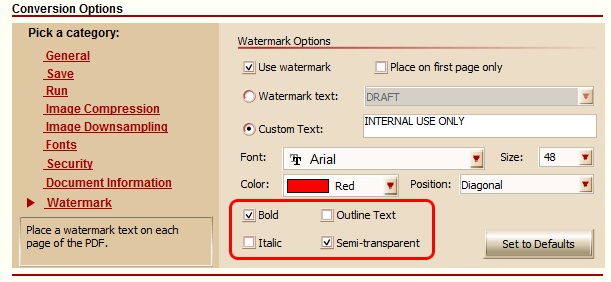
- You can apply effects such as Bold, Italic, Outline Text and Semi-transparent to the watermark.
- After you have selected the settings for your watermark, click the Start button to create your PDF file.

- The above settings creates the following PDF file.

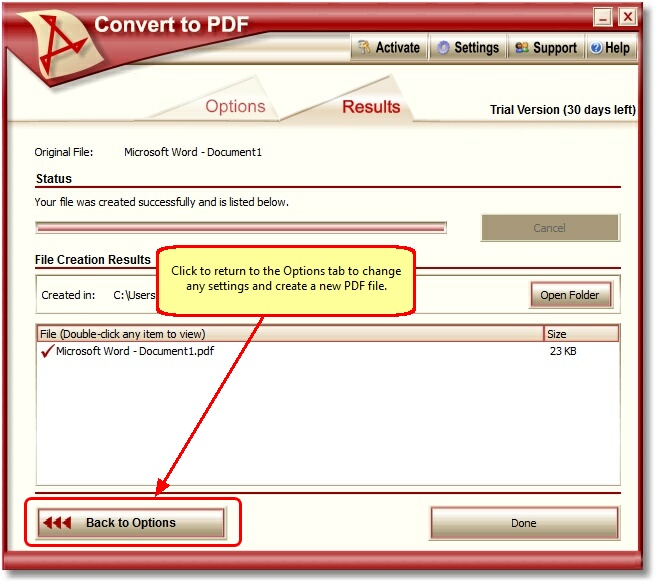
NOTE: If you wish to try different settings for the watermark, you can click the “Back to Options” button which allows you to change the settings on the Watermark screen and click the Start button to create a new PDF file with the new settings.
