Creating High Quality TIFF Images from a PDF File
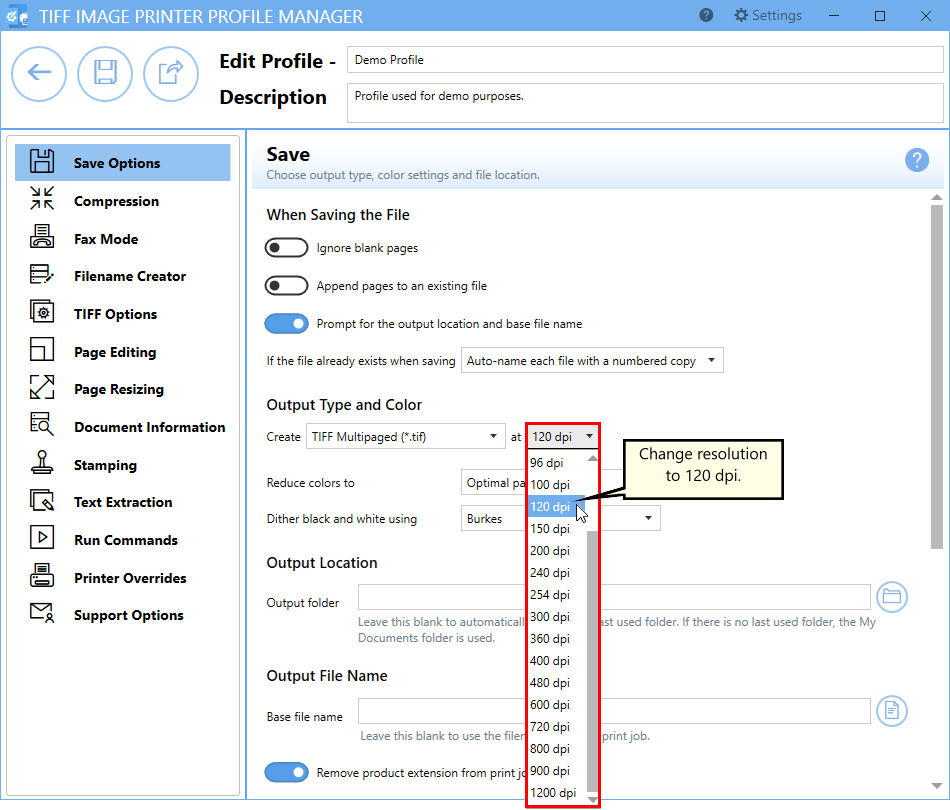
To get the quality of output you want and also keep the file size as small as possible during PDF to TIFF conversion, the resolution of the TIFF images needs to be set to 120dpi. This resolution is the closest match to the screen resolution Adobe uses to display the text, meaning the created image will be the closest possible match to how the PDF looks when viewed in Adobe.
The other issue affecting file size is the necessity of keeping the color in the image. To keep the color, but minimize the size of the file, the TIFF Image Printer’s color reduction option, Reduce to optimal palette, is used. This option works on a page by page basis and reduces the colors needed to store the image without affecting the quality of the image.
When converting PDF to TIFF, it all comes down to balancing the quality of the results and the file size in order to get images that meet your needs.
Steps for Creating High Quality TIFF Images from a PDF File:
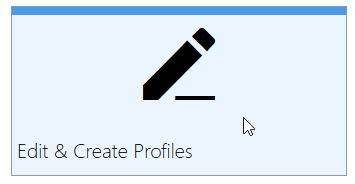
1. Double-click the TIFF Image Printer icon to launch the dashboard and select Edit & Create Profiles.

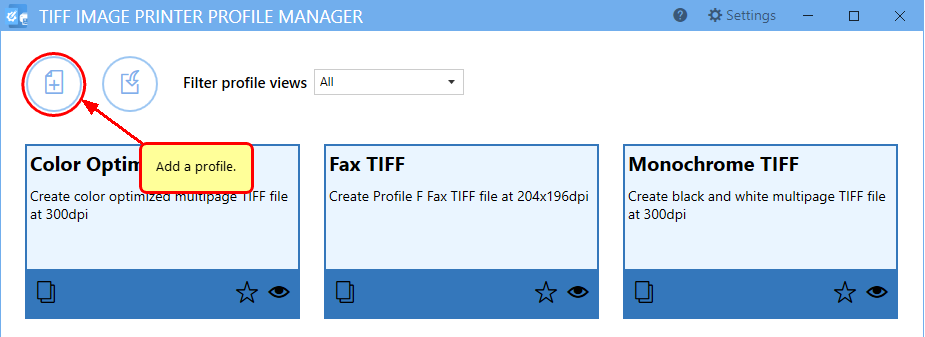
2. Select Add Profile and enter a name and description.
3. Change the Resolution from 300 dpi to 120 dpi.
4. Click Save and Back, and then close the Profile Manager.
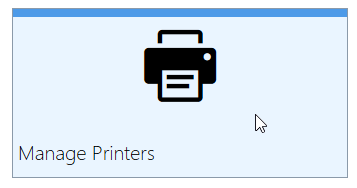
5. Select Manage Printers.
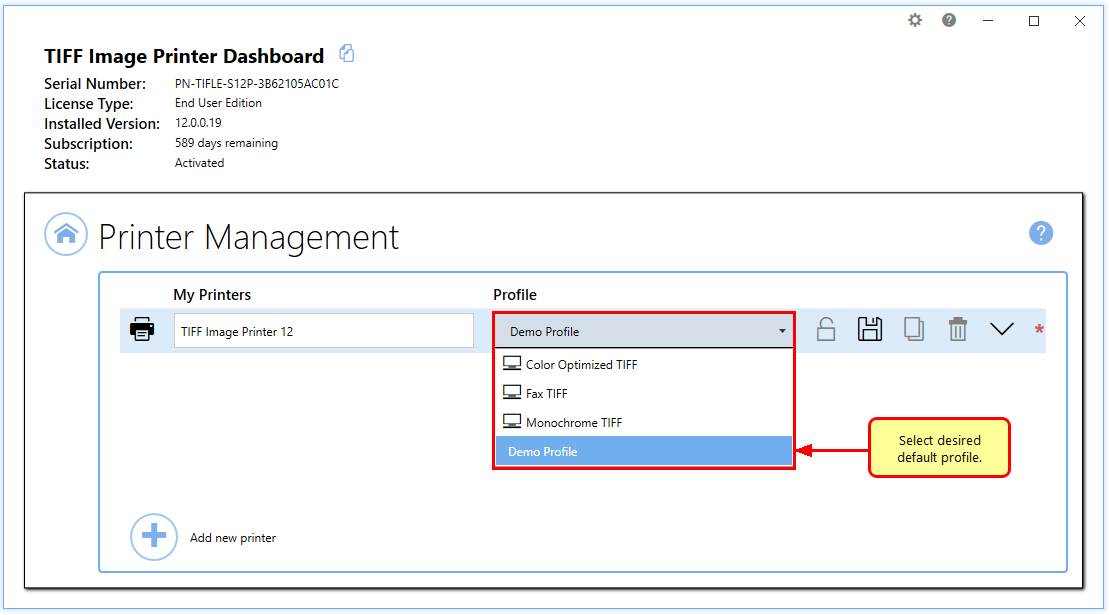
6. Choose your profile from the list to make it the default profile for TIFF Image Printer.
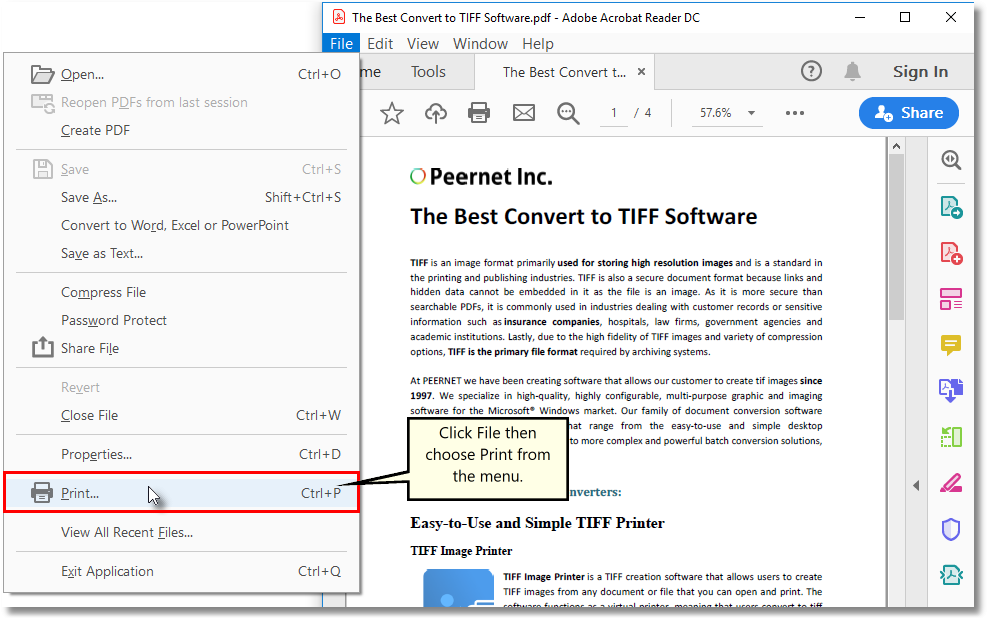
7. Open the PDF file and then click File-Print from the application menu.
8. Choose TIFF Image Printer 12 from the list of printers and then click the Print button.

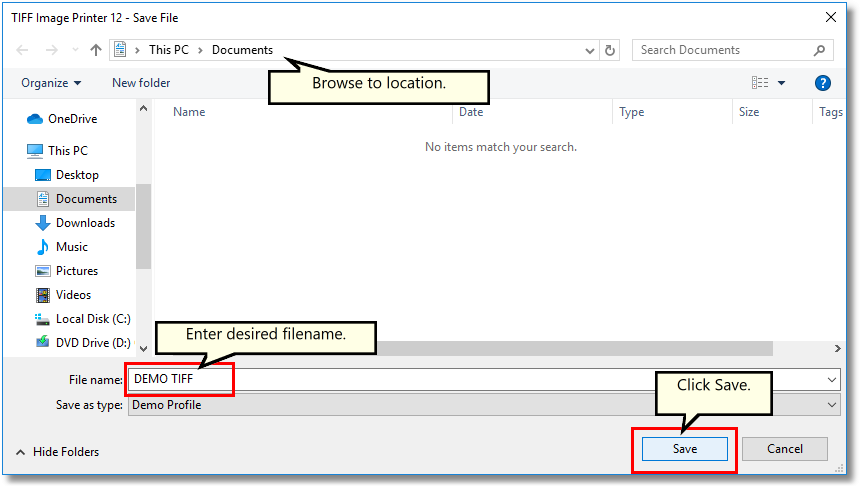
9. Enter the location and filename for the TIFF file and then click Save.
10. Now you have made a high quality TIFF Image while minimizing the file size.