Create a New Profile Settings File
TIFF Image Printer 12, Raster Image Printer 12, and PDF Image Printer 12 use Profiles, which are a group of settings, to create the output file you want. TIFF Image Printer comes with a few system profiles including: Color Optimized TIFF, Monochrome TIFF, and Fax TIFF. Raster Image Printer comes with a few system profiles including: Color Optimized TIFF, Monochrome TIFF, Fax TIFF, Adobe PDF, Serialized Color Optimized TIFF, Non-Searchable PDF, and Color Optimized JPEG. PDF Image Printer comes with a few system profiles including: Adobe PDF and Non-Searchable PDF.
You can also create your own personal Profile(s) with the settings you require.
Step by Step Instructions
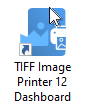
- Launch the Dashboard.
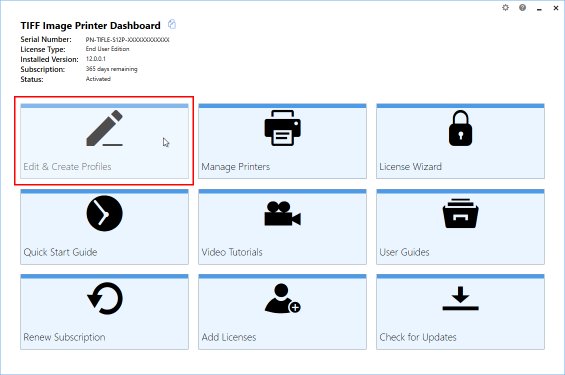
- Select “Edit & Create Profiles” to open Profile Manager.
- You can either create a copy of a system profile, if it has similar settings to what you require, by selecting “Create a copy of this profile”, or create a personal profile by selecting “Add a profile”.
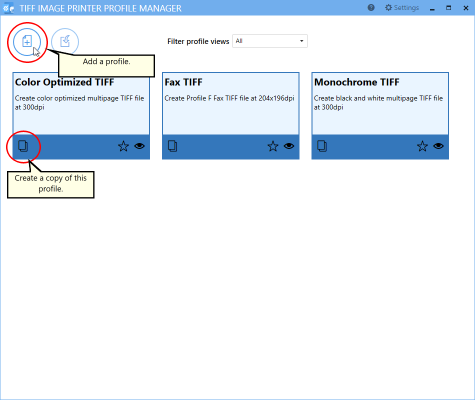
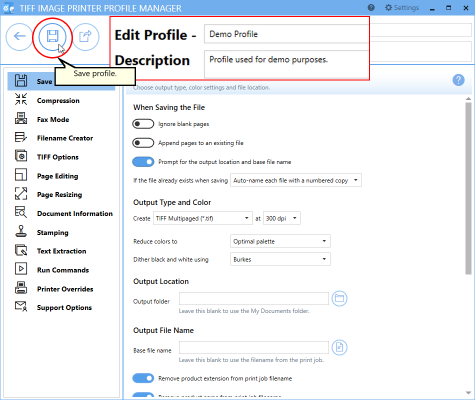
- Name the profile, add a description, and click Save.
- Go through the tabs and adjust the settings as desired.
- Click Save-Back, and close Profile Manager.
If you plan to use these settings regularly, you may wish to make this personal profile the default profile used by your image printer.
- Select “Manage Printers” to open Printer Management.
- Select the printer you wish to edit and use the Profile drop box to select your desired default profile.
- Select the Save icon to save changes.
- Select the Home icon to return to the Dashboard.
- Close the Dashboard. Now when you print your document to your image printer the settings saved in this profile will be applied to the output file.

