The steps below demonstrate using the Email tab to send an email with Outlook. The created files will be zipped and attached to the email, and then automatically deleted using the Cleanup Options once finished.
When using Outlook the application must be installed and an email account configured. Emails sent using Outlook can be sent silently or can prompt with the default email window.
An Outlook email template may be used to set up the initial content of the email fields From, To, CC, BCC, Subject, and Body. Addresses entered in the To, CC, and BCC fields are added to any address in the template. Text entered for the Subject and Body fields on the email tab settings will override the Subject and Message contents in the template.
The message body entered can be multi-line and formatted using tabs. For advanced users and programmers automating the printer, environment variables and registry keys and run command macros can be used in Outlook template path, the From (SMTP Only), To, CC, and BCC email fields and the subject line and message body.
Step by Step Instructions
1.Launch the TIFF Image Printer Dashboard.
2.Select "Edit & Create Profiles" to open Profile Manager.
3.Select "Add a profile" to create a personal profile, or create a copy of one of our system profiles.
4.Name the profile, add a description, and click Save.
5.On the Email tab, under Use this mail service, select Outlook.
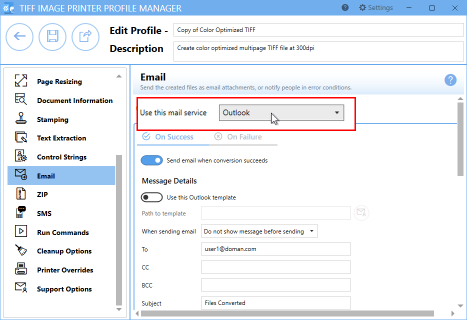
6.Enable Send email when conversion succeeds.

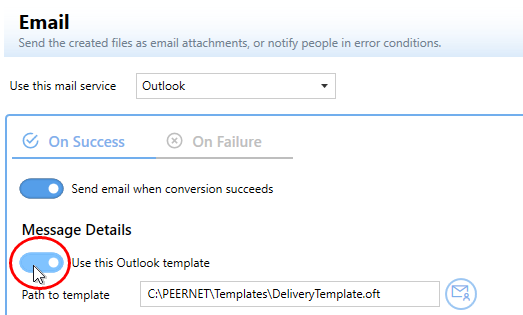
7.There is an option to use an Outlook template. If you wish to used an Outlook template, enable Use this Outlook template and select the mail icon to browse to your desired Outlook template. The content of the Outlook template will be used as the Message Details (To, CC, BCC, Subject, Message). Any recipients (To, CC, BCC) entered here are added to the template. Any Subject or Message content here will replace what is in the Outlook template.
| *A folder named Templates has been provided in the product installation folder (C:\Program Files\TIFF Image Printer 12\Templates). Any Outlook templates used for emails can be placed here. When using a template from this folder, the location of the template is stored in the profile using a macro. This allows the template and profile to be deployed and to work on any computer, no matter where the product is installed. |
8.If you are not using an Outlook template, the Message Details parts To (or CC, BCC), Subject, and Message are required.
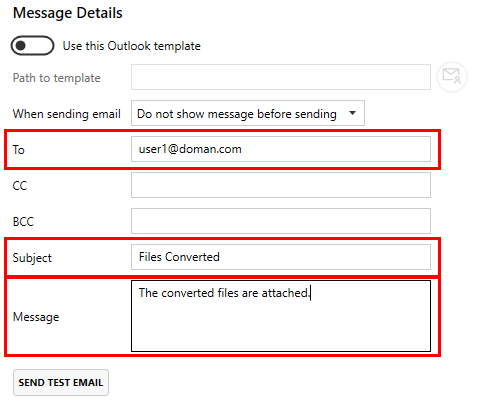
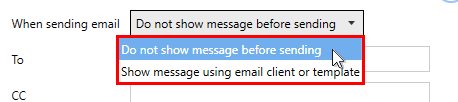
9.Select whether to Show message using client or template or Do not show message before sending. This setting will determine if you will be prompted before the email is sent or if the email will be sent silently.
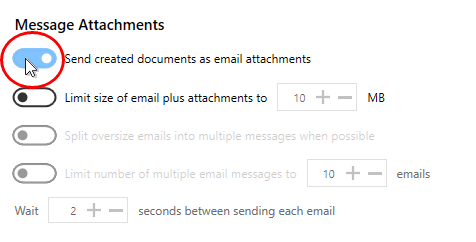
10.By default, the email settings are configured to send created documents as email attachments. There are additional settings options to limit the size of the email, split oversized emails, and limit the number of emails sent at once. See the Email section for more details.
11.To ZIP the created documents before attaching to the email, enable ZIP the files before attaching to the email.
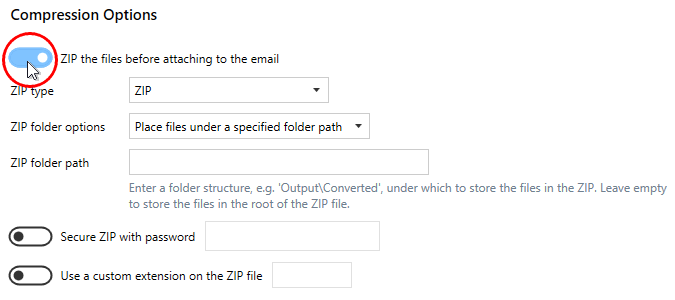
12.Select your desired ZIP folder option and enter your desired ZIP folder path if required. If the ZIP folder path is left empty, the files will be stored at the root of the ZIP file.

13.There are also options to add a password to the ZIP file and to use a custom extension.
14.To automatically delete created documents after sending, go to the Cleanup Options tab.
15.Enable Delete generated output files and select on success.

16.Click Save-Back, and close Profile Manager.
If you plan to use these settings regularly, you may wish to make this personal profile the default profile used by TIFF Image Printer.
i.Select the printer you wish to edit and use the Profile drop box to select your desired default profile.
ii.Select "Manage Printers" to open Printer Management.
iii.Select the Save icon to save changes.
iv.Select the Home icon to return to the Dashboard.
17.Close the Dashboard. Now when you print your document to TIFF Image Printer, you will receive an email notification after successful conversion with the created document attached as a zip file. The created files will automatically be deleted.