This section contains information on how to use the Printer Management utility. Printer Management allows users to rename Raster Image Printer, assign the default Profile used by Raster Image Printer, create a copy of Raster Image Printer, and add a new Raster Image Printer.
➢Printer Management and User Permissions
➢Change Default Profile Assigned to Printer
➢Lock Shared Profile to Printer

Printer Management
To launch Printer Management:
1.Begin by opening the Dashboard (double-click the Raster Image Printer icon on your desktop or select Raster Image Printer 12 from the Start menu).
2.Select "Manage Printers" to open Printer Management.
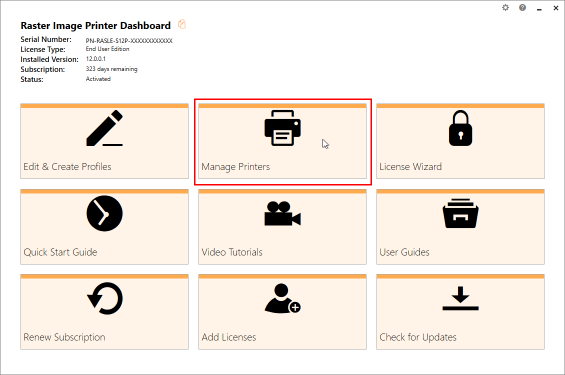
On launch, Printer Management will show you all of the existing printer(s), the name of the printer(s), and the default profile currently assigned to each printer. If Raster Image Printer has just been installed, there will only be one printer listed with the name Raster Image Printer 12, and the default profile will be set to Color Optimized JPEG.