Raster Image Printer uses Profiles, which are a group of settings, to create the output image you want. Personal profiles are created and edited through the Profile Manager utility. Users can select their desired profile either using the Printer Management utility or on the fly during the printing process on the Save As dialog. In the Working with Raster Image Printer section, which contains step-by-step instructions demonstrating how to use Profile Manager to enable and configure specific settings in order to create personal profiles, each topics concludes by recommending users that plan to use those settings regularly set their personal profile as the default profile used by Raster Image Printer.
By default, the profile assigned to Raster Image Printer 12 will be Color Optimized JPEG, meaning that when the user prints to Raster Image Printer, the settings stored in this default profile will automatically be applied to the output file. The default profile used by a printer can be changed to either another one of the system profiles that come with Raster Image Printer or to one of your personal profiles.
Step by Step Instructions
1.Launch the Raster Image Printer Dashboard.
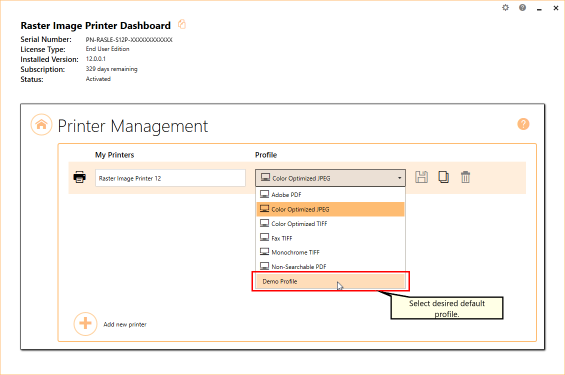
2.Select "Manage Printers" to open Printer Management.
3.Select the printer you wish to edit and use the Profile drop box to select your desired default profile.
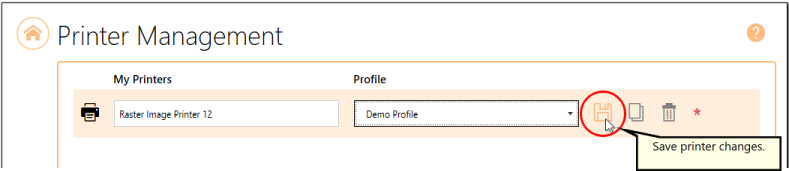
4.Select the Save icon to save changes.
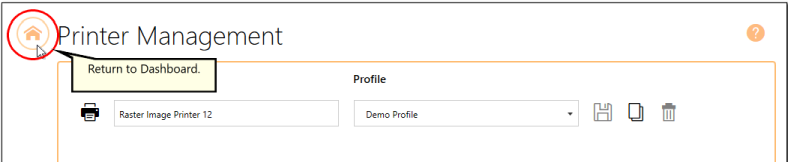
5.Select the Home icon to return to the Dashboard.