Like the system profiles, a shared profile can be used by any user on the computer.
Shared profiles are created by converting a personal profile into a shared profile. Shared profiles are the only type of profile that can be locked to a printer, useful when needing to force a printer to customized settings and prevent users from choosing different settings.
Step by Step Instructions
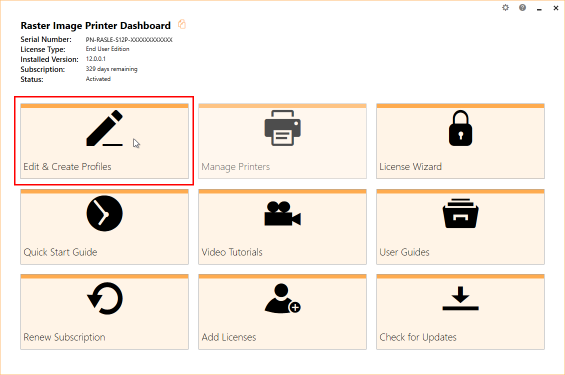
1.Launch the Raster Image Printer Dashboard.
2.Select "Edit & Create Profiles" to open Profile Manager.
3.You can either create a copy of a system profile, if it has similar settings to what you require, by selecting "Create a copy of this profile", or create a personal profile by selecting "Add a profile".

4.Name the profile, add a description, and click Save.
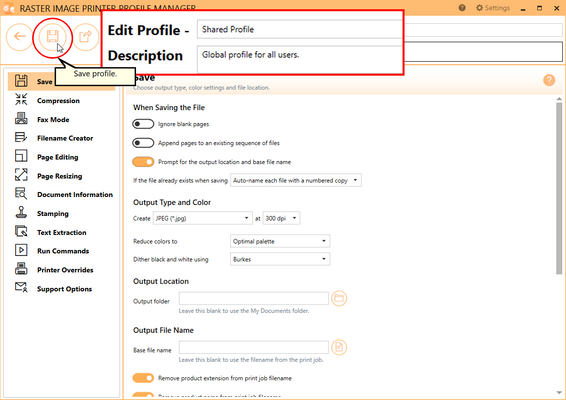
5.Go through the tabs and adjust the settings as desired. The subsequent topics in the Working with Raster Image Printer section provide detailed instructions on how to adjust the settings in your personal profile to create different types of images/files.
6.Click Save-Back, and return to the tiles view of the Profile Manager.
7.On the tile for your new profile use the share profile icon to convert this to a shared profile.
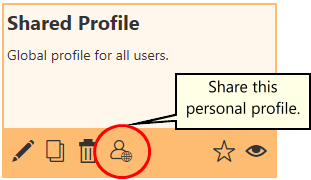
8.This action will convert the personal profile into a shared profile. It will change from the lighter colored tile to one with a gray border.
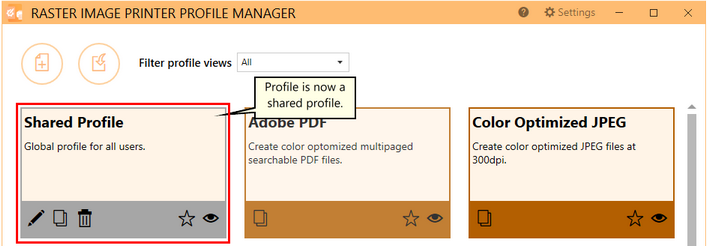
9.This shared profile is now accessible to anyone who logs into this computer. It can also be used to enforce settings on a printer by following the steps in Lock Shared Profile to Printer.