With PDF Creator Plus you create PDF files by first printing the desired document to the PDF Creator Plus 8 printer driver from any Windows application.
1.Open the file you want to send to PDF Creator Plus. For example. if you want to send a Microsoft® Word document you will need to open the document in Microsoft® Word.
2.Click File - Print (or use the application-specific Print command).
3.Select PDF Creator Plus 8 as the name of your printer.
4.Set any print properties as desired and click OK or Print to print the document.
5.When the pages have been printed to, PDF Creator Plus's PDF builder application will launch and display the pages of your document.
From here, you can then work with the pages in the PDF builder application. You can insert, delete, rearrange, rotate, and add annotations to the pages of the file. If you want to add pages from another document follow the steps in Add Pages to a Project Using the Printer Driver.
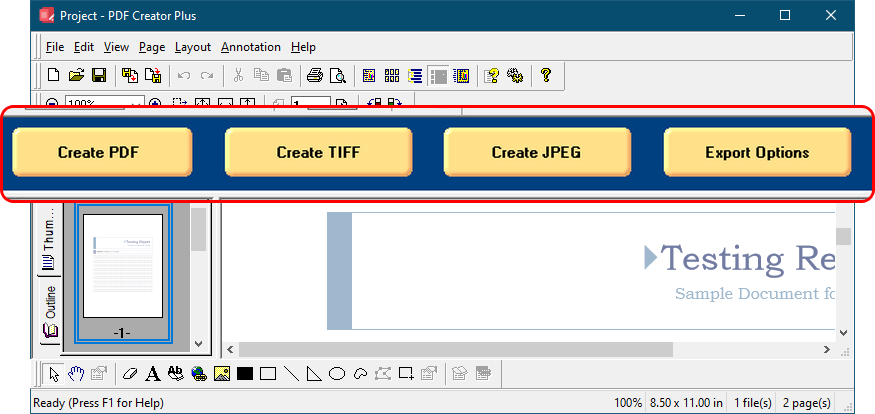
When you are done, you are ready to create your file. The three most common file formats are readily available from the Create PDF, Create TIFF and Create JPEG buttons in the Task window at the top of the PDF builder application.
•Creating a Searchable Adobe® PDF File
You can also save the file as a PDF Creator Plus project file, a .pnp file, to work with later if you wish.