|

Creating a JPEG Image
JPEG files are a serialized file format. A separate JPEG file will be created for each page in the project. The individual file names will be appended with a number corresponding to the project page number. Choosing JPEG output for a two-page project file as MyJPG will create two files, MyJPG_0001.jpg and MyJPG_0002.jpg
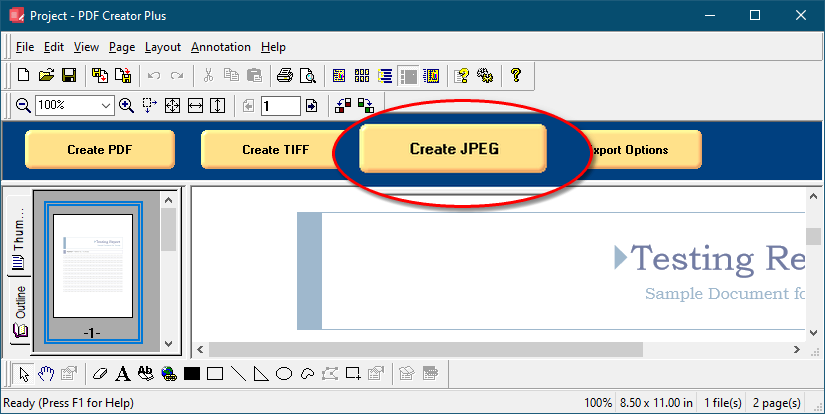
1.Open the file you want as a JPEG image and print it to the PDF Creator Plus 8 printer. This will send the pages to PDF Creator Plus's PDF builder application which is used to preview the pages, add new pages and annotate the pages. You can also open an existing PDF Creator Plus project ( .pnp file) you have previously saved.
2.The Create File dialog will appear.
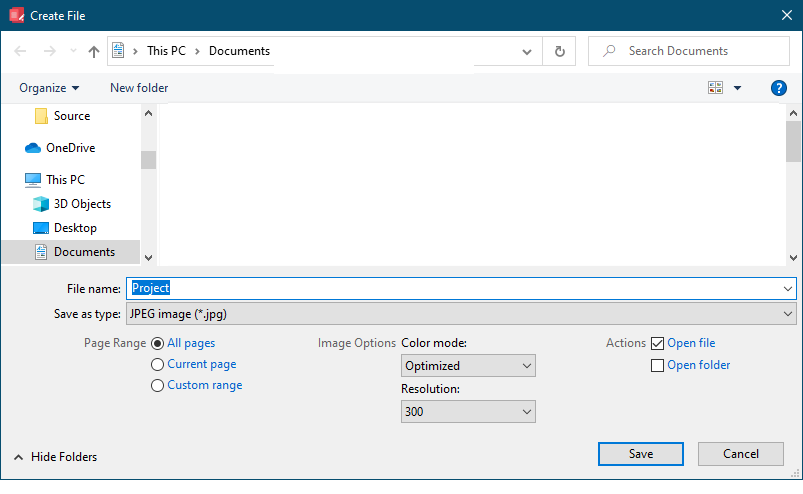
•Browse to the location where you wish to save the JPEG image files and enter the file name for your new JPEG files.
•Make sure the Save as type is set to JPEG image (*.jpg).
•The Page Range options allow you to select a subset of pages that would be converted to JPEG image files.
•The Color mode and Resolution options are explained in more detail below.
•Use the Actions section to automatically open the created image or the folder where you are saving the images.
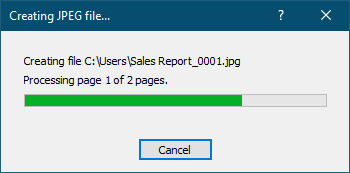
4.Press the Save button to create your JPEG files. A progress dialog will appear as the files are being created. The progress dialog will close when all the files are created. The new files can now be opened in your favorite image viewer.
Changing the JPEG Color Options
There are three color options for creating JPEG files. They can be changed from the Color Mode drop list in the Output Options section of the Create File dialog.
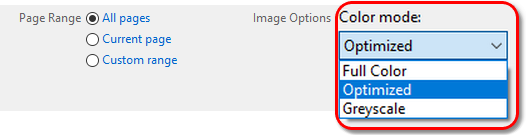
Color Options |
Description |
Full Color |
Produces true color output using a palette of up to 16 million colors. |
Optimized |
Automatically reduces each page in your document to the fewest number of colors possible without affecting output quality. Depending on the number of colors in the page, the individual pages will be saved as black and white, 256 colors, or true color. |
Greyscale |
Creates images using a palette of 256 different shades of grey. |
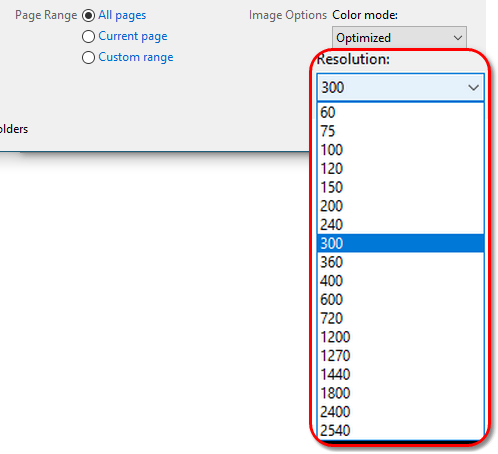
Changing the JPEG Image Resolution
The resolution of the JPEG file can be changed using the Resolution drop list. The resolutions available to be chosen range from 60 DPI (dots per inch) to 2540 DPI. A higher resolution will produce a better quality image, but also a larger file.
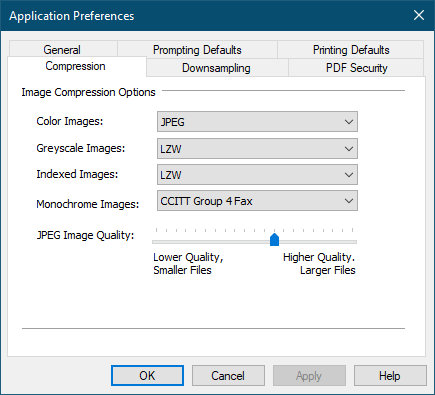
Changing the JPEG Image Compression
A JPEG image can only be compressed using JPEG compression, which is a lossy compression algorithm. Designed for use on photographs, it works best on images with lots of colors as the algorithm removes unneeded colors from the image. JPEG compression uses an image quality factor to determine how much to compress the file. A higher image quality will create a better looking image but a larger file. Reducing the image quality can degrade the image but also creates a smaller file.
It is the JPEG compression image quality setting that determines what level of compression to use. JPEG compression is a lossy compression method, meaning the more compressed the image the lower in quality the image The compression be used for color, greyscale, indexed and monochrome images. Not all compression methods are applicable to all color modes; see Compression Preferences for more information.
Compression options are controlled through the Compression tab on the Applications Preferences dialog. Open this dialog by clicking Edit – Application Preferences in the application menu or the Applications Preferences ( ) toolbar button.
The JPEG Image Quality slider control at the bottom of the tab controls the image quality factor. Any JPEGs created, or any TIFF images creates using JPEG compression, will use this setting.