The hyperlink annotation allows you to create jump points in the project. A hyperlink can jump to a web address, a file on disk, or to a location, called a bookmark, inside the project. When a PDF file is created from this project, these links are maintained inside the PDF document.
1.Go to the page in the project where you want to place a hyperlink. Select the Hyperlink annotation tool.

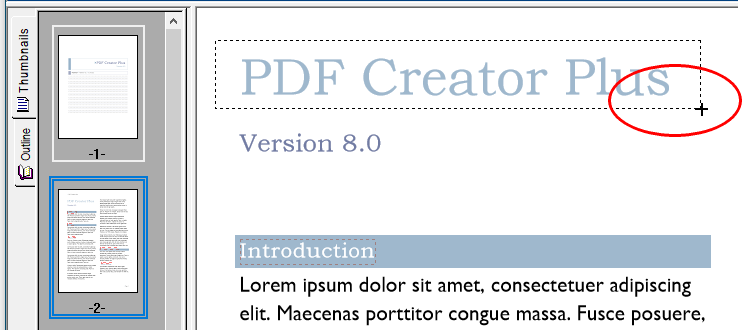
2.The cursor will change from the mouse pointer to a small cross hair (+). Click and hold the left mouse button while you drag to create a rectangle around the area on the page that you want to represent the hyperlink.
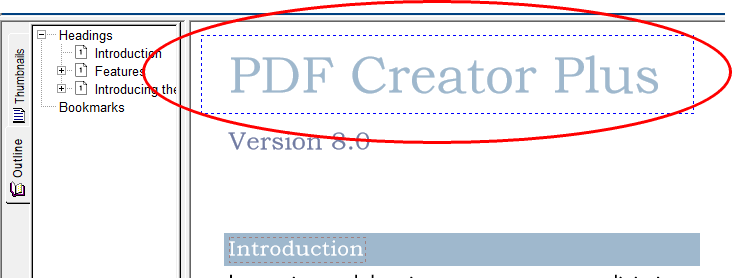
3.Release the mouse button when you are done. Hyperlinks are shown outlined with a blue dotted rectangle. This rectangle is shown only on the screen to make seeing the hyperlink annotation area easier; it is not included when the page is printed or used to create a PDF, TIFF or any other type of file.
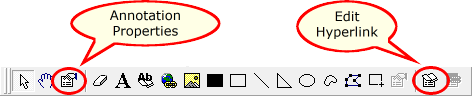
4.You can change the properties of the Hyperlink through the Hyperlink properties dialog, accessible from the Annotation Properties or the Edit Hyperlink toolbar button. See the section Hyperlink Properties for a full description of this dialog box and its options.
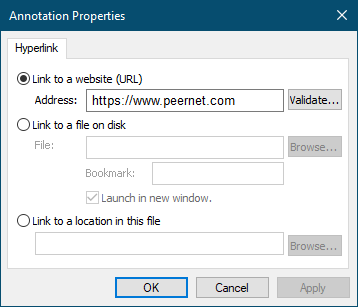
5.To set the hyperlink to link to a web address, choose Link to a website (URL) and enter the desired web address.
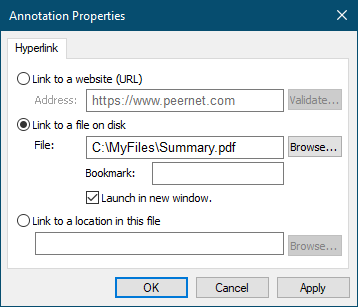
6.To set the hyperlink to link to an external file, choose Link to a file on disk and type in the filename. The Browse button can be used to quickly navigate to the file on disk. If you are linking to a PDF file, you can even specify a named bookmark within the PDF file to jump to when the document is opened.
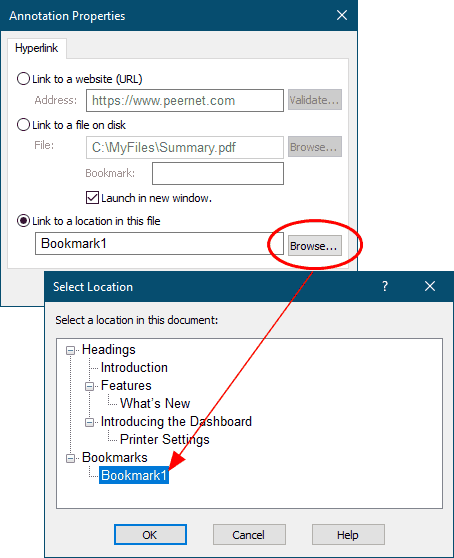
7.To set the hyperlink to link to an internal location within the current PDF Creator Plus project, choose Link to a location in this file. Click the Browse button to launch the Select Location dialog to choose from the headings and bookmarks available in the project.