The steps below demonstrate using the ZIP tab to compress the created files into a new ZIP file, and then automatically delete them using the Cleanup Options once the ZIP file is created.
Step by Step Instructions
1.Launch the Raster Image Printer Dashboard.
2.Select "Edit & Create Profiles" to open Profile Manager.
3.Select "Add a profile" to create a personal profile, or create a copy of one of our system profiles.
4.Name the profile, add a description, and click Save.
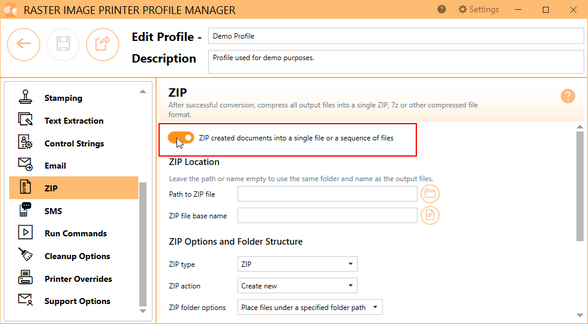
5.On the ZIP tab, enable ZIP created documents into a single file or a sequence of files.
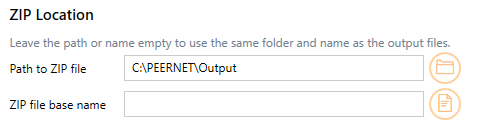
6.Leave the ZIP Location fields blank to create the ZIP file in the same location as the output files, and with the same name, or choose a new location and different name.
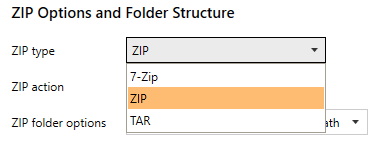
7.In ZIP Options and Folder Structure, select the type of ZIP file you want to create - ZIP, 7z, or TAR.
8.For ZIP actions, select Create new to create a new ZIP file each time.

9.Select your desired ZIP folder option and enter a ZIP folder path if required. These options determines how the files are stored inside the ZIP file. When Place files under a specified folder path is selected and the ZIP folder path is left empty, the files will be stored at the root of the ZIP file. See the ZIP tab for more details about the folder options.

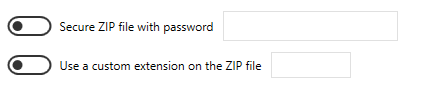
10.There are also options to add a password to the ZIP file and to use a custom extension.
11.Lastly, if you are dealing with very large files, or a large number of serialized files, you can configure the ZIP file to automatically split into multiple files when a size limit is reached.

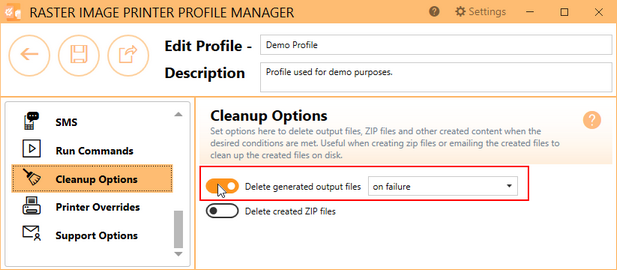
12.To automatically delete created documents after sending, go to the Cleanup Options tab.
13.Enable Delete generated output files and select on success.
14.Click Save-Back, and close Profile Manager.
If you plan to use these settings regularly, you may wish to make this personal profile the default profile used by Raster Image Printer.
i.Select the printer you wish to edit and use the Profile drop box to select your desired default profile.
ii.Select "Manage Printers" to open Printer Management.
iii.Select the Save icon to save changes.
iv.Select the Home icon to return to the Dashboard.
15.Close the Dashboard. Now when you print your document to Raster Image Printer, you will end up with all of the created documents in a zip file. The created files will automatically be deleted.