|

1.Select the Polygon tool ( ) from the Annotations toolbar.

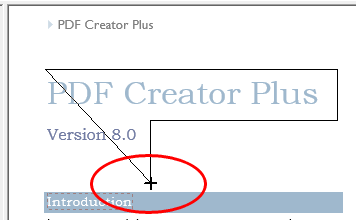
2.The cursor will change from the mouse pointer to a small cross hair cursor (+). Click and hold the left mouse button while you drag to create the first line segment of the polygon. Release the left mouse button when the first line segment is the length you want. Move to the next location and left-click once to add a new line segment.
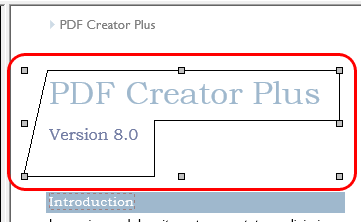
3.Repeat adding segments until you have your desired polygon shape. Double-click the left mouse button to finish the polygon. You can also use the gray sizing handles on the sides and corners of the annotation to change polygon later.
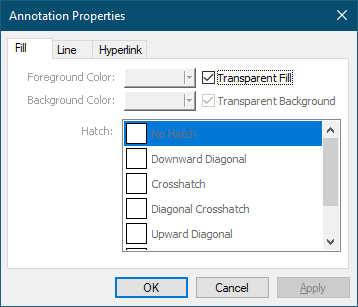
4.A polygon defaults to a transparent fill with a solid black border. With the polygon selected, press the Enter key or select the Annotation Properties ( ) toolbar button to edit the properties of the polygon.
5.The Annotation Properties dialog will appear showing the properties that are available to be edited for a polygon. If you change a property, the Apply button in the lower right corner will become enabled. By clicking this button, the changes you have made will be temporarily applied to the annotation on the page. To keep the changes, click OK. Clicking Cancel will abandon the changes and return the annotation back to its original state.