Advanced Options Crop

Contents
Cropping is analogous to scissors that cut away sections of paper; in this case, File Conversion Center removes portions of the image and leaves a remaining visible area that is smaller than the original. To have File Conversion Center automatically crop margins, see the Advanced Options - Trim and Rotation feature.
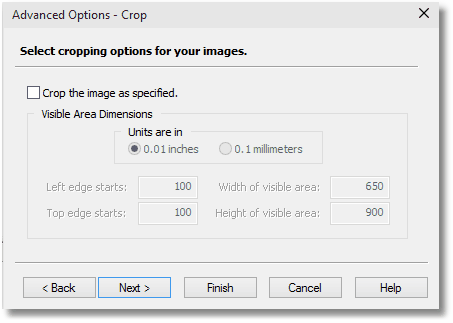
Crop the image as specified
Select this checkbox to enable the cropping feature.
Units
Allows you to choose what unit of measure to use when entering the cropping area. You can choose between one-hundredths (0.01) of an inch, or in tenths (0.1) of a millimeter.
Size of Cropped Area
The following properties allow you to specify the remaining size of the cropped area, or the visible area.
•Left edge starts / Top edge starts - enter the left and/or top edge of the document where the remaining visible area begins
•Width of visible area / Height of visible area - enter in the width and height of the remaining visible area.
|
Note |
This screen will only appear if you have set the Intended File Use as Custom Use and selected the Enable Advanced Options checkbox. If these options have not been chosen, this screen is skipped. |
|
Sample Use of the Cropping Feature
To remove the 1-inch page margins of 8.5x11 inch document, you can do the following:
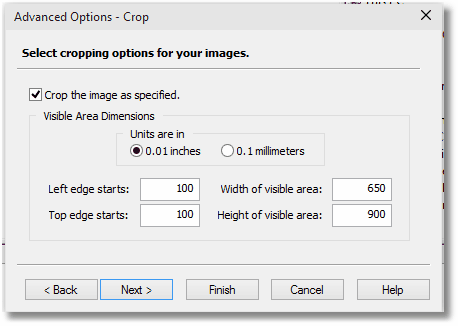
1.Enable the cropping option by checking the Crop the image as specified checkbox.
2.Set Units as 0.01 inches.
3.Enter 100 (one inch) for both the Left edge starts and the Top edge starts setting.
4.Enter 650 (six and one-half inches) for the Width of visible area setting.
5.Enter 900 (nine inches) for the Height of visible area setting.