Accessing a comma-separated value (CSV) database

Contents
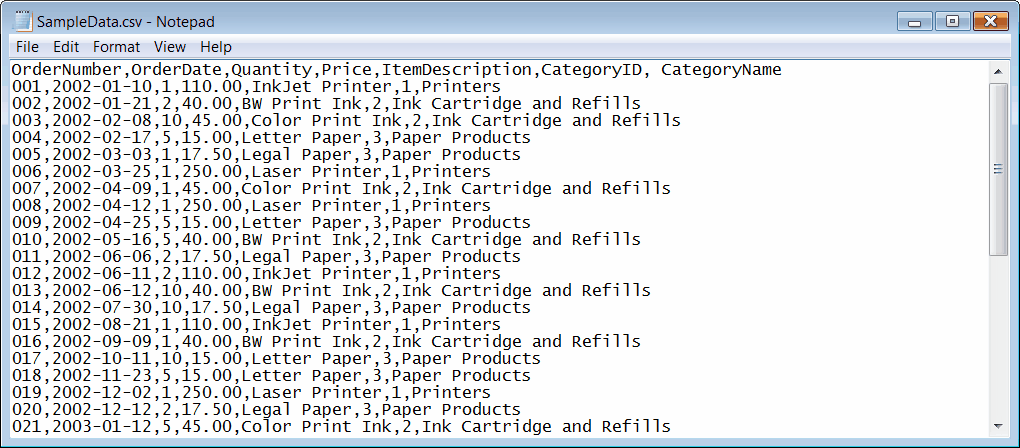
A comma-separated value database is a text file of values separated by commas. The comma is often referred to as a delimiter. The tab character is also commonly used as a delimiter, and other custom delimiters can be specified. The same delimiter must be used throughout the file.
The text file consists of an optional header line and zero or more lines of delimited text. With the exception of the header line, if present, each line of text in the file constitutes one row of data in the database. The driver interprets any header line as column names, not as data.
CSV database specifications:
•Tables are limited to a maximum of 255 fields.
•Field names are limited to 64 characters.
•Field widths are limited to 32,766 characters.
•Records are limited to 65,000 bytes.
•A text file can only be opened for a single user; multiple users are not supported.
•No blanks can occur before or after delimited values.
•Two delimiters in a row with no data between them denote null data values.
•Character strings in a delimited text line can be enclosed in double quotation marks (""), but it is not a strict requirement.
•A custom delimiter can be used instead of a comma or a tab. Any single character can be a custom delimiter, with the exception of double quotation marks ("").
•Dates in the file can be in the format "dd-mmm-yy", "mm-dd-yy", "mmm-dd-yy", "yyyy-mm-dd", or "yyyy-mmm-dd" where “mm" denotes numbers for months and "mmm" denotes letters for months.
The following steps will guide you through setting up an ODBC data source link to a comma-separated value file, and using that file as a table in PEERNET Reports Designer.
The data source link set up through ODBC is not bound to a single file, but can be used to open any CSV database file that follows the same format as the file used to create the link.
Note that the sample project Chapter06_ODBC_CSV.pnj and the sample database SampleData.csv are used in the following procedure. You can access this project by clicking File – Open Project in the application menu, then enabling the Open a sample project option.
Note that steps 1 - 3 are applicable only if you are running a 32-bit operating system. If you are running a 64-bit operating system (such as Windows Vista or Windows XP-64), you will need to access and run the 32-bit ODBC administration application, which is not available from the Control Panel. The 32-bit ODBC administration application is called odbcad32.exe and can be found in the C:\Windows\SysWOW64 directory.
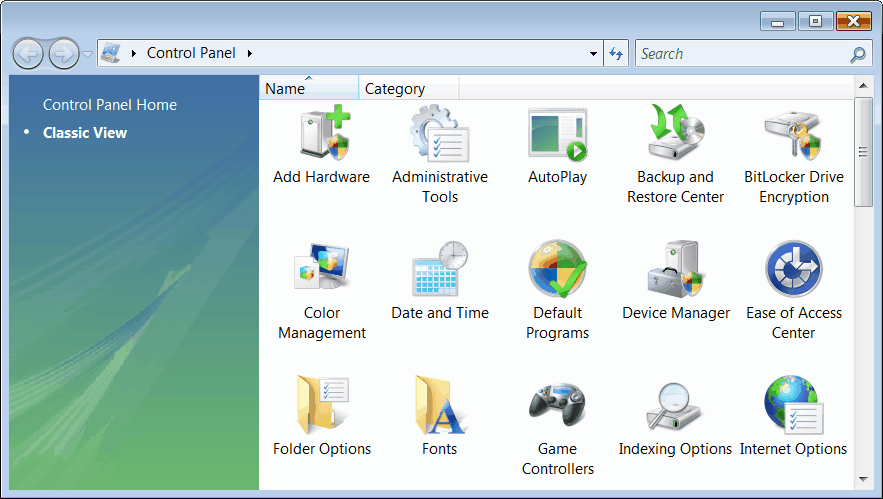
1.Click the Start menu – Settings – Control Panel to display the Control Panel window.
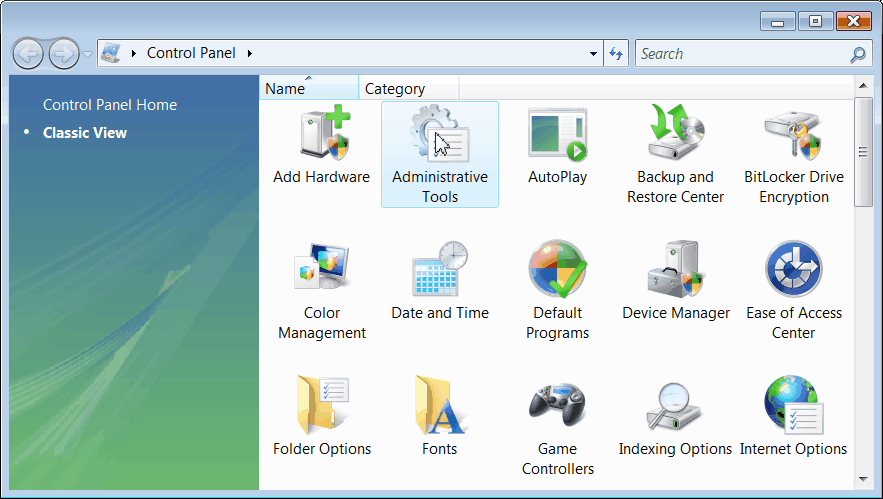
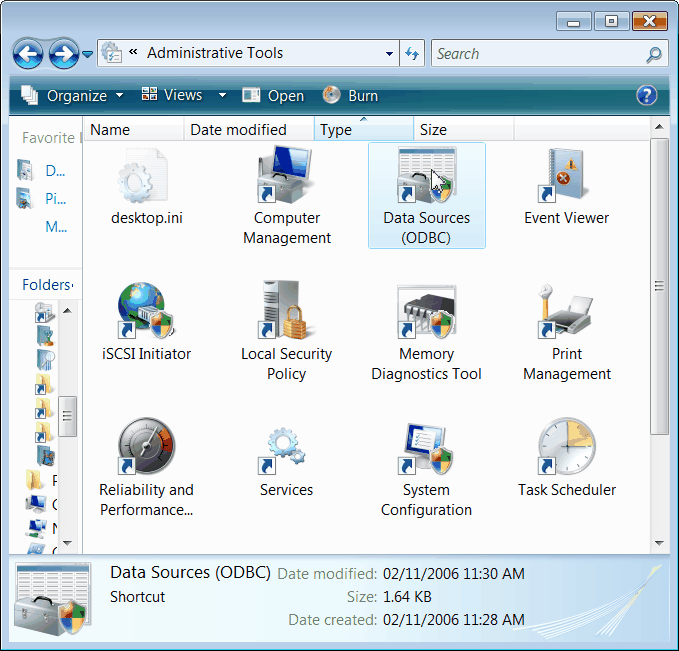
2.Double-click the Administrative Tools icon. This will display the Administrative Tools window.
If you are running a version of Microsoft Windows previous to Windows 2000, double-click the icon labeled ODBC Data Sources (32-bit), and skip to Step 4.
3.From the Administrative Tools window, double-click the Data Sources (ODBC) icon to display the ODBC Data Source Administrator application.
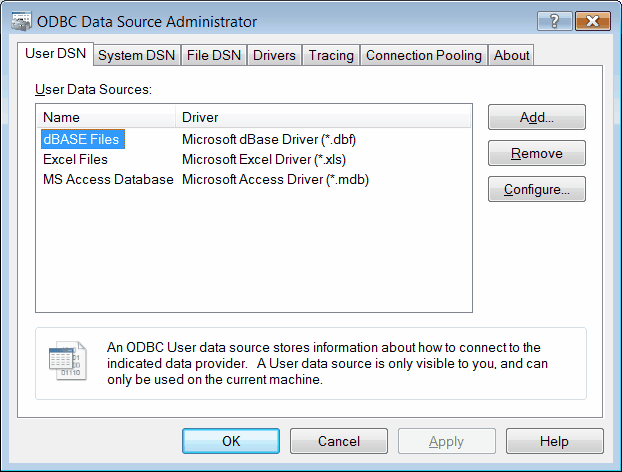
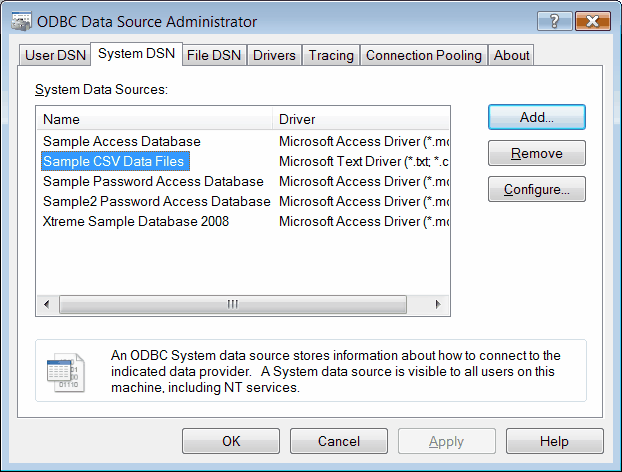
4.The ODBC Data Source Administrator opens. The ODBC Data Source Administrator manages the connections between database drivers and data sources. These connections are used to link to the database.
Database drivers are components that allow any application to communicate with the database using ODBC requests and return the requested information to the application. Each type of database will have its own driver.
Data sources are the actual database or files the drivers access. They are identified by a Data Source Name (DSN). There are two categories of data sources used here: User DSN and System DSN.
User DSN’s are data source connections that are local to the computer and can be accessed only by the user who created the connection.
System DSN’s are data source connections that are local to a computer, but not dedicated to a user. The system or any user with sufficient privileges can use a data source set up with a system DSN.
The ODBC Data Source Administrator is used to add, configure, and delete the connection, or links you create between the database drivers and the data sources.
Note that deleting a database-driver link does not delete the actual database file(s) on the computer.
5.In the ODBC Data Source Administrator, click the System DSN tab. From here, click the Add button to display the Create New Data Source dialog box.
6.The Create New Data Source dialog box lists the available database drivers installed on the computer, as well as the version of the database driver. By default, the first driver in the list is already selected.
7.A comma-separated database file is a text file. To create a new data source that uses this file, select the Microsoft Text Driver (*.txt, *.csv) from the list of drivers.
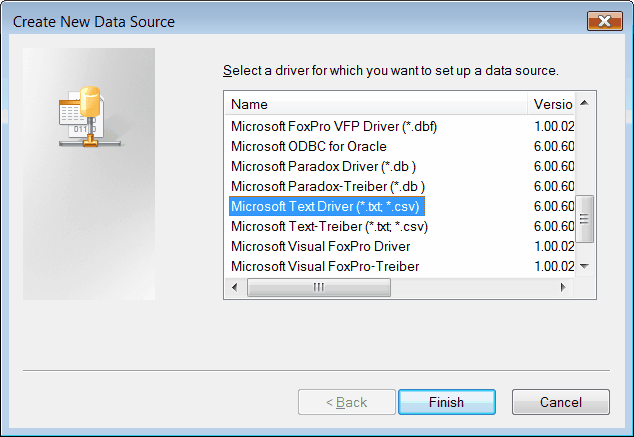
8.Click the Finish button to display the ODBC Text Setup dialog box.
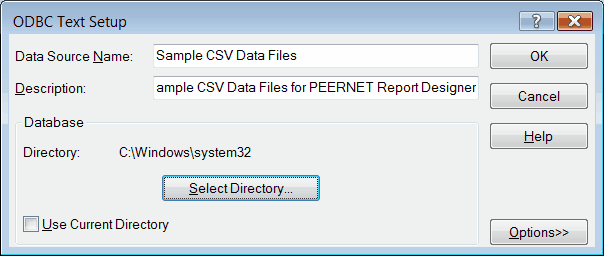
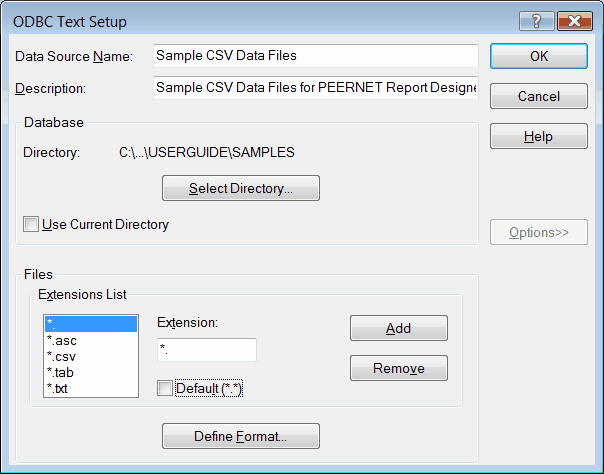
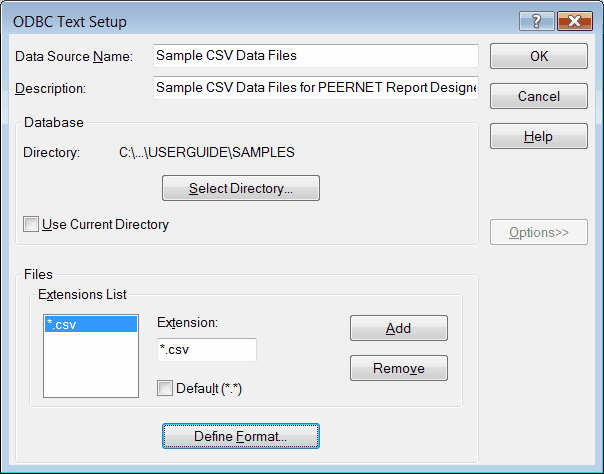
9.The ODBC Text Setup dialog box specifies the name and description of this data source, and where to look for the file. Advanced options (through the Options button) are also available for detailing how the database driver will interpret the data contained in the comma-separated file, as well as what file extensions are valid for this data source connection.
10.Enter a name for your Data Source Name, as well as a description. The description will allow you to easily remember what this data source represents.
Note that the name of a data source connection cannot be longer than 32 characters. The description must be less than 130 characters.
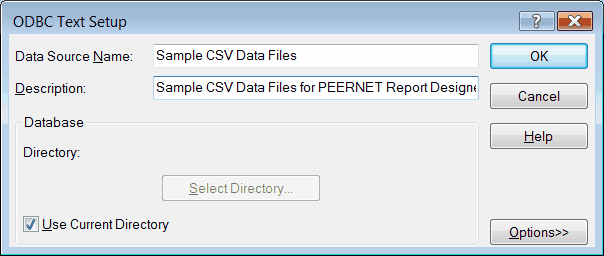
11.The next step is to tell the driver where to find the database. Uncheck the Use Current Directory checkbox by clicking on the checkbox. Then, click the Select Directory button to bring up the Select Directory dialog box.
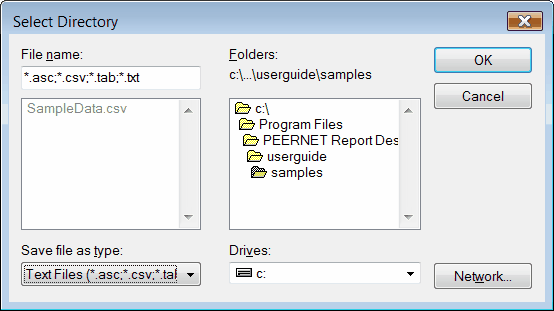
12.Using the Folders list box, browse to the directory that contains your comma-separated database file. All files that the driver recognizes will be listed in the File name list box. Click OK to select the directory.
In this example, the /userguide/samples folder under the installation directory is used. The sample file SampleData.csv is listed in the File name list box.
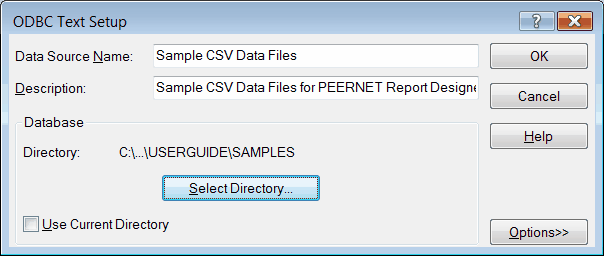
13.The ODBC Text Setup dialog box now displays the directory chosen in the previous step. Here, the /userguide/samples folder is displayed as the chosen database directory.
14.Now the format of the columns, or fields, in the file needs to be defined. As well, you need to set what file extensions are valid for this data source. Click the Options button to expand the dialog box.
15.The expanded dialog box now shows a new section, Files. From here, the file extensions allowed on this data source connection can be customized. By default the Microsoft Text Driver allows files of all extensions.
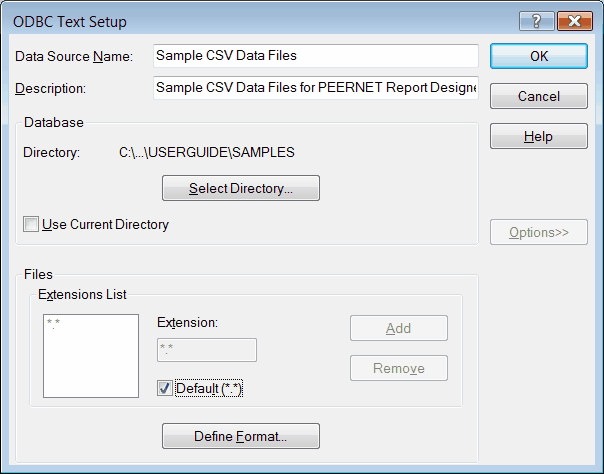
16.The sample database file has a file extension of .csv. This setting can be left as is, or the data source can be limited to only accept files with certain extensions. To leave the file extension setting as is, skip to Step 19. To limit this data source to only accept files with a .csv extension, first clear the check from the Default (*.*) checkbox.
If you are running a 64-bit version of Microsoft Windows, do NOT modify the file extensions list as detailed in steps 16 - 18, and skip directly to Step 19.
17.Next, in the Extension list box, highlight the extension *., then click the Remove button to delete this extension from the data source.
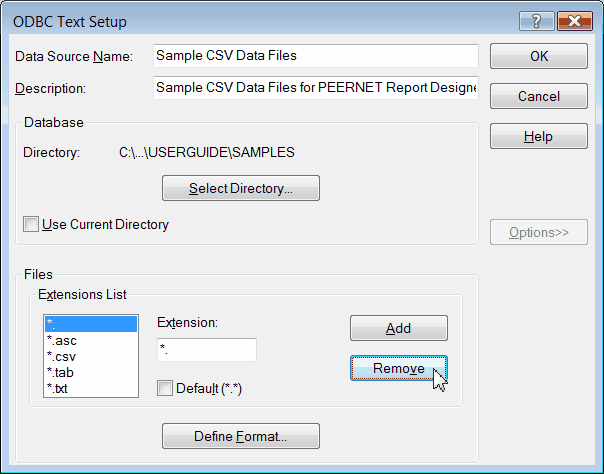
18.The *. extension is removed. Repeat this process for the extensions *.asc, *.tab and *.txt. Leave only the *.csv extension in the list.
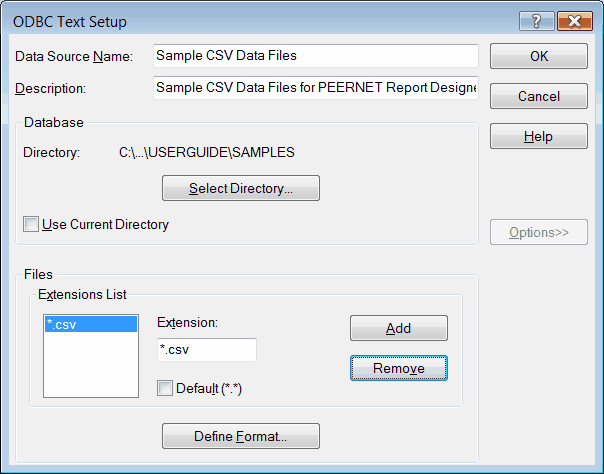
19.The last step is to define the format of the data in the file. Click the Define Format button to display the Define Text Format dialog box.
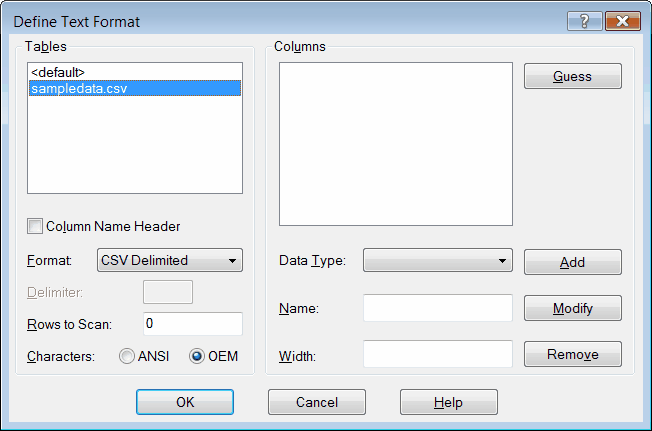
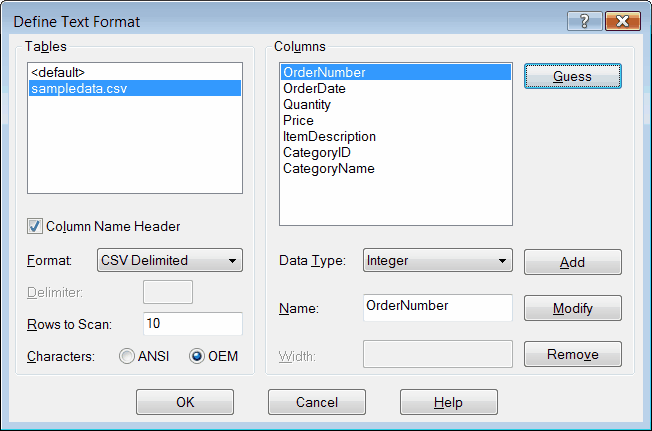
20.The Define Text Format dialog box lists all files matching the chosen file extensions that exist in the directory chosen in Step 12. By default, no table, or file, is selected.
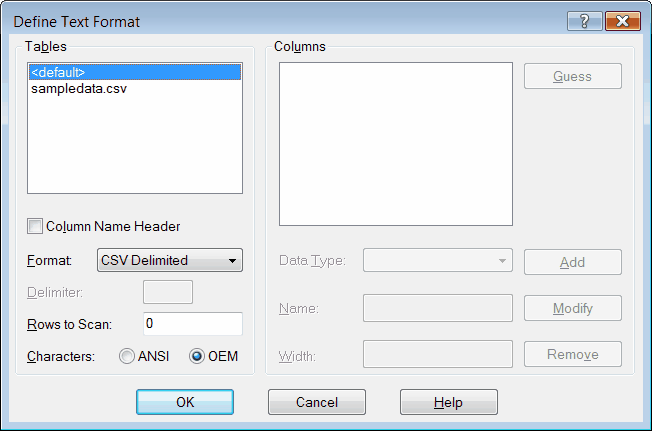
21.Select the file to be used as the data source. For this example, the sample file sampledata.csv is selected.
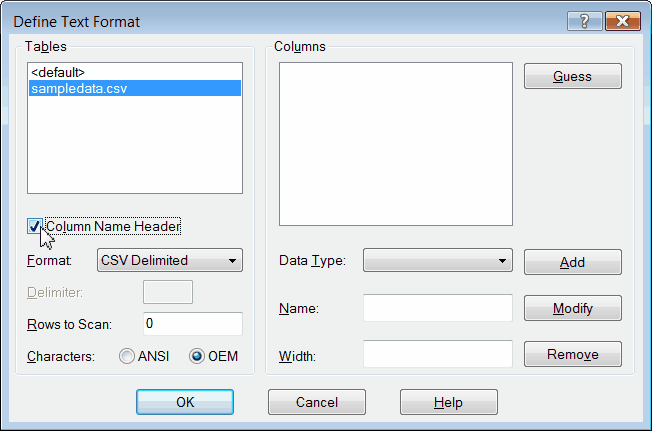
22.If the CSV file has a header line (the first row of data in the file is a line of comma-separated values denoting the column names), click on the Column Name Header checkbox to tell the driver to read the column names from the first row of data in the file.
The sample data file does have a header line, so the Column Name Header checkbox is checked.
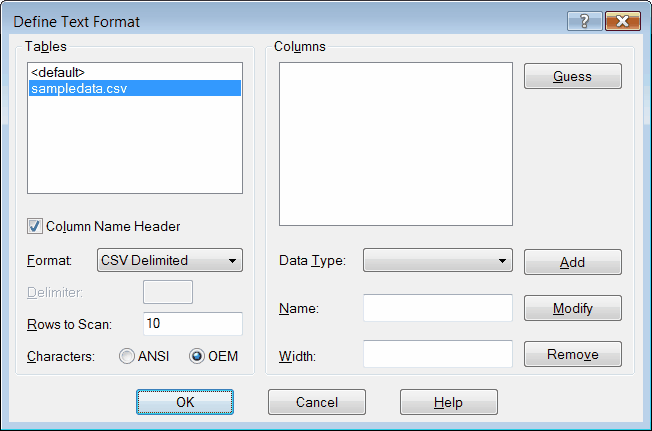
23.There are four Formats recognized by the driver, with CSV Delimited being the most common. The other formats are Tab Delimited, Custom Delimited, and Fixed Length. Leave the selection set to CSV Delimited.
24.The last step is to tell the driver how many rows to scan in the file when determining the format of the columns in the data source file. This value is set to zero (0) in the dialog box. If left at zero, the driver automatically scans 25 lines. This number can be between 1 and 32761.
For the SampleData.csv, the Rows To Scan is set to 10 lines.
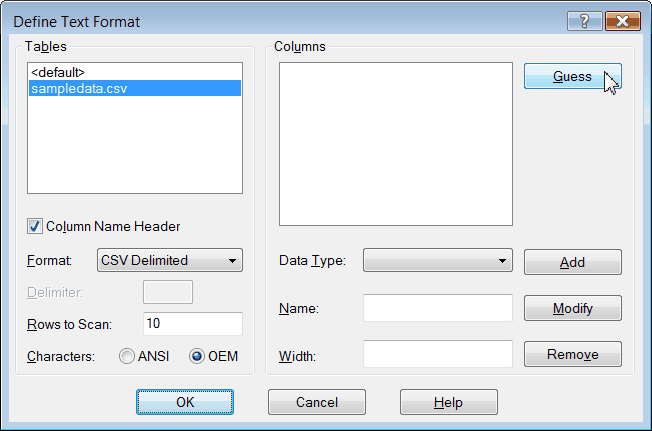
25.This is enough information for the driver to be able to interpret your data source. Alternatively, the Guess button can be used to generate the column names and data types for your file. This information is gathered by scanning the file according to the settings in the Table section.
You can accept the current settings by skipping ahead to Step 30.
To generate the column headings now, click the Guess button and continue to the next step.
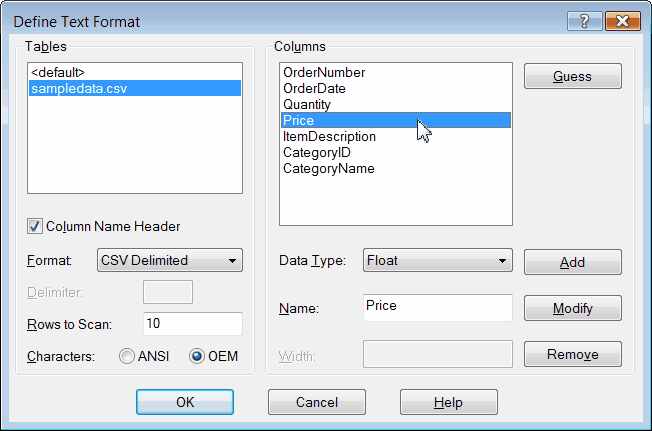
26.The data source file is scanned and the column names are listed in the list box. If the data source file does not have a header line, or the Column Name Header checkbox is unchecked, then the column names will come in as F1, F2, etc.
The sample data shows the following column names.
27.Each column’s name and data type can be checked and modified, if required, using the Data Type and Name controls, and the Modify button. To select a column, highlight that column name in the list.
In the sample data, the Price column has come in as a Float data type. The next steps will change this value to the Currency data type.
28.To modify the data type, click the drop-arrow in the Data Type combo box to list the available data types. Move the mouse over the desired data type, and click to select it.
For the sample, the data type Currency is chosen.
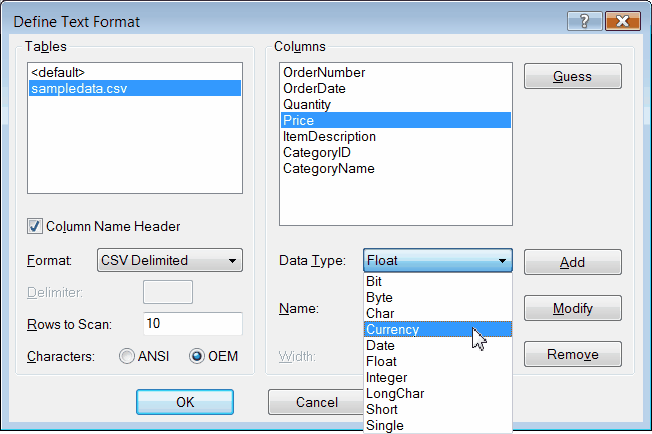
29.To accept this change, click the Modify button.
30.The field formats are now defined. Click the OK button
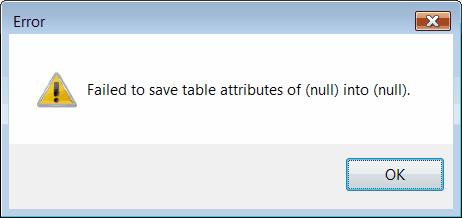
31.Some versions of the Microsoft Text Driver may display an error dialog box at this point. This is a known error reported by Microsoft and can be safely ignored. The data source will still be created. Click the OK button to continue.
More information about this error can be found in the Microsoft Knowledge Base Article 235889 titled BUG: Adding a DSN With Microsoft Text Driver May Fail.
32.From the ODBC Text Setup dialog box, click the OK button to accept the new data source and return to the ODBC Data Source Administrator dialog box.
33.The data source just defined, Sample CSV Data Files, is now the listed as a System Data Source. Also shown is the driver this data source will use. The data source is now ready to be used. Click OK to close this dialog box.
34.Launch PEERNET Reports Designer and, using the dialog box that is displayed, open or create the project in which you want to use this data source.
Here, the sample project file Chapter06_ODBC_CSV.pnj is opened.
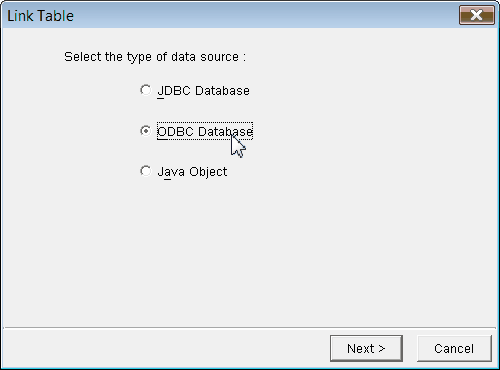
35.To add the newly created CSV data source as a table in the project, double-click the Tables item to bring up the Link Table dialog box.
36.The first step of the Link Table wizard presents a choice of three types of data sources. Enable the ODBC Database option and click Next.
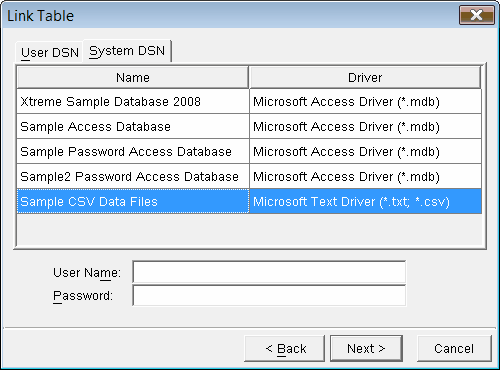
37.The next page lists all User and System DSN’s currently available. The CSV data source was added under System DSN. Click the System DSN tab to show the CSV data source.
38.Select the CSV data source that was added in the previous steps. A text data source does not require a User Name or a Password, so these fields can be left blank. Click Next.
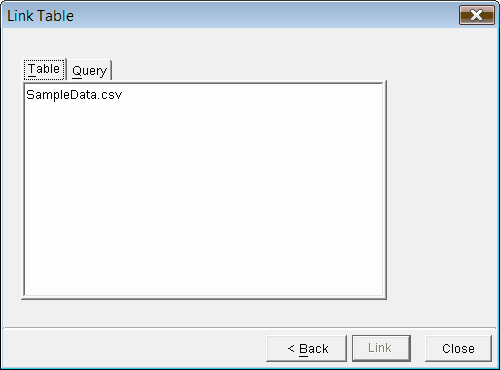
39.The CSV file will be listed as table. Select the file and click the Link button to add the table to the project. Click Close.
40.Click the ![]() to expand the Tables item and view the newly added table in the list. Double-click this table to view its data.
to expand the Tables item and view the newly added table in the list. Double-click this table to view its data.
41.The Design View of the table lists the columns in the table, along with the data type of the data in each column.
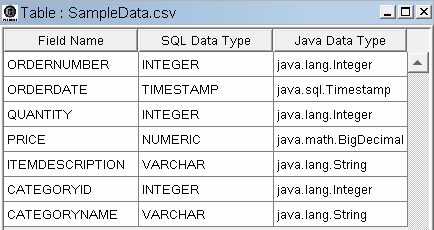
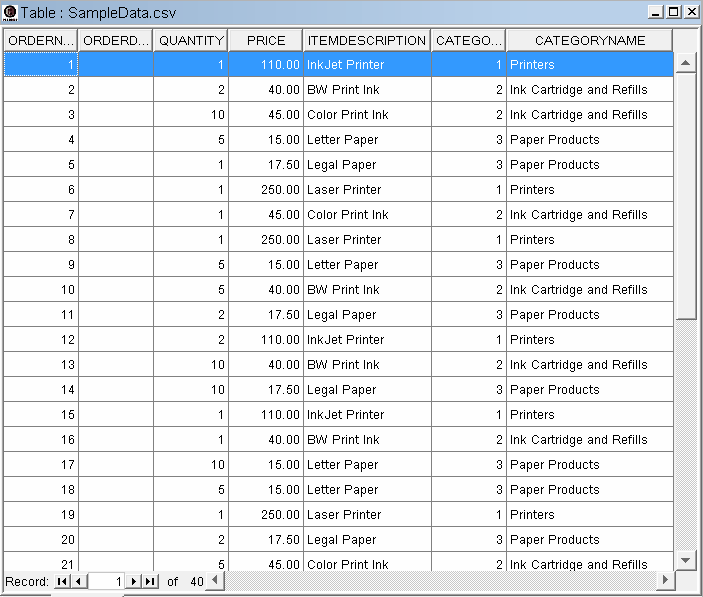
42.The Datasheet View shows the actual data in this data source.