In order to use the Outside-In AX converter to convert files, you will need to download and install the 32-bit version of Oracle's Outside In Viewer Technology that you are licensed for. To get this component, visit Oracle Outside In Technology Downloads and download the appropriate Outside-In Viewer Technology.
If you need to create vector Adobe PDF files, you will also need to Add Printer Permissions to the Microsoft XPS Document Writer printer for the Everyone account. Alternatively you can add the permissions for just the account that Document Conversion Service is running under - in most cases this is the DCSAdmin created as part of the install.
Installing Outside-In Viewer Technology 8.4.1 or later
1.Download the latest 32-bit version of the Outside In Viewer Technology that you are licensed for. The other versions will not work with Document Conversion Service.
2.Install the Outside In Viewer by running the downloaded setup.
Registering the Outside-In Control
When the install is complete the Outside In Active X control still needs to registered at an administrative level to work properly with Document Conversion Service.
Open a administrative level command prompt and type the following, replacing the ### with the version of Outside-In AX you have installed.
C:\Windows\system32\regsvr32.exe "C:\Program Files (x86)\OIX\OutsideX\outsidex###.ocx |
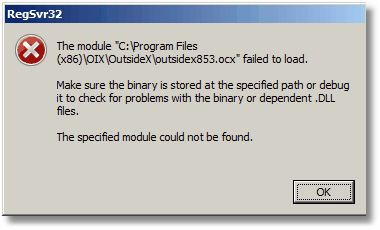
Starting with version 8.5.3, the Outside In Active X control has a dependency on the Visual C++ Redistributable packages for Visual Studio 2013. If you see this error message when trying to register the control you will need to download and install the package as per the instructions below. If you don't see the error message then the package has most likely been installed by another piece of software on your computer.
Downloading the Visual C++ Redistributable Package for Visual Studio 2013
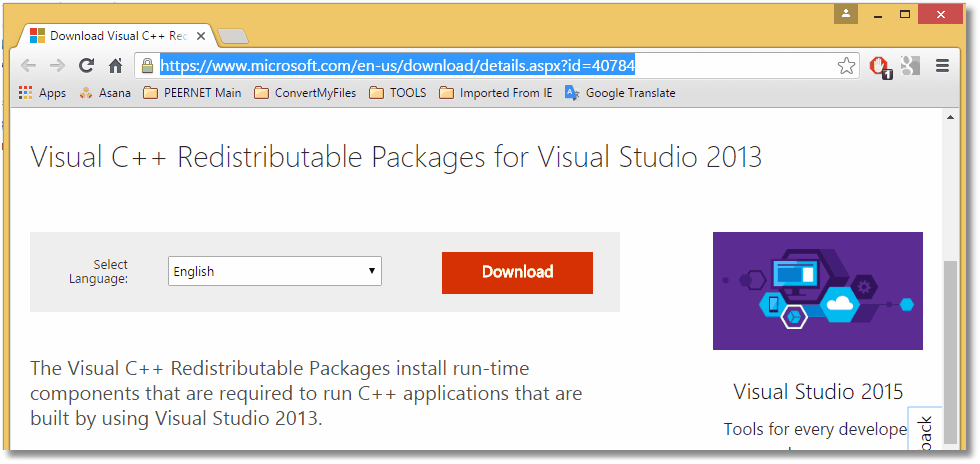
1.Go to the following link: https://www.microsoft.com/en-us/download/details.aspx?id=40784
2.Click the red Download button on the right-hand side.
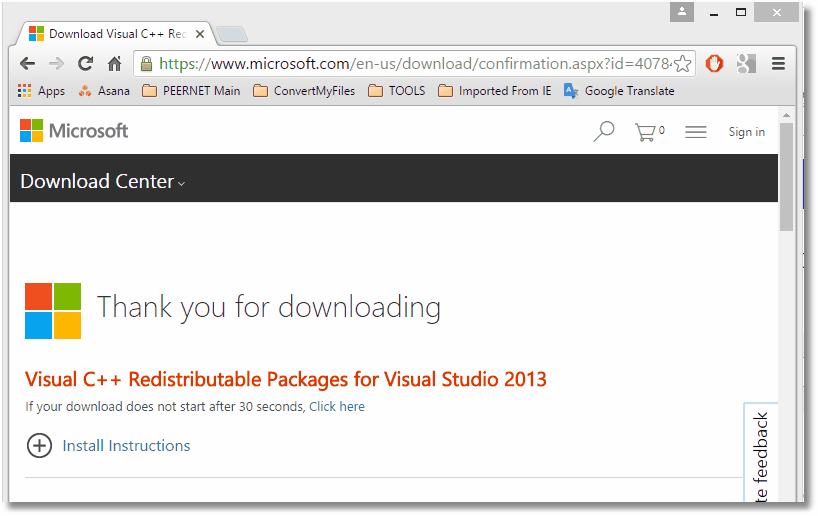
3.Choose the vcredist_x86.exe download and click the Next button. The other downloads will not work with Document Conversion Service.

4.The download should start automatically.
5.Once downloaded, run the vcredist_x86.exe setup to install the required dependencies.
6.Register the Outside In Active X as shown above.
Adding Printer Permissions to Microsoft XPS Document Writer
This is only needed if you are creating vector Adobe PDF files using the profile Adobe PDF Multipaged, or the settings listed within.
The instructions below show how to add this permission to the Microsoft XPS Document Writer for the Everyone account. You can instead add these permissions for the account that Document Conversion Service is running under; this is often the DCSAdmin account. If you used a different account when installing, add these permissions for that account instead.
You will need to have Administrative permissions to make these changes.
1.Open the Devices and Printers folder by typing Printers into the Search field in the Start menu.
2.Right-click on the Microsoft XPS Document Writer printer and select Printer Properties from the context menu.
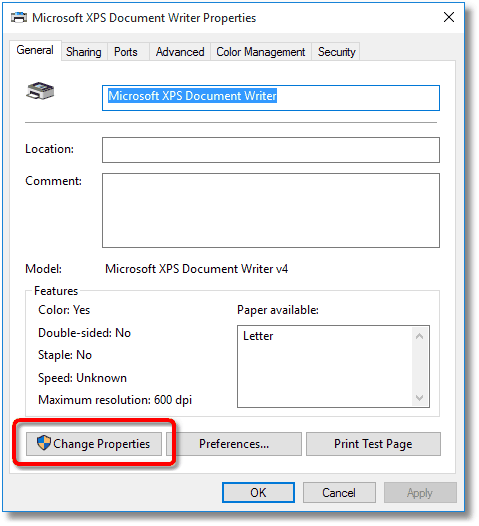
3.On the General tab, Click the Change Properties button in the lower left.
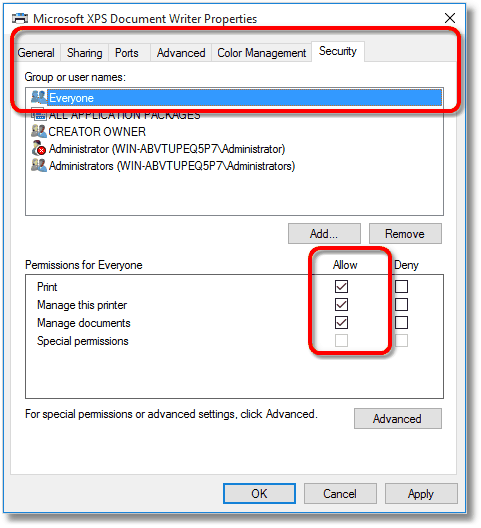
4.Click on the Security tab, select the Everyone account, then make sure that the permissions Print, Manage this printer, and Manage documents are checked.
If you only want to add the permissions for the DCSAdmin account or your own custom account, click the Add... button to show the dialog listing all available users. Select DCSAdmin or your custom account to add that user to the list. Once added, select that user in the list and make sure that the permissions Print, Manage this printer, and Manage documents are checked for that user.
Completing the Changes
Once the above changes have been made, log out of the DCSAdmin account, or the account you are using.
If the Document Conversion Service is running, you will need to stop and restart the conversion service to pick up the added component.