Designing the Label

Contents
Using the 4x6 paper stock, defined in the previous section Define the Paper Stock, we can now create a Label which we will use to add the layout components we wish to have printed on the bar code printer labels.
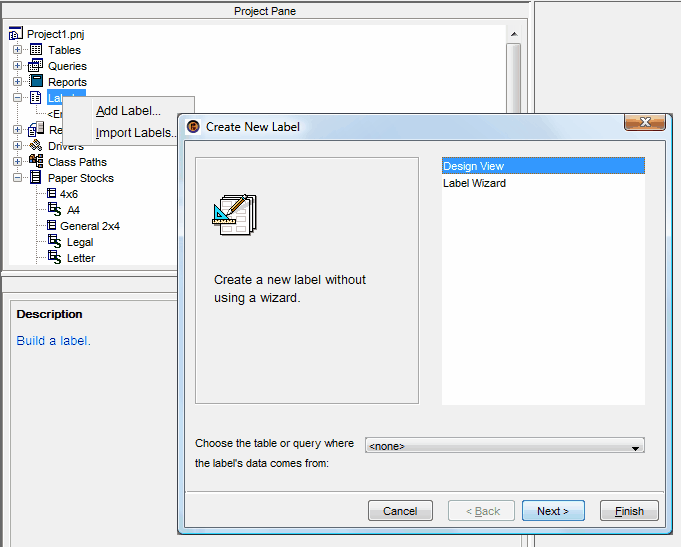
In the Project Pane, right click the Labels node or double-click the Labels node to open up the Create New Label wizard.
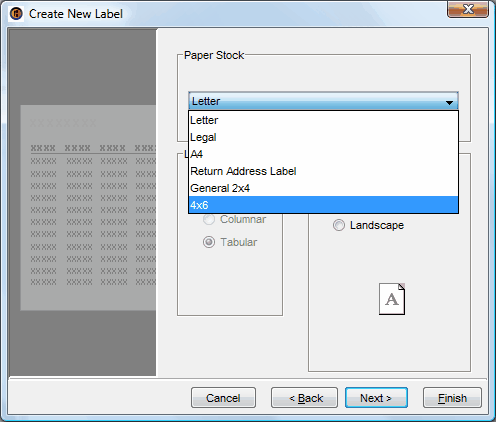
At this point, just select the Next button, and in the Paper Stock drop down select, 4x6.
Select Next button again, and change the name of the label of you wish.
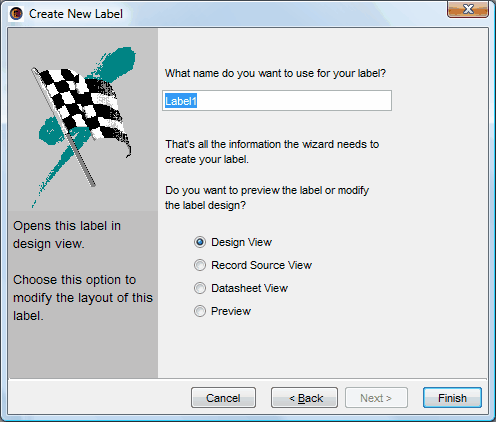
At this point, just press the Finish button and your 4x6 inch Label design will be ready to start adding the other design components as shown below:
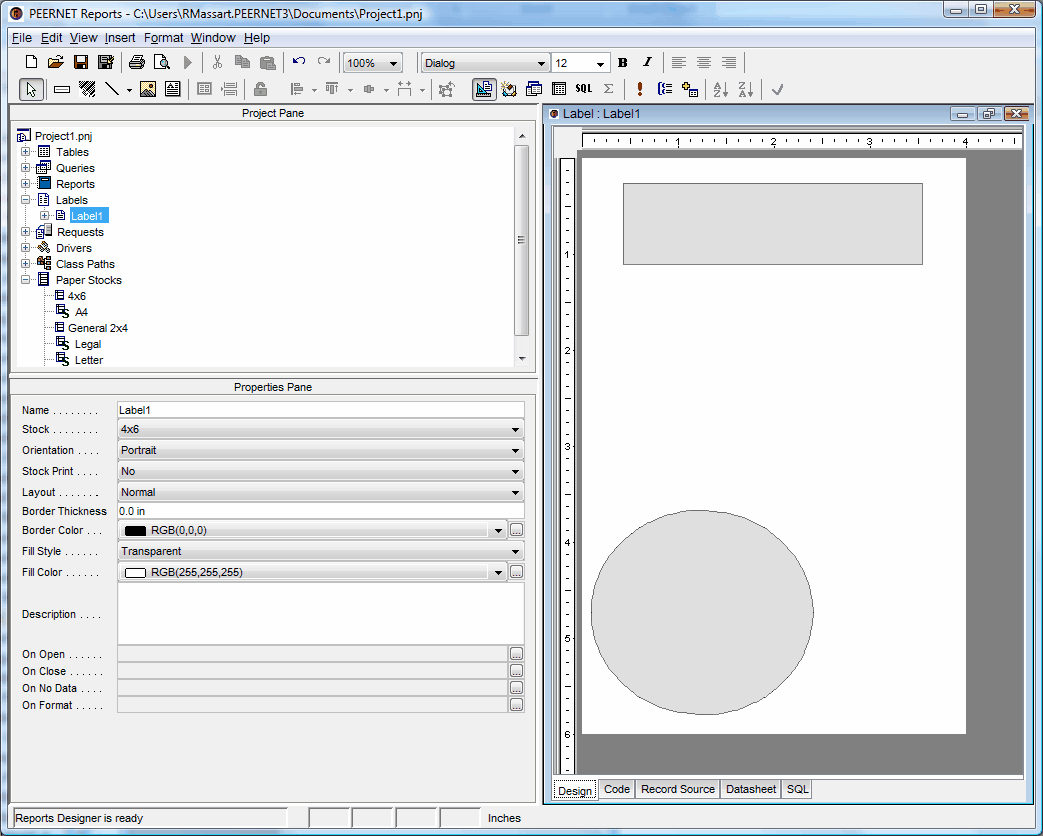
NOTE: The background of the 4x6 paper stock is displayed in the Design view of the label.
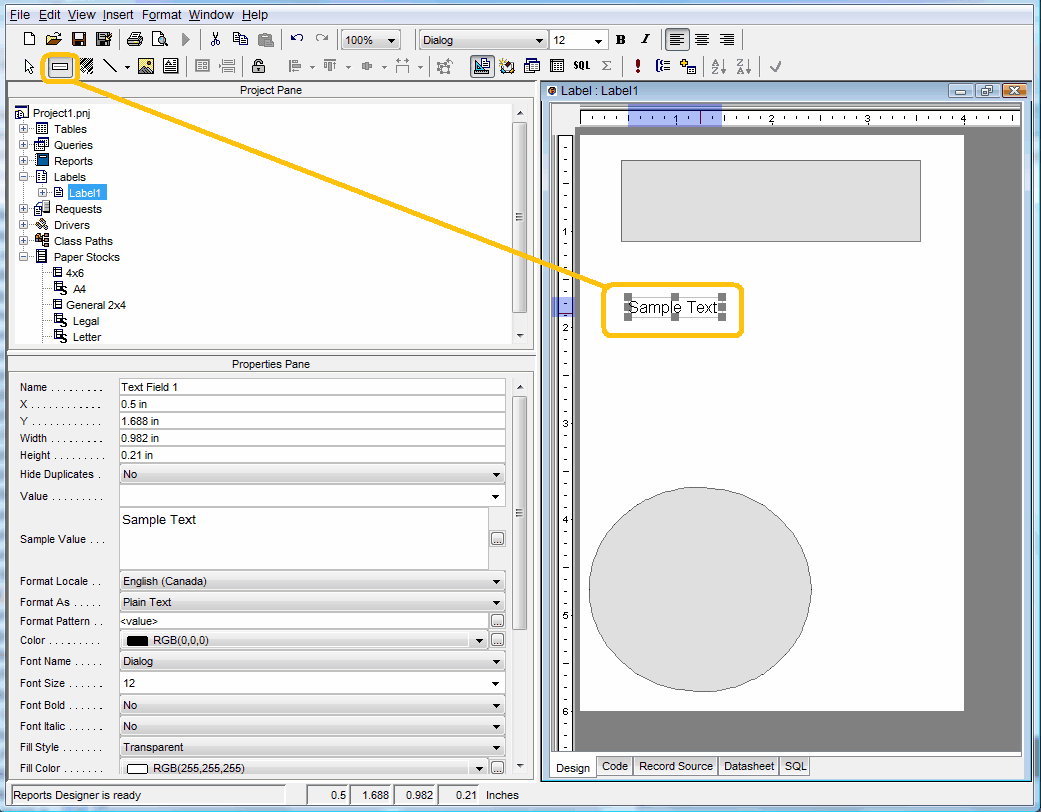
Now lets add a Text field, so we can display some textual information of the label. You can add any number of design components and position them on the label design anywhere within the bounds of the paper stock that is displayed in white. You add a design component by single clicking on the design component in the tool bar and then moving your mouse over the design area and either single clicking where you would like the component or clicking where you want it and while holding the mouse button down, dragging to size the component.
As with all design components, if have one of them selected, the Properties Pane displays the properties of the component that can be changed. To change the text, just change the Sample Value to the text you wish to have printed on the label.
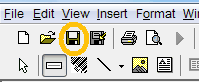
At this point, it would be a good idea to save your project. So press the Save button in the tool bar: