Creating a container report

Contents
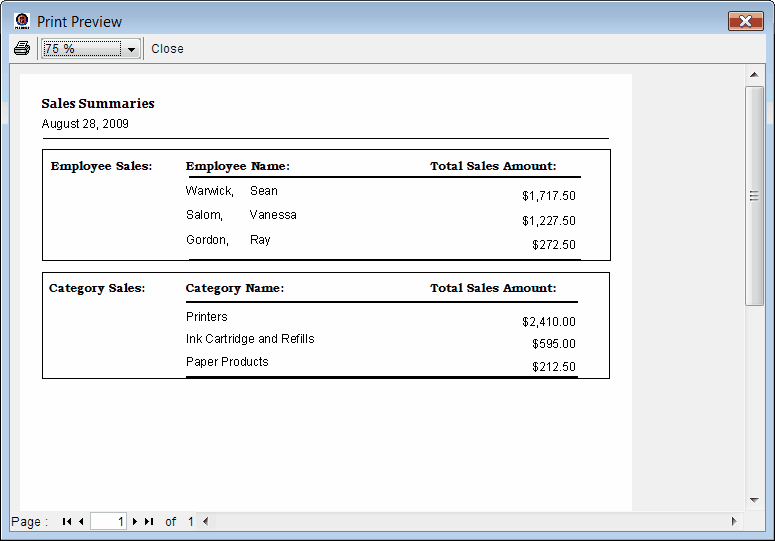
A container report is often used when several reports are required in the same document. The example report used here contains two reports, SalesByEmployee and SalesByCategory, included in the sample project, as sub reports.
To create a container report
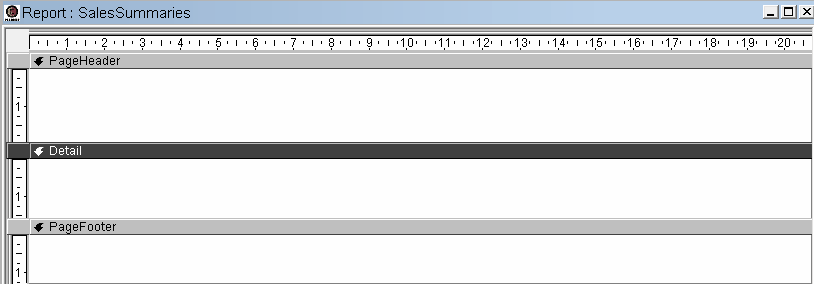
1.In the Project Pane, double-click the Reports item to launch the New Report wizard. Create a new report, but do not bind the report to a table (container reports are not bound to a table).
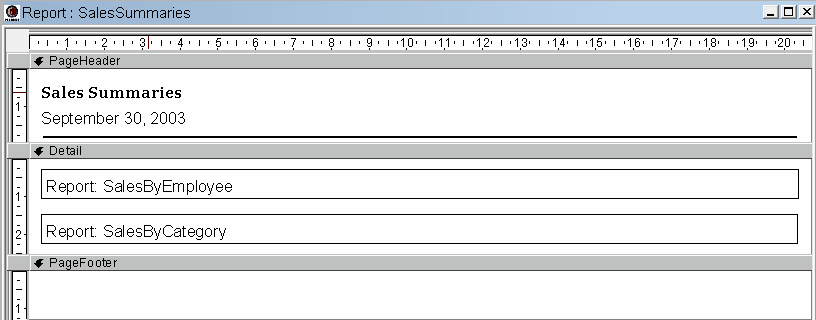
The sample shown below contains a new report named SalesSummaries.
2.Add any desired components into the Page Header and Page Footer sections, and add and modify the Report Header or Report Footer sections as required.
In the sample below, a Styled Text component with the text Sales Summaries, a Text Field component set to the Date() function with Long Date formatting, and a Line component with a Line Thickness of 0.02 have been added on the page header.

3.Add a Sub Report (![]() ) component to the Detail section of the report, and size the component as required for the sub report. Sub report components will only grow vertically to fit the data in the sub report; the width of the component will not change. Any data outside the width of the sub report component will be cut off.
) component to the Detail section of the report, and size the component as required for the sub report. Sub report components will only grow vertically to fit the data in the sub report; the width of the component will not change. Any data outside the width of the sub report component will be cut off.
In the sample below, two sub report components are added, one for the SalesByEmployee report, and one for the SalesByCategory report. The components are resized to the width of the report.
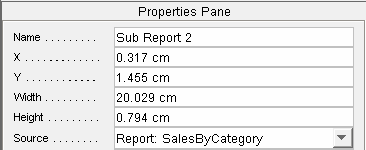
4.Attach each sub report component to the report it will represent. This is done using the Source field on the Properties Pane. Once linked to a report, the sub report component will display the name of the report.
The first sub report is linked to the SalesByEmployee report, and the second sub report is linked to the SalesByCategory report.

5.Once the sub report(s) have been added and linked to their respective reports, and any other text details have been added, the main report is ready to be previewed. A sub report has a thin black border around it by default. This can be removed by setting the Border Thickness property to 0 in the Properties Pane.