Chapter 21: Working with Requests

Contents
Requests allow you to select a report or label from your project file, select an output format (such as PDF, JPG, BMP, and PNG), and then send your output to one or more specified locations (for example, to a local, network, or web address, or to an installed printer).
Note that the sample project Chapter21_Requests.pnj contains request examples for you to explore. The code for these examples contain extensive comments which further explain the functionality of each of the requests. You can access this project by clicking File – Open Project in the application menu, then enabling the Open a sample project option.
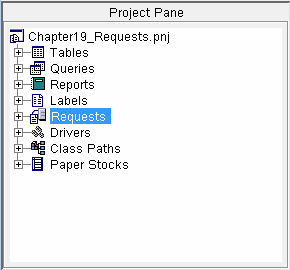
Requests are managed through the Requests item in the Project Pane.
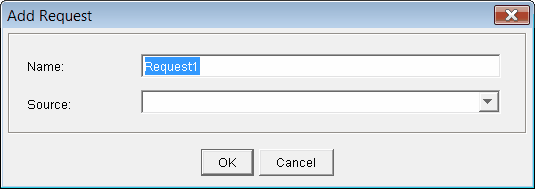
Double-click the Requests item to display the Add Request dialog box.
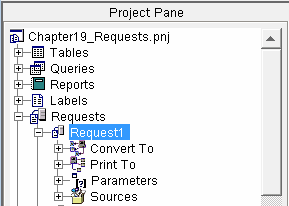
Once you’ve added a request, it will be displayed as a sub-item under the Requests item. These sub-items have a further level beneath them, where you can add conversion items, printer items, and parameters.
Note that multiple conversion items, printer items, and parameters can be added to each request; for example, you could add two printer items, and send the report attached to the request to two different printers at the same time.
To add a request to your project file
1.Double-click the Requests item.
2.In the Add Request dialog box, type a name for the request.
3.From the Source drop-down list, select the report or label you want to use for the request.
4.Click OK.
To run a request
1.Click the ![]() to expand the Requests item.
to expand the Requests item.
2.Right-click the request you want to run.
3.Click Run Request.
To view the properties of a request
1.Click the ![]() to expand the Requests item.
to expand the Requests item.
2.Click a request. The request’s properties will appear in the Properties Pane.
To edit the properties of a request
1.Click the ![]() to expand the Requests item.
to expand the Requests item.
2.Click a request. The request’s properties will appear in the Properties Pane.
3.In the Properties Pane, adjust the request’s properties as required.
To edit the code contained in a request
1.Click the ![]() to expand the Requests item.
to expand the Requests item.
2.Right-click the request whose code you want to edit.
3.Click Edit Code.
To rename a request
1.Click the ![]() to expand the Requests item.
to expand the Requests item.
2.Right-click the request you want to rename, and click Rename Request.
3.Type a new name for the request in the edit field.
To duplicate a request
1.Click the ![]() to expand the Requests item.
to expand the Requests item.
2.Right-click the request you want to duplicate, and click Duplicate Request. A copy of the request appears in the list.
To delete a request from your project file
1.Click the ![]() to expand the Requests item.
to expand the Requests item.
2.Right-click the request you want to delete, and click Delete Request.
3.In the Delete Confirmation dialog box, click Yes.