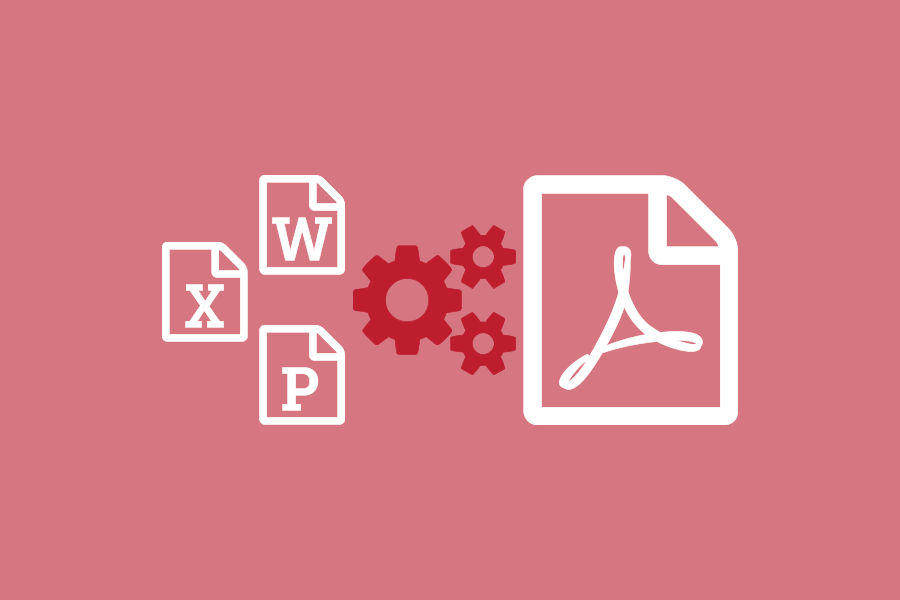
Combine Files Into PDF With PDF Creator Plus
PDF Creator Plus makes it easy to combine files into PDF. The included PDF Creator Plus printer lets you add to your PDF from any document you can print. With the PDF Creator Plus app, you can preview, re-organize, or delete pages before creating your PDF.
Below, we combine a Word document, a JPEG image, and an Excel spreadsheet into a PDF file to show you how easy it is.
Steps For Combining Several Files Into a Single PDF File
Download and install a free trial to try it out, or install and activate your purchased copy. The setup program will install the PDF Creator Plus app and PDF Creator Plus 8 virtual printer to your computer.
PDF Creator Plus can combine and convert files to PDF by printing the files to the PDF Creator Plus 8 virtual printer instead of your regular printer.

Print the Word Document to PDF Creator Plus
Open the Word file and click File->Print from the application menu. Next, select PDF Creator Plus 8 from the list of printers, then click Print.

PDF Creator Plus will display the pages from the Word document. Do not close the PDF Creator Plus application. Next, we are adding the JPEG image.

Adding the JPEG Image to PDF Creator Plus
Open the JPEG image in Windows Photos, click the triple dot (…) icon to show the drop-down menu, and then select the Print action.

Again, choose PDF Creator Plus 8 from the list of printers and click the Print button, as we did above for the Word document.

When adding additional pages to a PDF Creator Plus project, the Incoming Document window appears to choose where to place the new pages. Pages can be added at the beginning, a custom position, or appended to the end.
Choose the Append to the end of the project option to add the incoming JPEG image as the next step to combine files into a single PDF file.

Print the Excel File to Combine Into PDF
Again, do not close the PDF Creator Plus application. Now open the Excel spreadsheet and click File->Print from the application menu.

Choose PDF Creator Plus 8 from the list of printers and click the Print button.

As we did above, when the Incoming Document window appears, select Append the pages to the end of the project to insert the Excel spreadsheet pages after the JPEG image.

The Excel file is the last of the files we want to add to our page collection to combine into a single PDF.
Now is the time to re-organize pages or delete any pages before we create our PDF file. When you are ready, continue by clicking the Create PDF button to combine the collected files into a PDF file.

Save the Combined Pages Into a PDF File
In the Create File dialog, edit the name for your new PDF file and choose where to save it. Next, choose options for your PDF file:
- Select PDF file (*.pdf) as the Save as type.
- Check the Multipaged PDF and Embed fonts options.
- If you added hyperlinks or outline information annotations by hand, check the options for Create hyperlinks, Create outlines, or both.
- Keep the Open file option enabled to open PDF automatically upon creation.
Finally, click the Save button when you are ready to combine your pages into a PDF.

A progress dialog will appear as PDF Creator Plus creates your new PDF. If you need to change your PDF, use the Cancel button to stop the process. You can then make your changes and start again.

Delete Pages From a PDF Creator Plus Project
Before you combine your pages into a PDF file, you can easily remove any unwanted pages from the page collection. You may have blank pages that were part of the pages printed to PDF Creator Plus that you don’t want in the final PDF file or sections of other documents you don’t want included.
The Thumbnail view is the easiest way to delete pages. You can delete the current page or a range of pages.
To delete pages, right-click a page in the thumbnail view and go to Delete->Page or Delete->Range in the context menu that pops up.
You can find the same options in the Page application menu.

Move Pages In PDF Creator Plus
The easiest way to re-order and organize the pages you want to combine into a PDF is by using the thumbnail view.
In the thumbnail view, select the page you want to move and use the mouse to drag it into position. As you move the mouse, a black bar will appear to show the new page position. The cursor also changes to a cross-hair icon when in move mode. Release the mouse to move the page.

To move a group of pages, right-click any page and select Move Pages from the context menu. The same option is in the application menu under Page->Move Range.
Use the Move Pages dialog to choose the page or pages to move and what position in the project to move them.


