How to Use the DCS Watch Folder Service
Once you have installed Document Conversion Service, how can you start to use the product?
Document Conversion Service comes bundled with a ready to use drop folder service named Watch Folder.
The Watch Folder service comes pre-configured with 6 Watch Folder sections to create different types of files:
- ConvertToTIFF – creates 300dpi optimized TIFF image
- ConvertToFaxTIFF – creates 204×196 monochrome fax image
- ConvertToAdobePDF – creates searchable PDF file
- ConvertToRasterPDF – creates non-searchable PDF file
- ConvertToJPG – creates 300dpi JPEG file
- LargeBatchTIFF – convert large batch of files; 10 files at a time
Editing the Folders used by Watch Folder
Using Watch Folder
Editing the Folders used by Watch Folder
Each section in the Watch Folder Service is preconfigured to use certain folders for each of the following folder settings in the drop folder service:
- InputFolder – files to be converted
- OutputFolder – successfully converted files
- CompletedFolder – original files that have been successfully converted
- FailedFolder – original files that have failed to be converted
- StagingFolder – holds original files while they are being converted
- WorkingFolder – holds output files during creation
It is easy to edit Watch Folder folders to your own folders with a few simple clicks.
- Stop the Watch Folder Service by clicking Start – All Programs – Document Conversion Service 3.0 – Watch Folder – Stop Watch Folder Service.

- Click Start – All Programs – Document Conversion Center 3.0 – Watch Folder – Configure Watch Folder Settings.

- Scroll down to the section in the Watch Folder configuration file to edit the path for each folder you wish to change.

- Change the folder path to the location you wish to use.
ie <add Name=”InputFolder” Value=”C:\Audits\Reports” /> - Save the Watch Folder configuration file.
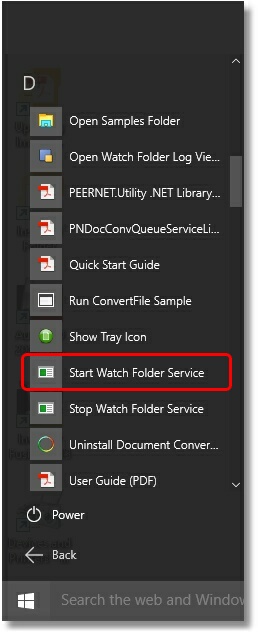
- Start Watch Folder Service by clicking Start – All Programs – Document Conversion Service 3.0 – Watch Folder – Start Watch Folder Service.


Using Watch Folder
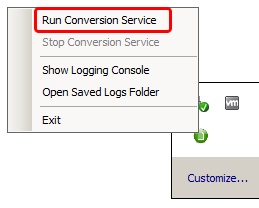
- Ensure Document Conversion Service is running by clicking the System Tray icon (
 ) and then click Run Conversion Service. (NOTE: If Run Conversion Service is greyed out, then Document Conversion Service is already running.)
- Start Watch Folder service by clicking Start – All Programs – Document Conversion Service 3.0 – Watch Folder – Start Watch Folder Service.
- Now when files are copied into the Input folder location (ie C:\PEERNET\WatchFolders\ConvertToTIFF\Input), they will be automatically converted and the newly created files will be saved in the Output folder location (ie C:\PEERNET\WatchFolders\ConvertToTIFF\Output).