Creating High Resolution TIFF Images For Journal Publication
Academic and scientific journals and magazines usually have specific requirements when it comes to the submission of images. One of the most commonly accepted formats are high resolution TIFF images.
Using the TIFF Image Printer together with any application that you can print from, you can easily create high-resolution TIFF images that meet your image submission requirements.
For this example, let’s say your image submission requirements are as follows:
- Resolution of 600DPI
- Full color TIFF images
- Use LZW CMYK compression
Steps for Creating High Resolution TIFF Images For Journal Publication
1. Double-click the TIFF Image Printer icon to launch the dashboard and select Edit & Create Profiles.

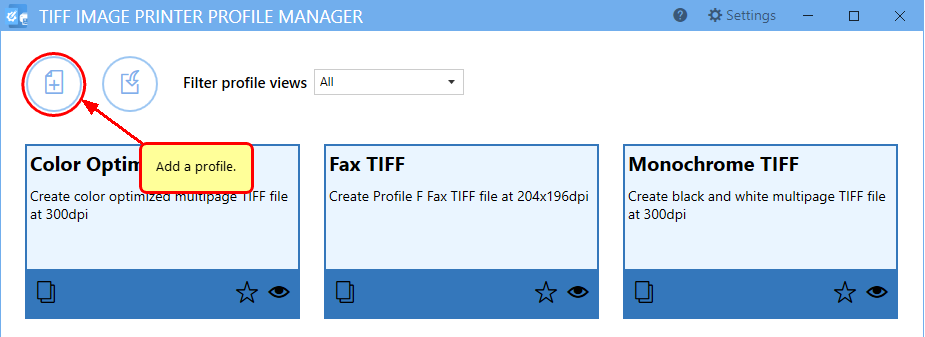
2. Select Add Profile and enter a name and description.
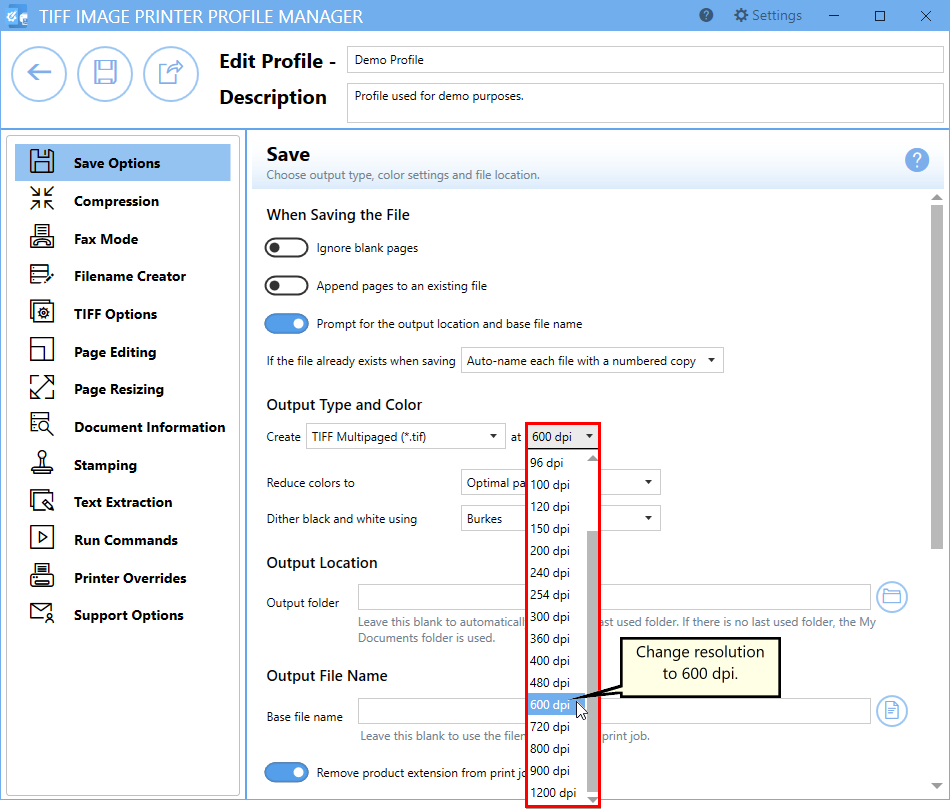
3. Change the Resolution from 300 dpi to 600 dpi.
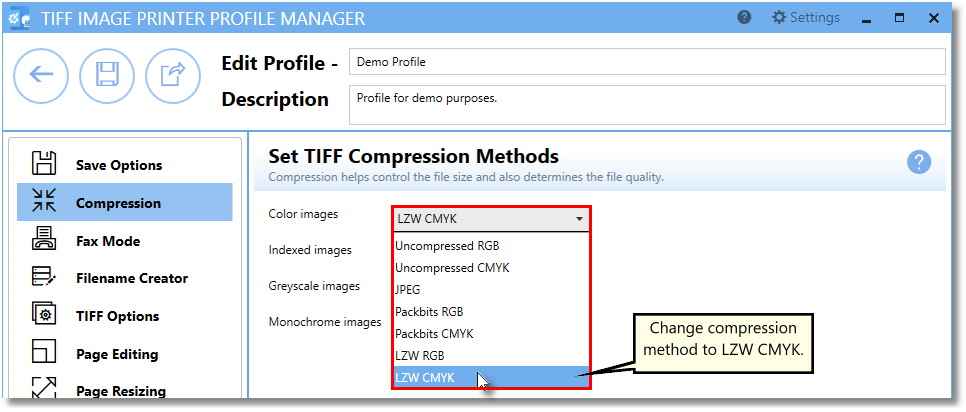
4. Select the Compression tab, and change the compression method for color images to LZW CMYK.
5. Select the Printer Overrides tab and enable Force Paper Size. Enter your custom paper size.

6. Click Save and Back, and then close the Profile Manager.
7. Select Manage Printers.
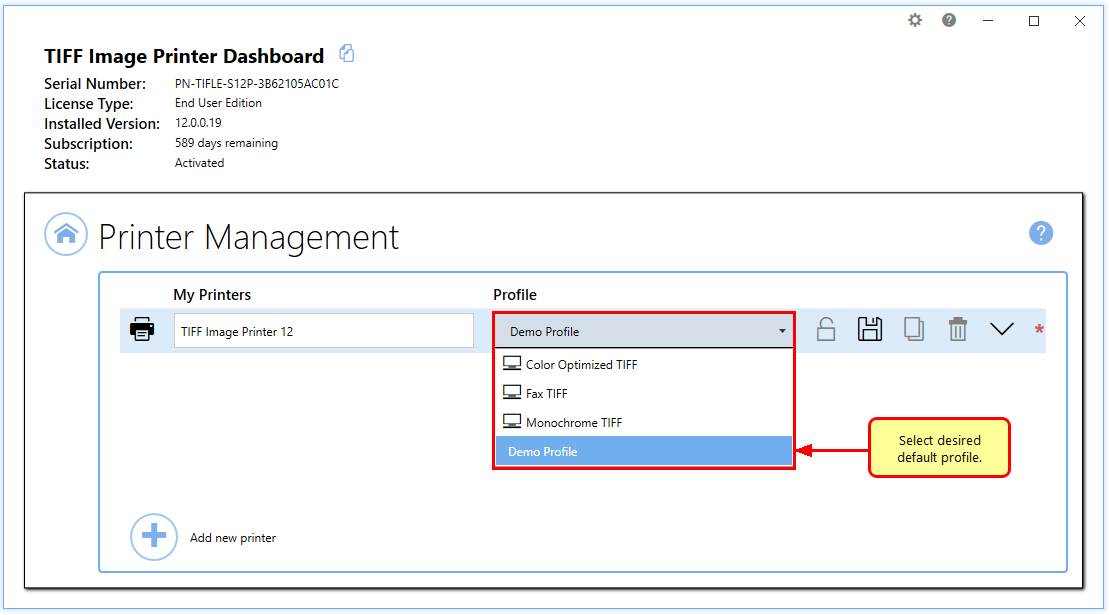
8. Choose your profile from the list to make it the default profile for TIFF Image Printer.
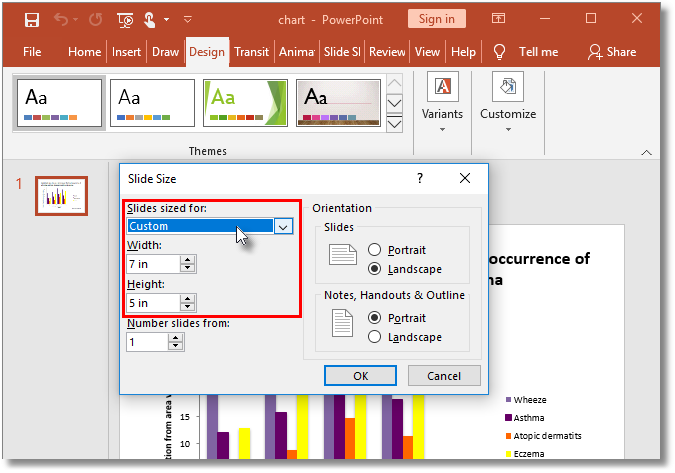
9. Now open the PowerPoint slide that contains your chart. This is a slide with a custom size of 5×7 inches. The size is shown in reverse here because the presentation is landscape orientation.
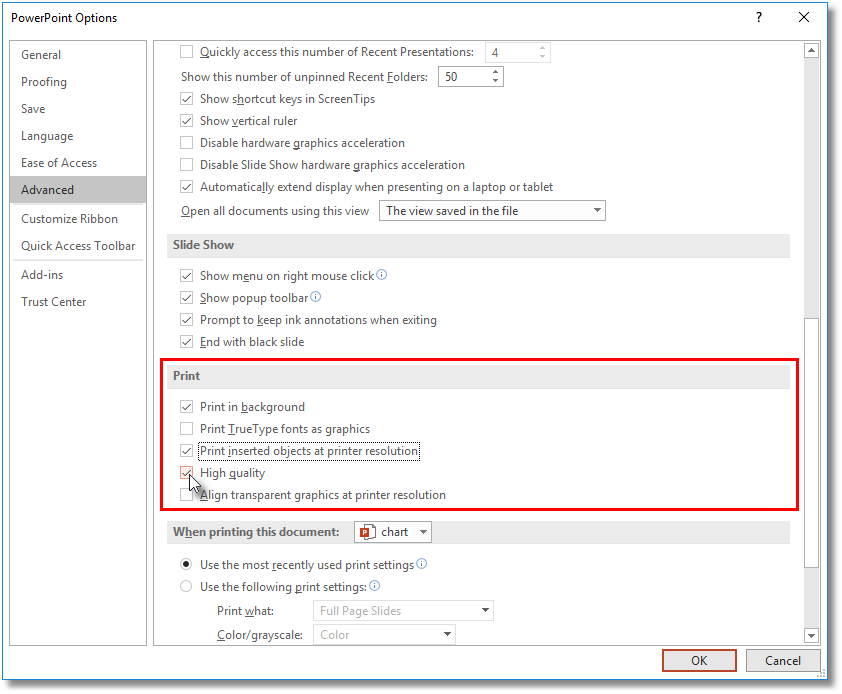
10. To get the best quality output from PowerPoint, we need to have PowerPoint print the slides at high quality. To set the printing quality, go to the File–Options. Select the Advanced options and scroll down to the Print section. Enable Print Inserted objects at printer resolution and High Quality.
11. Click File-Print from the application menu.
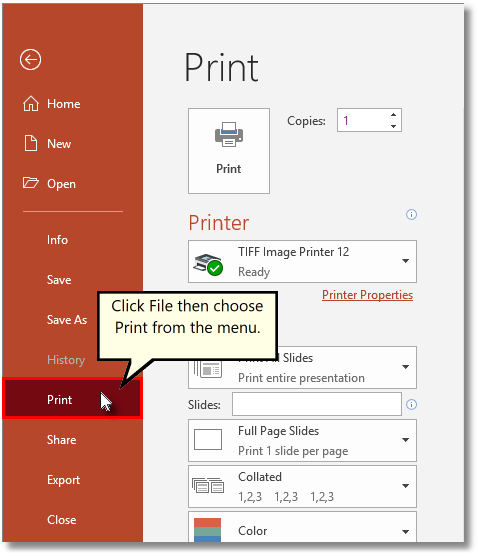
12. Choose TIFF Image Printer 12 from the list of printers and then click the Print button.

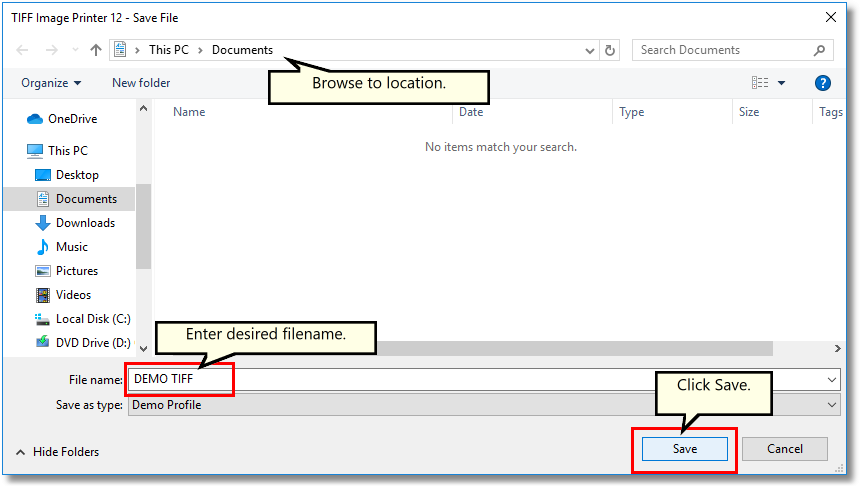
13. Enter the location and filename for the TIFF file and then click Save.
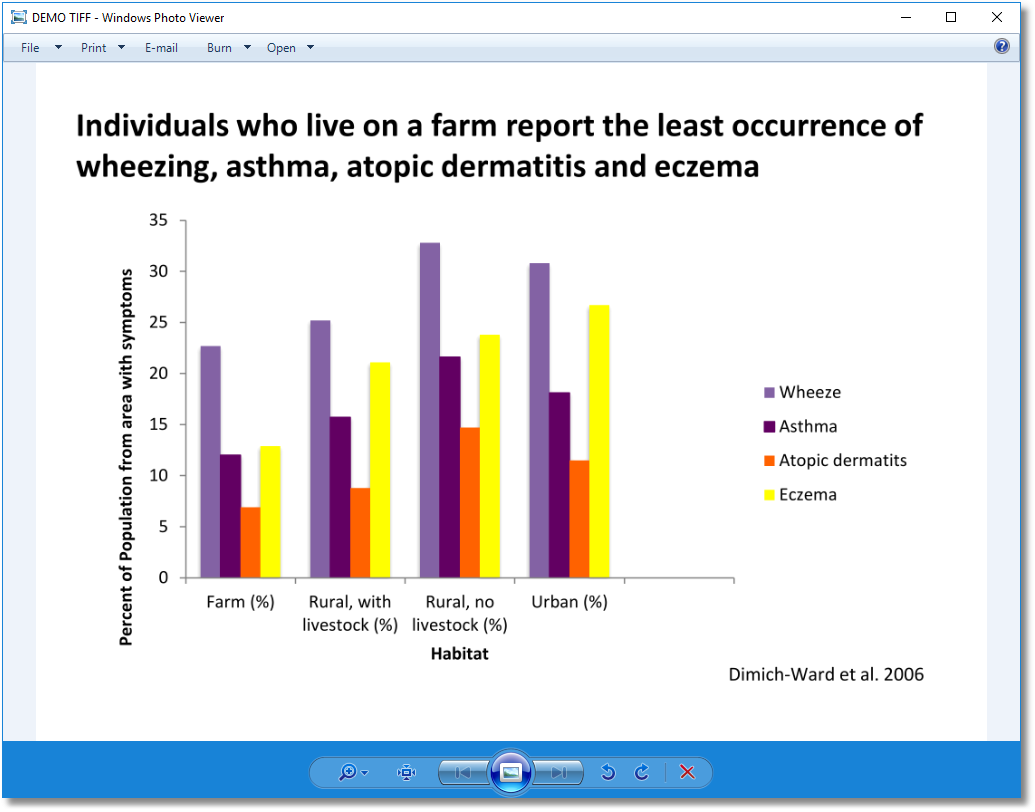
14. Now you have a TIFF image ready for journal publication.
Color Schemes for Print
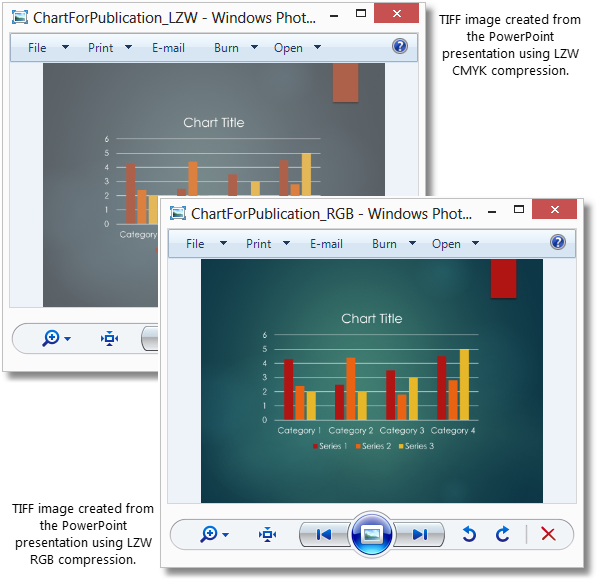
The TIFF image created using the above settings is shown below. This image was created using the compression method LZW CMYK. As a comparison, the same presentation created using the compression method LZW RGB is also shown. Note the difference in colors that occurs when the image is saved with the different compression methods. This is because RGB and CMYK are different color schemes.
RGB, which stands for Red, Green, Blue, is the color scheme used by your computer screen and most applications.
CMYK , which stands for Cyan, Magenta, Yellow and K for Black, is the color scheme used by your printer to print the images on paper. When the TIFF image is saved using the LZW CMYK compression method, the RGB colors that you see are converted to CMYK colors, causing in some cases the shift in colors you see below. Depending on the colors used in your publication, you may not see any color change at all.