Creating Faxable TIFF Files with TIFF Image Printer
As simple as printing, TIFF Image Printer is a straightforward way to create Faxable TIFF in seconds.
Quick and easy, TIFF Image Printer works with any Windows® application that can print, making it the TIFF converter you will turn to time and again.
How to Create Faxable TIFF Files
1. Install TIFF Image Printer onto your computer. You will see the TIFF Image Printer icon on your desktop.

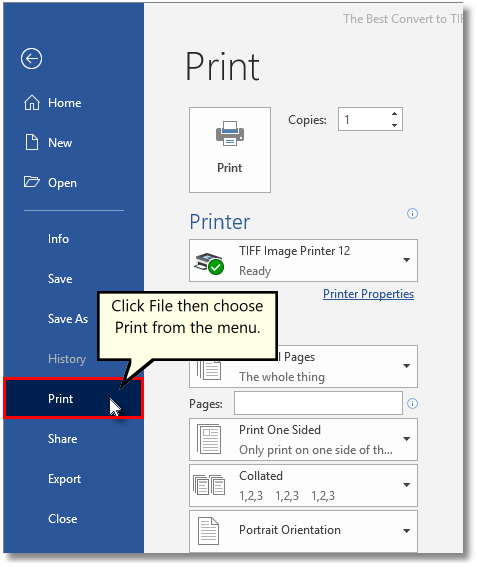
2. Open your file and then click File-Print from the application menu.
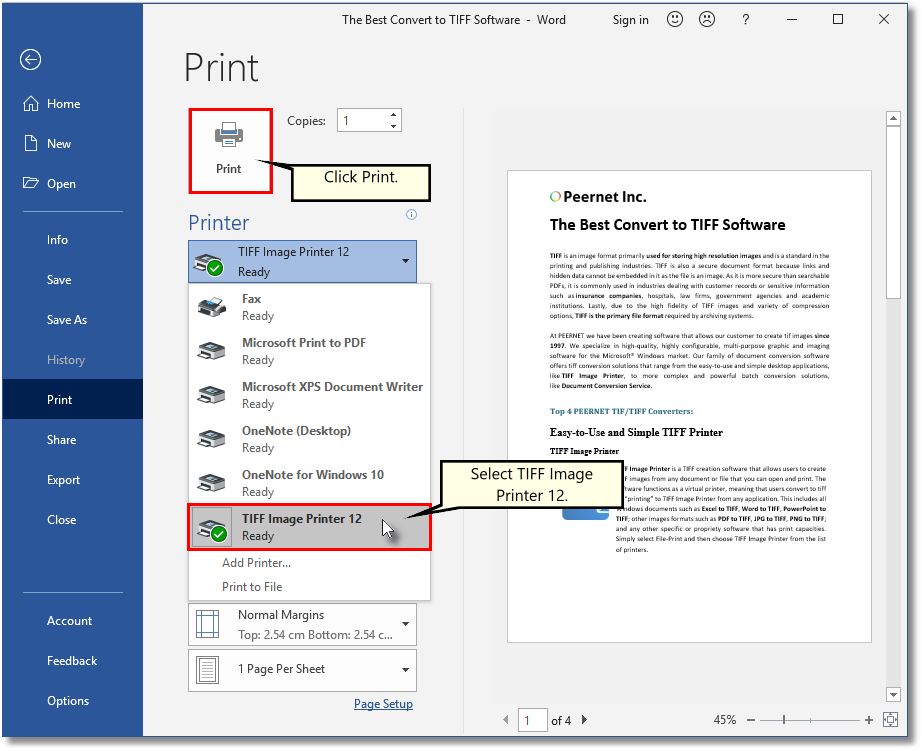
3. Choose TIFF Image Printer 12 from the list of printers and then click the Print button.
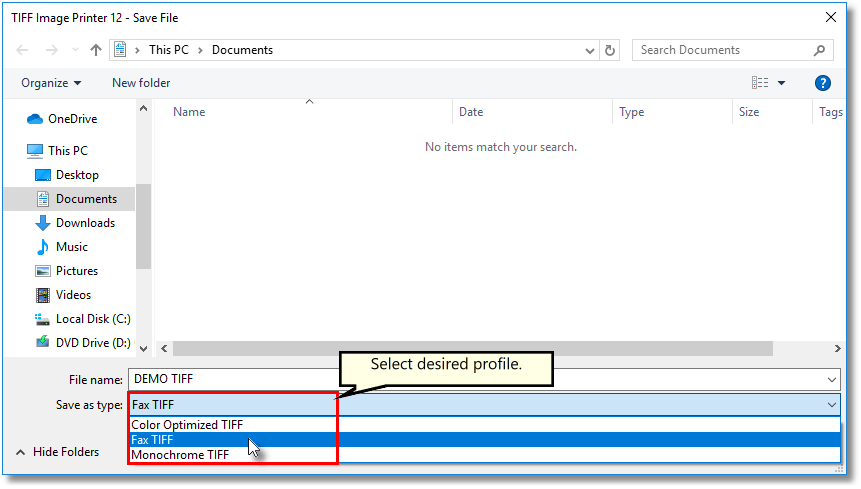
4. Enter the location and filename for the TIFF file.
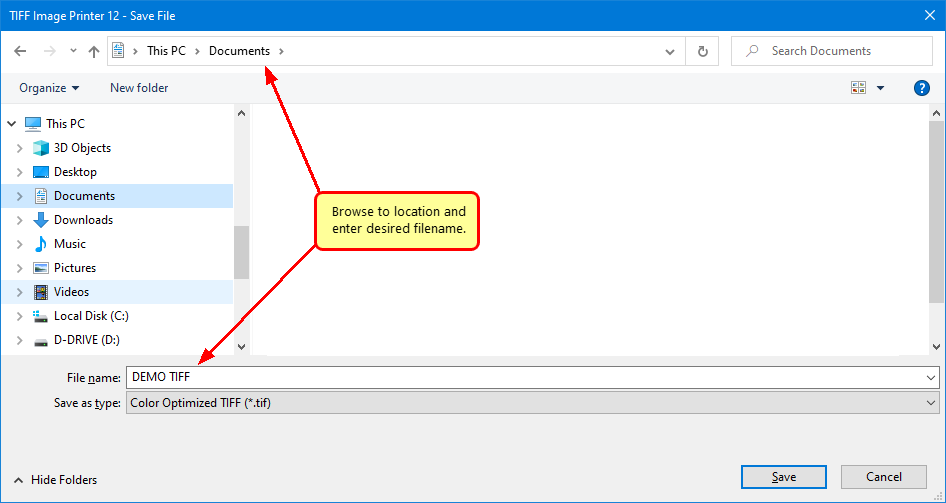
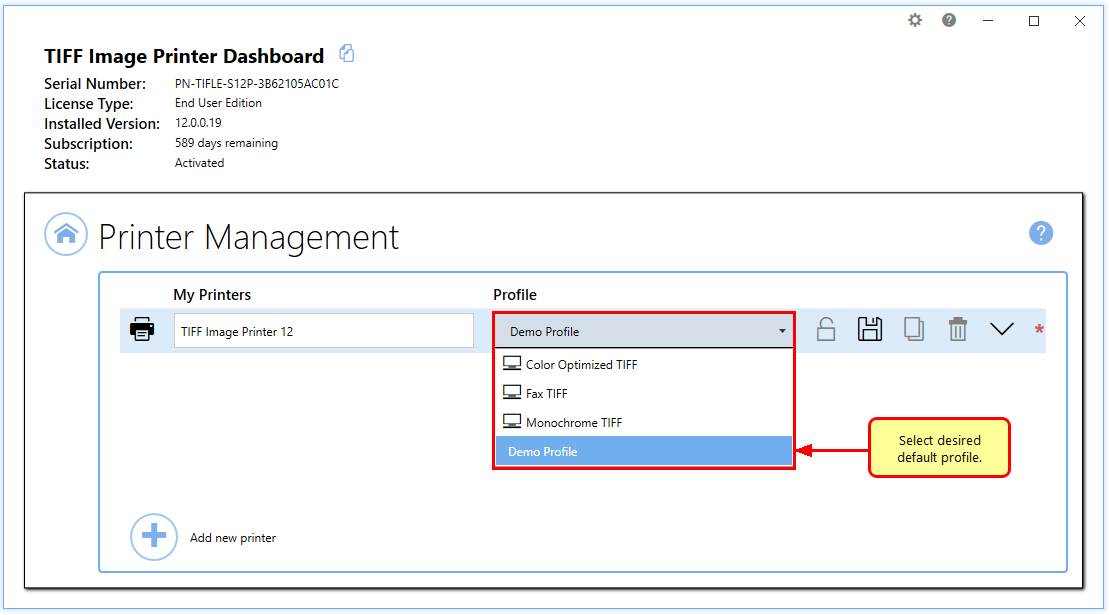
5. Select the profile, group of settings, that you want applied to your output TIFF Image. To create a faxable TIFF we recommend the Fax TIFF profile.
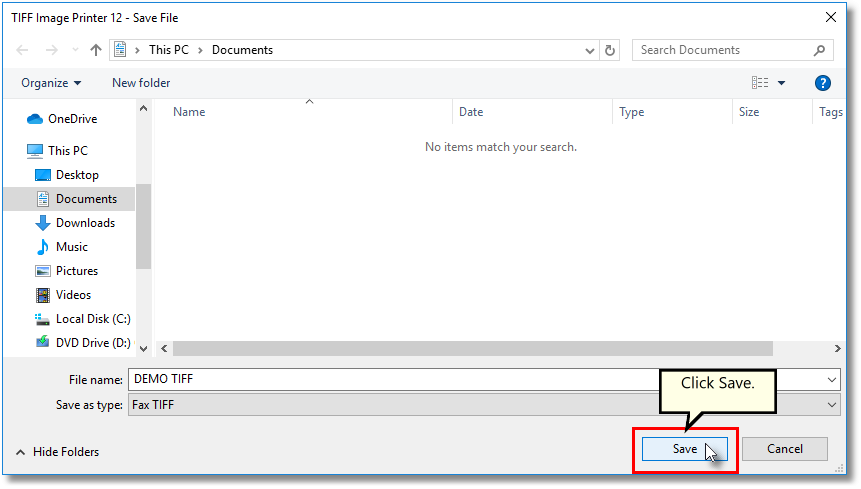
6. Click Save to create your TIFF image.
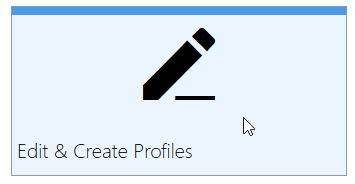
7. The system profile called Fax TIFF is designed to create a faxable TIFF using the most widely used fax settings (serialized TIFF, 204×196 dpi, fax Profile F). If you want to create a faxable TIFF with different settings than the system profile, Fax TIFF, return to the dashboard and select Edit & Create Profiles.
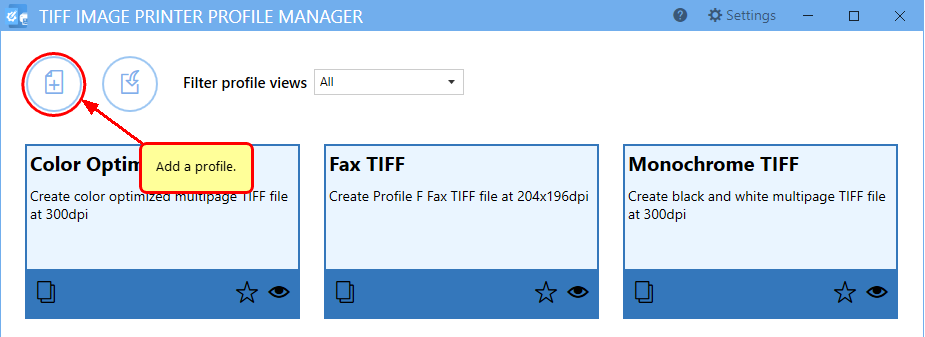
8. Select Add Profile and enter a name and description.
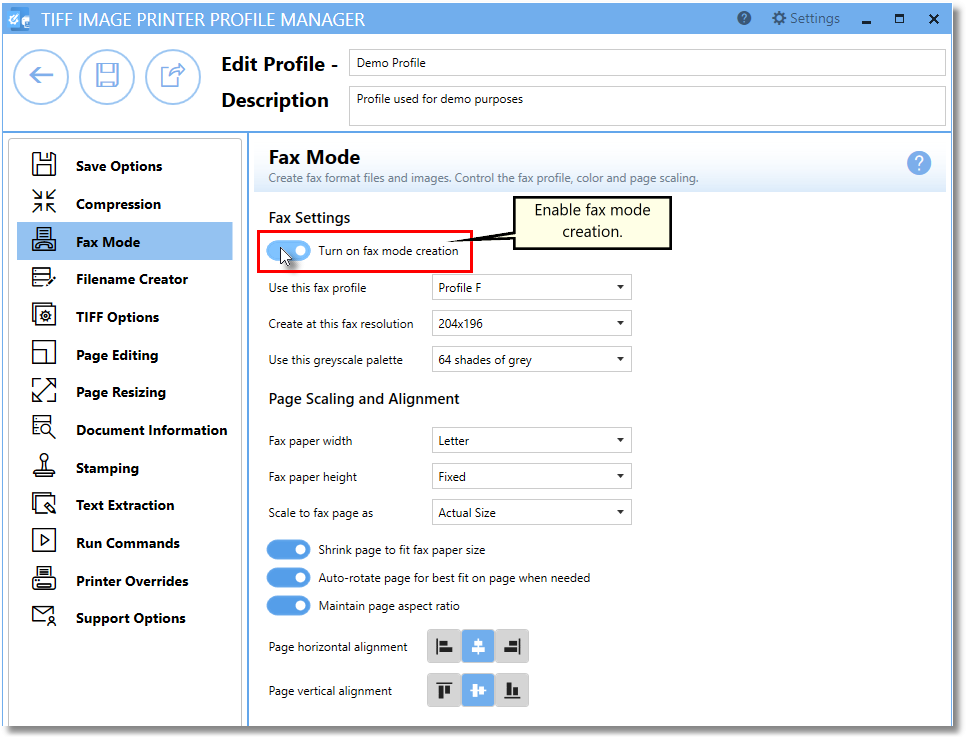
9. All settings related to faxing are found under the Fax Mode tab, including fax Profile and how the fax is laid out on the page.
10. Click Save and Back, and then close the Profile Manager.
11. Select Manage Printers.
12. Choose your profile from the list to make it the default profile for TIFF Image Printer. Now your custom settings will be used when you print to TIFF Image Printer.